


CTEM
CTEM — continuous threat exposure management — holds the rules, scans, schedules and account-wide settings behind exposure scoring. It has nine pages.
Getting there
- Click Admin, then Settings.
- Click the CTEM tab.
Controls shared by every page
Most CTEM pages carry the same strip of actions above them.
- Alerts — the alerts CTEM has raised
- Refresh Risk Scores — recalculate the scores
- Jobs — the work CTEM has run; shown as Scan Scheduler Jobs on the Scheduler page
The tables share the same controls too.
- Search — narrows the table
- The filter button — opens the table's filters
- A size list, set to Small, which changes the row height
- A refresh list, set to No Refresh, which can reload the table on a timer
- The columns button — choose which columns are shown
- The download button — export the table as a CSV file
- The save button — keep the table layout you have set up
- Items per page, a page readout, first, previous, next and last buttons, and a Go to page box
Application Baseline
Rules that say which applications and services must be present on a device and which are not allowed.
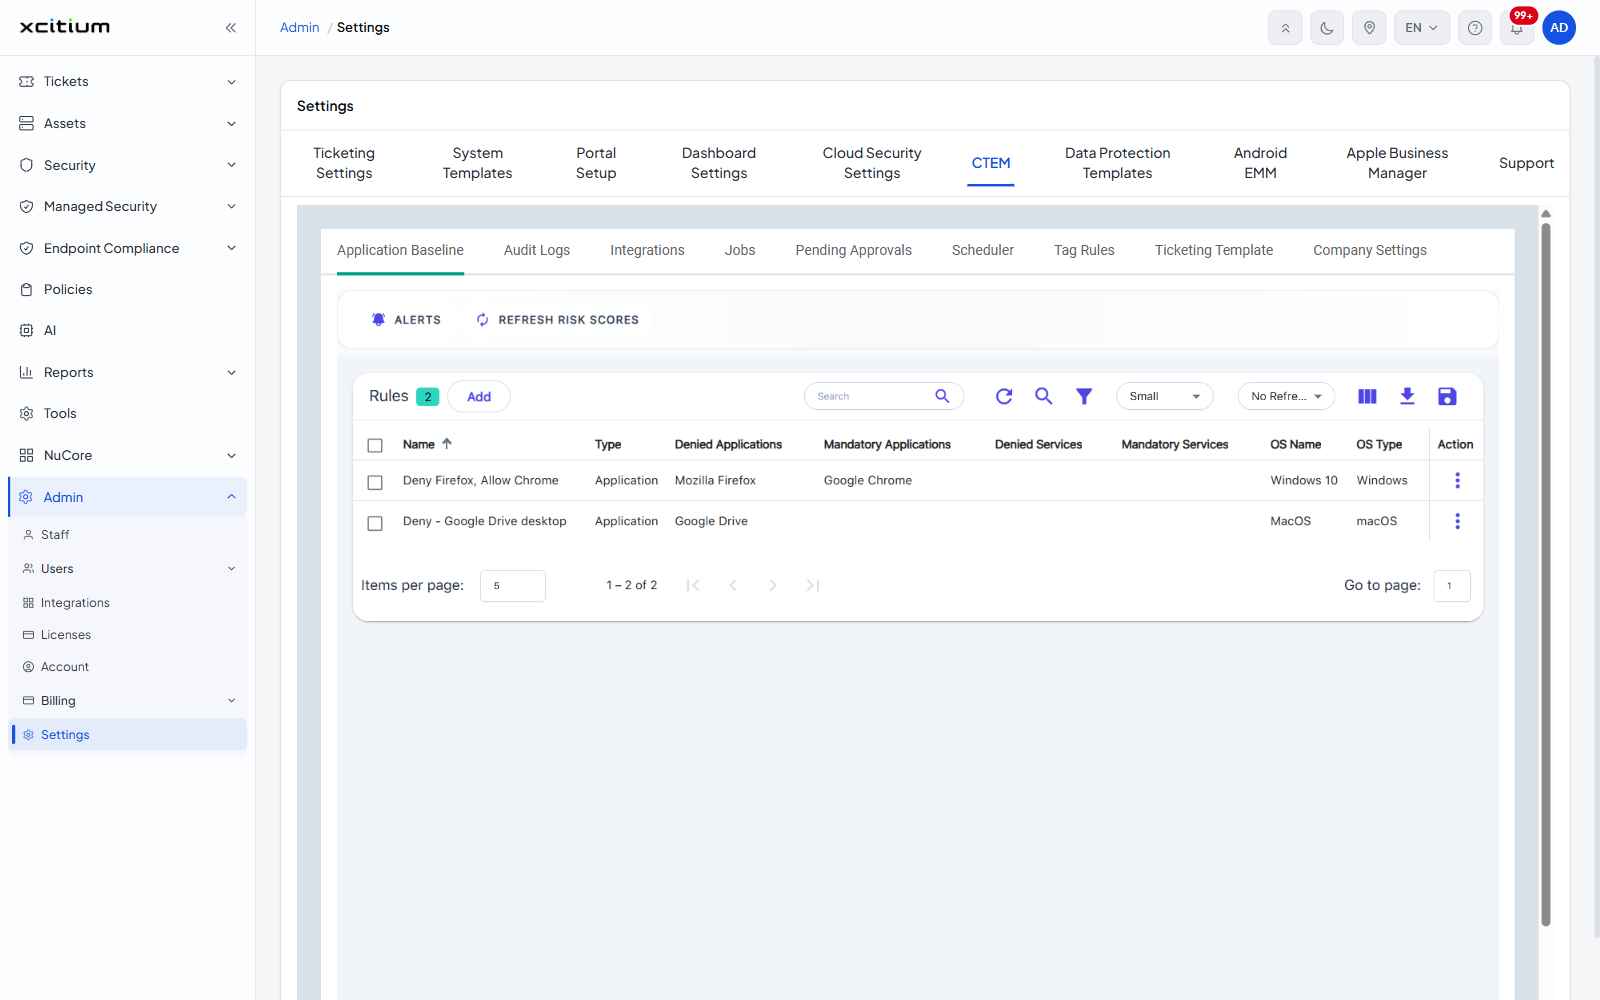
- Name
- Type
- Denied Applications
- Mandatory Applications
- Denied Services
- Mandatory Services
- OS Name
- OS Type
- Click Add to create a rule.
- Use the menu at the end of a row to change or remove an existing one.
Audit Logs
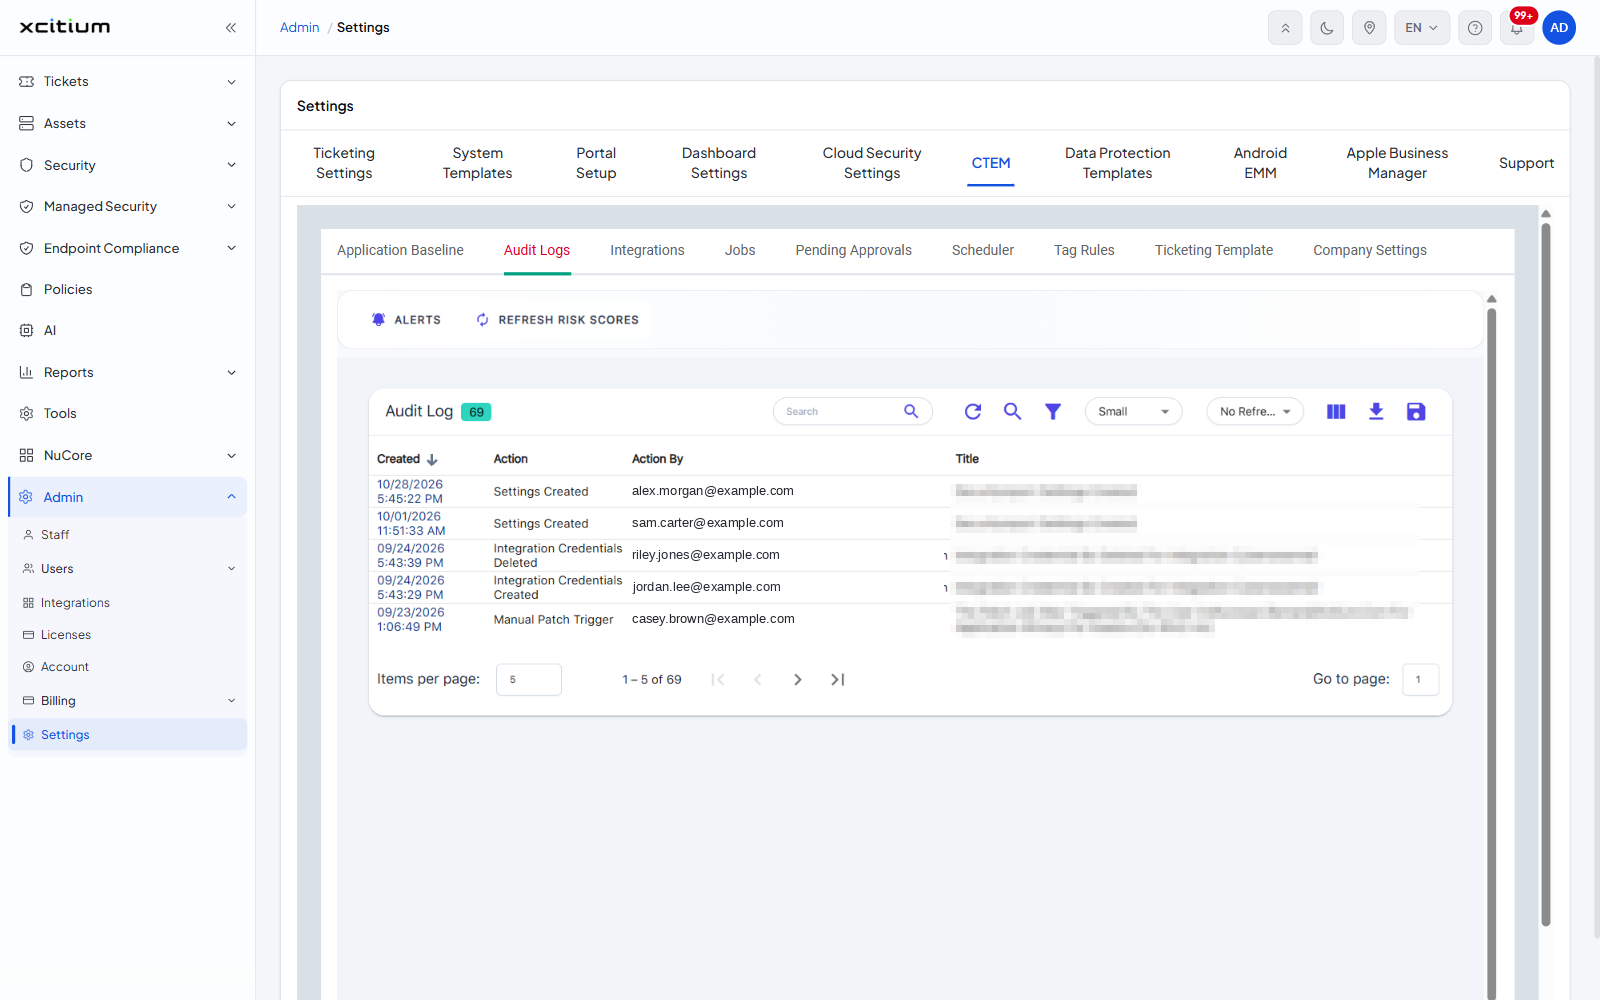
What was changed in CTEM, by whom and when — useful for tracing an unexpected change back to its source. Columns are Created, Action, Action By and Title, and all four sort.
Integrations
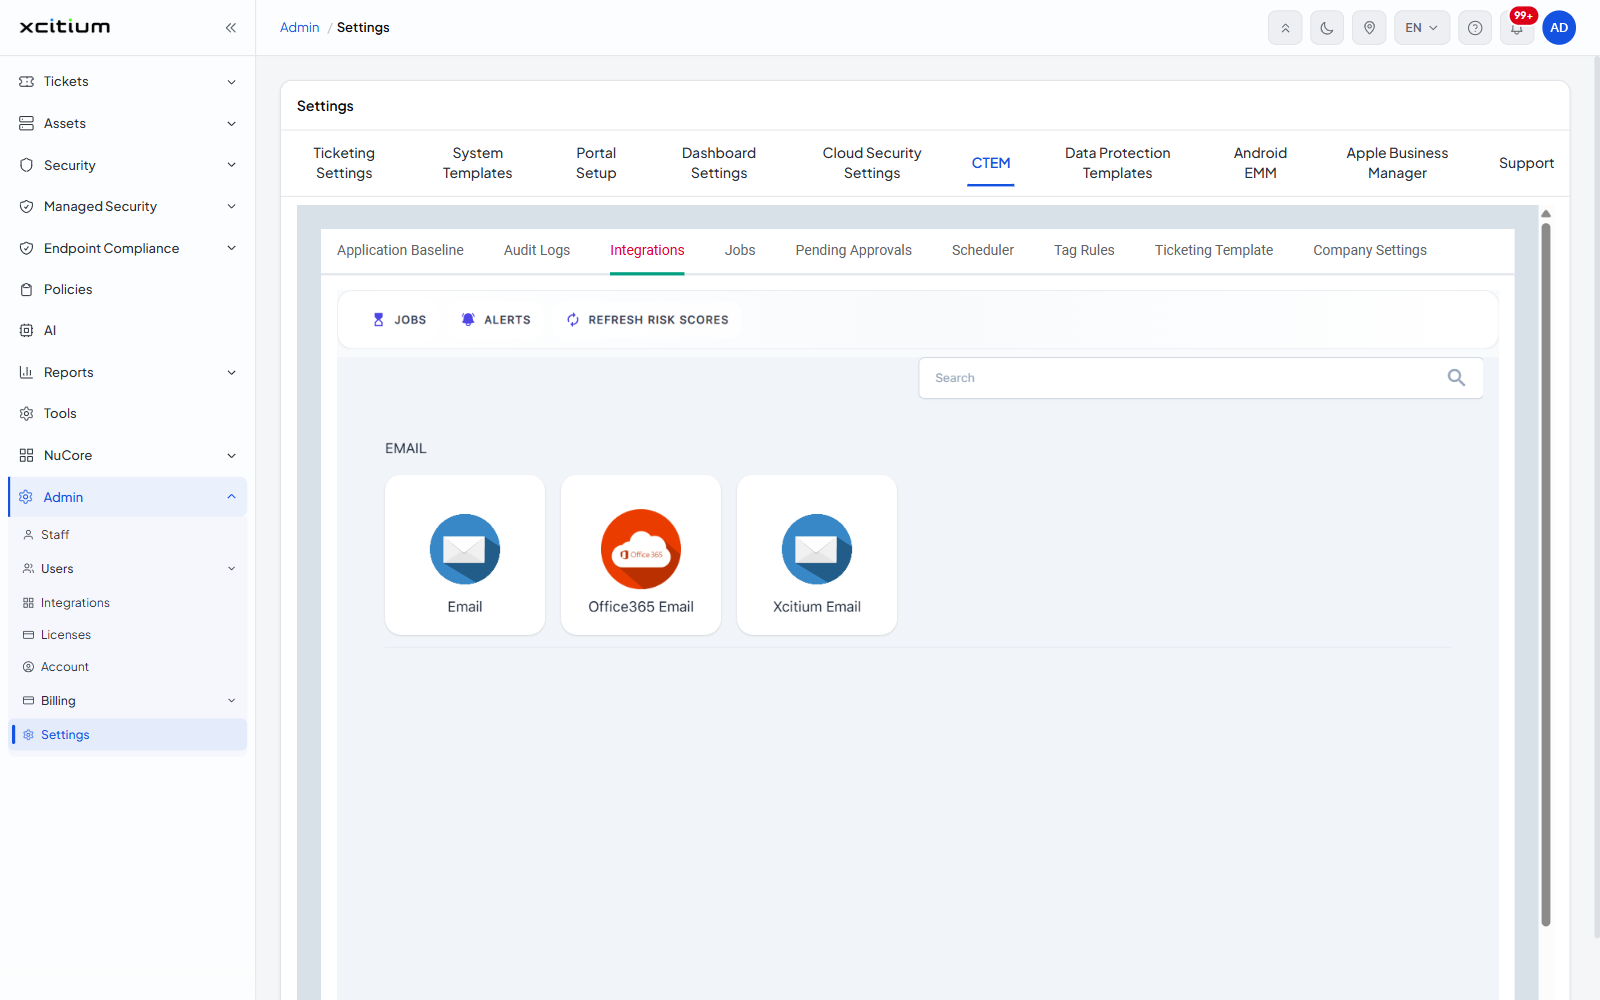
The services CTEM can send to, shown as tiles grouped by type. Click a tile to set that service up.
Jobs
The work CTEM has run, across three pages: Scan Jobs, Report Scheduler Jobs and Report Builder Scheduler Jobs.
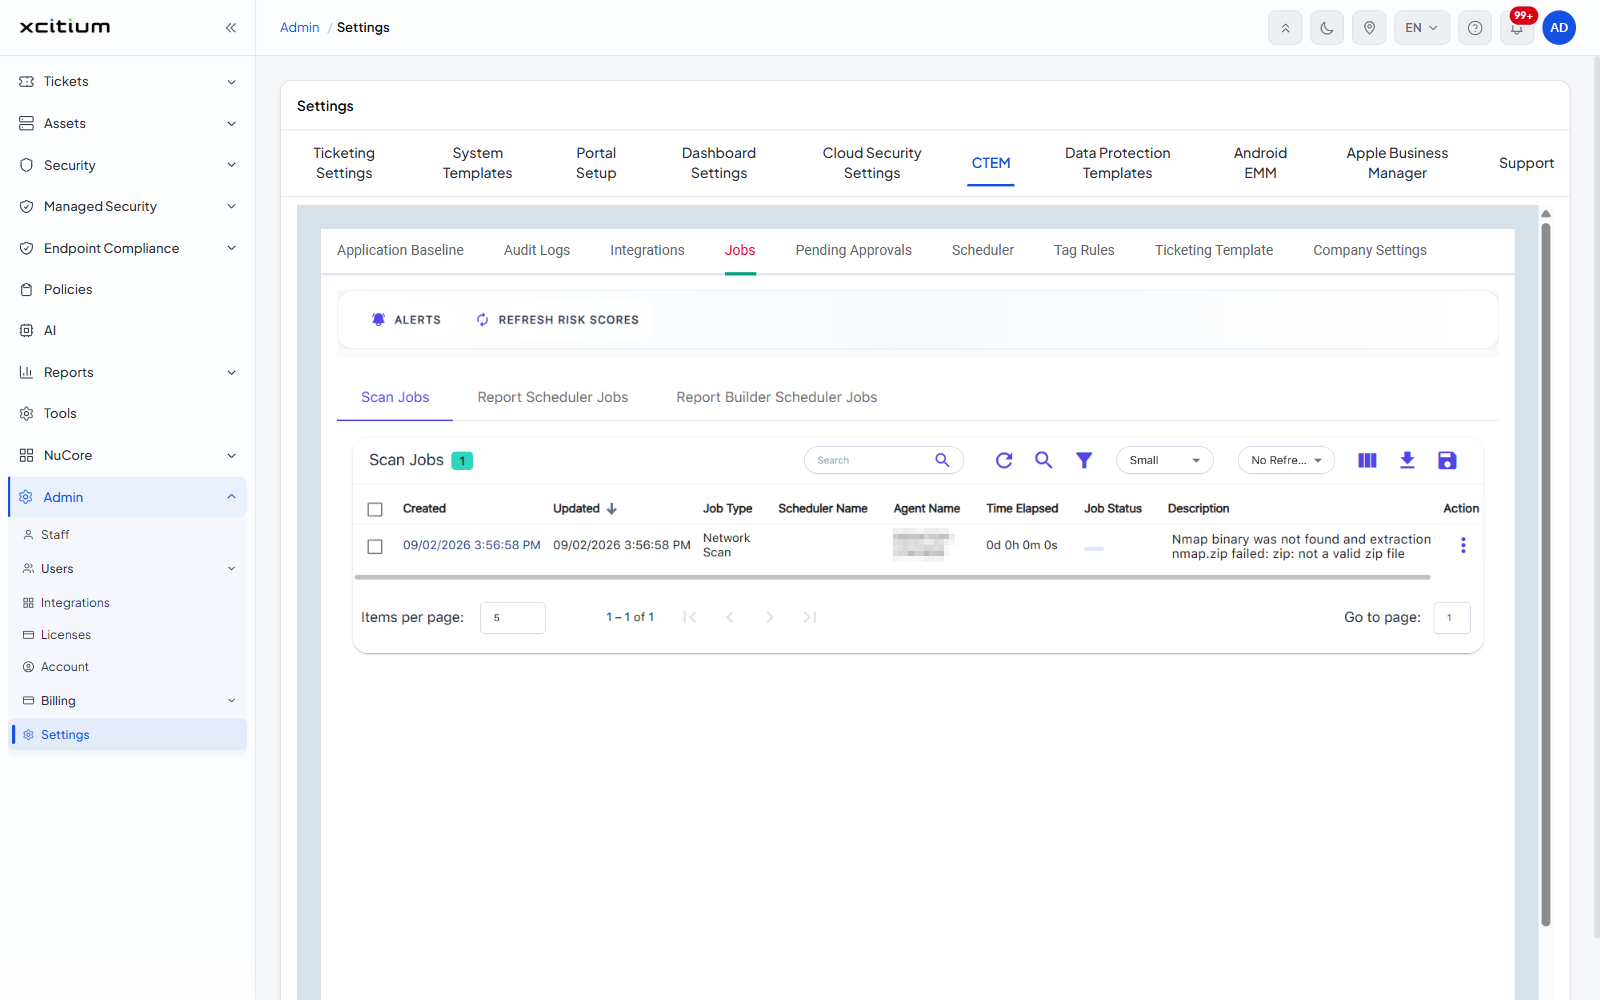
- Created
- Updated
- Job Type
- Scheduler Name — the schedule that started the job
- Agent Name
- Time Elapsed
- Job Status
- Description
Pending Approvals
Requests to suppress a vulnerability, waiting for you to approve or reject them. The page reads No data available! when there are none.
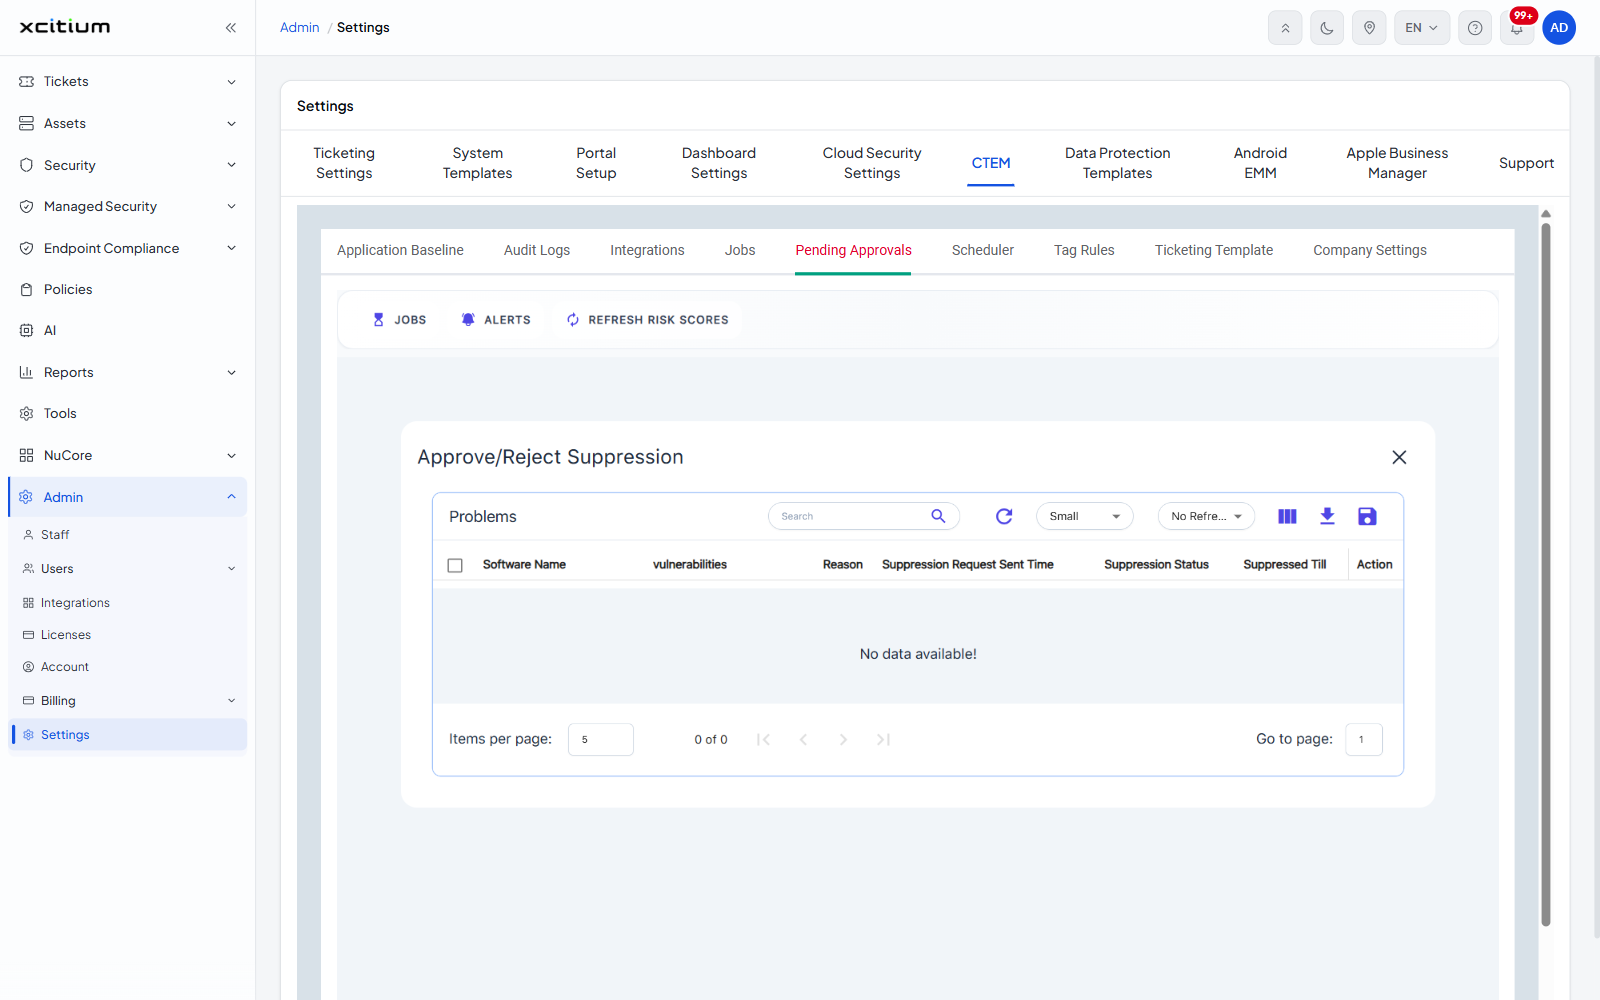
- Software Name
- vulnerabilities
- Reason — why the suppression was asked for
- Suppression Request Sent Time
- Suppression Status
- Suppressed Till
Use the menu at the end of a row to approve or reject the request.
Scheduler
When scans, patches and reports run. There are four pages: Scan Scheduler, Patch Scheduler, Report Scheduler and Report Builder Scheduler.
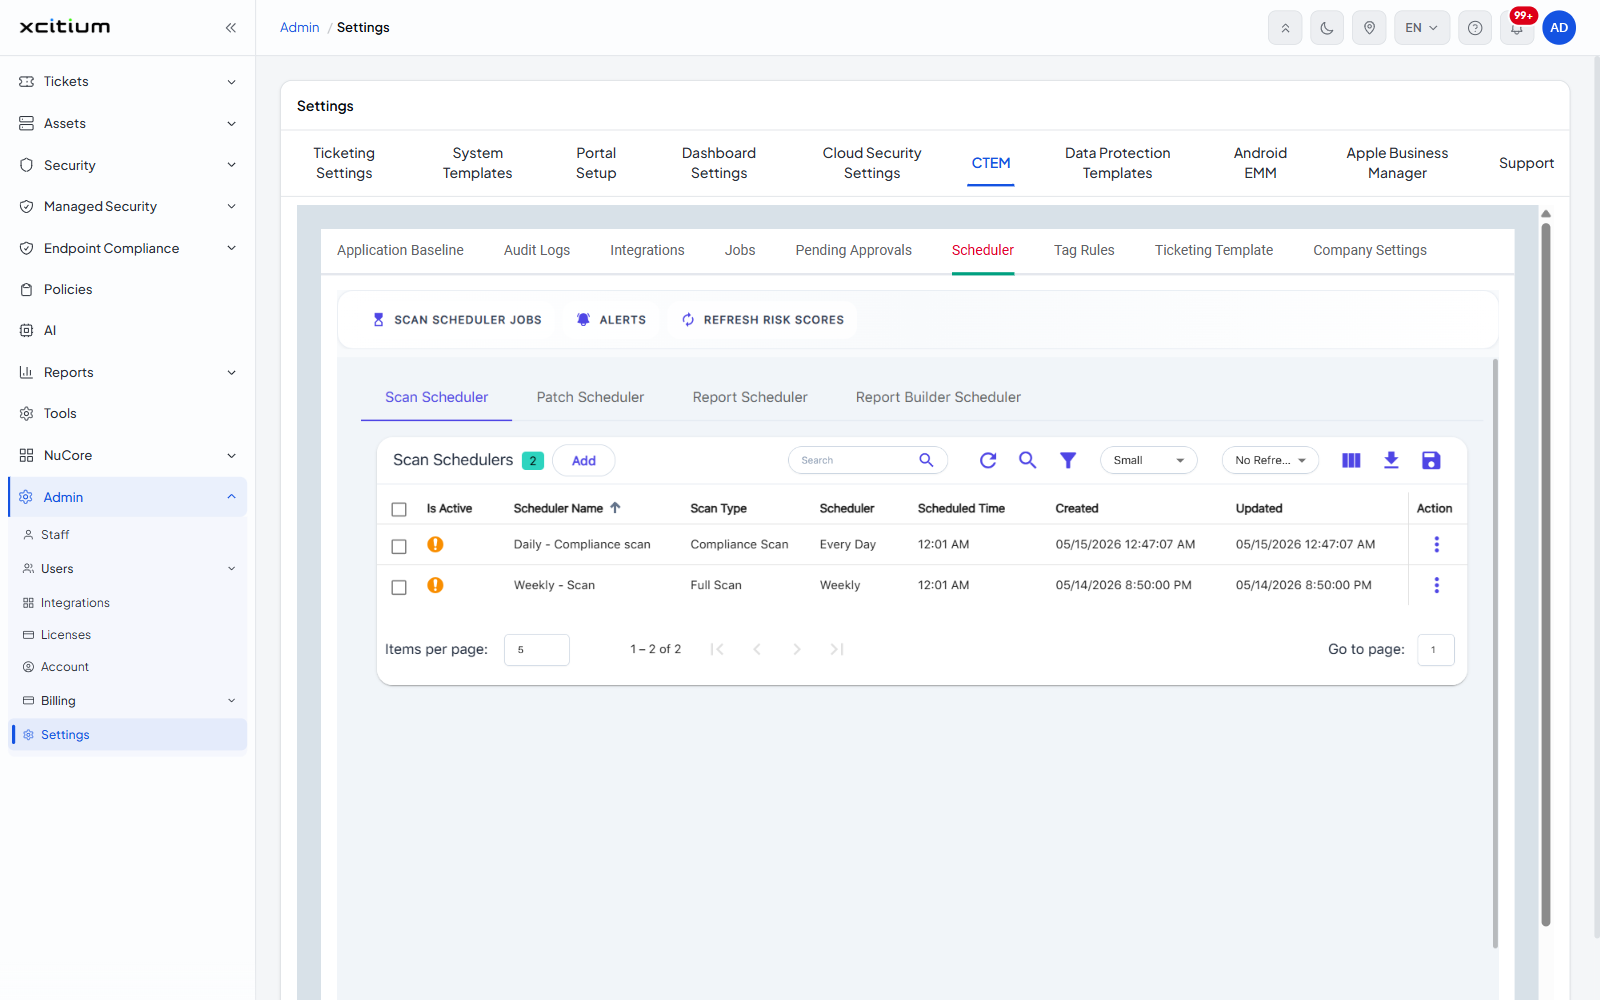
- Is Active — whether the schedule actually runs
- Scheduler Name
- Scan Type — for example Compliance Scan or Full Scan
- Scheduler — how often it runs, for example Every Day or Weekly
- Scheduled Time
- Created
- Updated
- Click Add to create a schedule.
- Use the menu at the end of a row to change or remove one.
Tag Rules
Rules that tag assets automatically and give them a risk score, so new assets are classified without anyone touching them. Click Add to create one. The page reads No data available! when there are none.
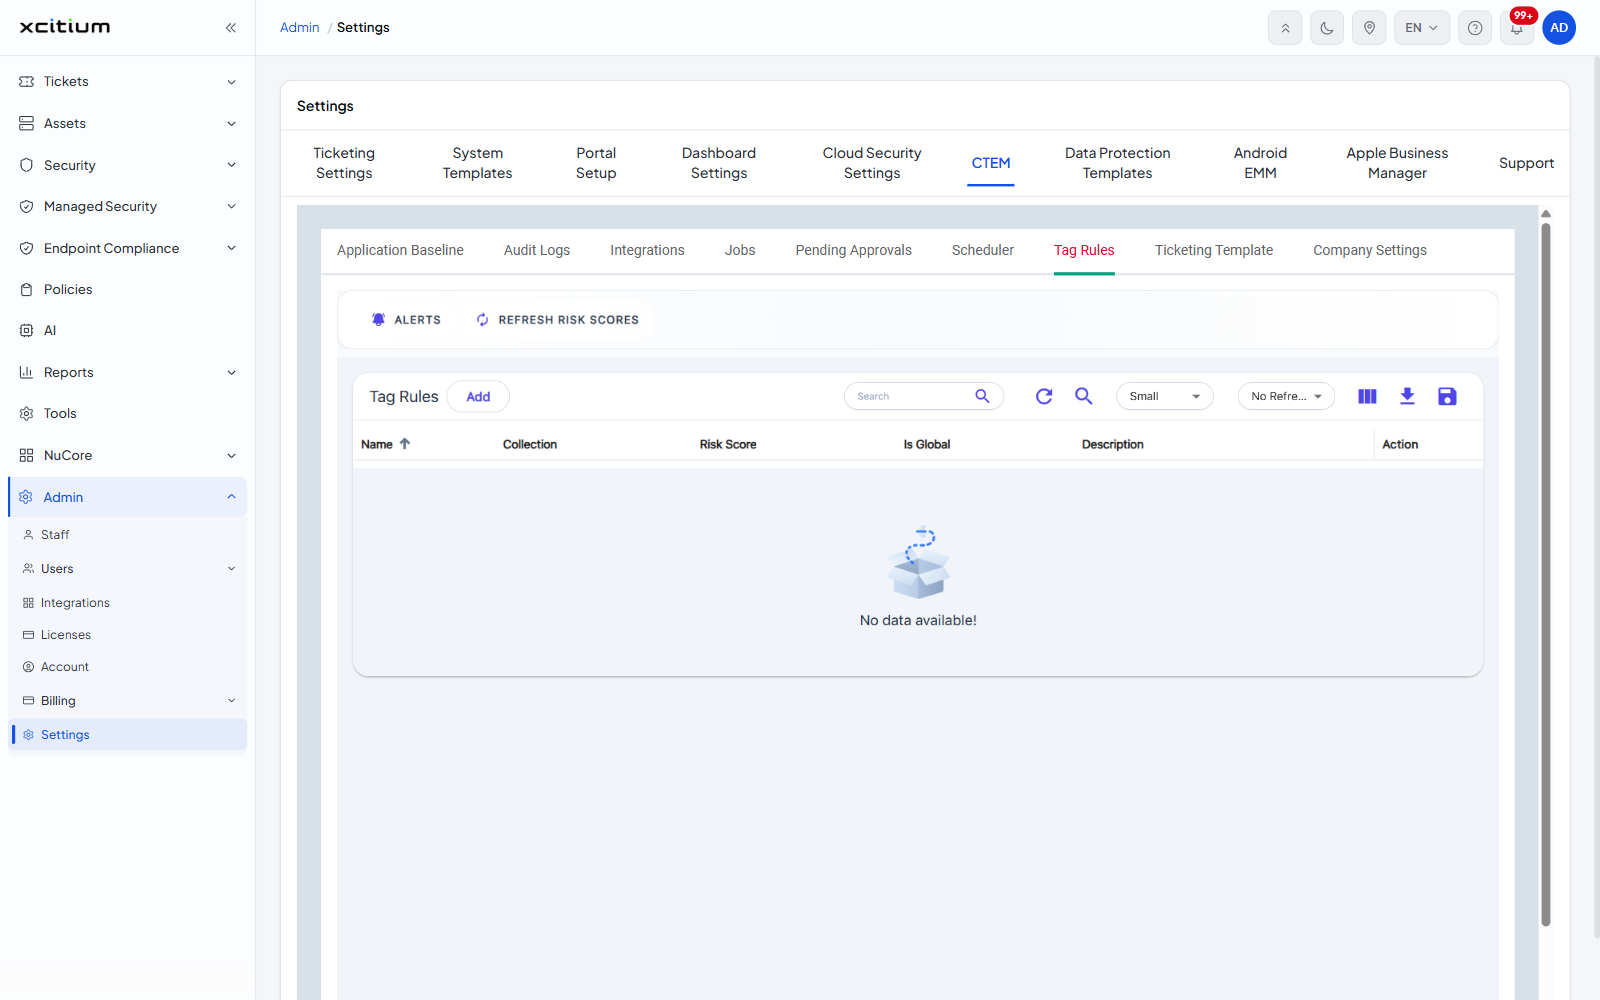
- Name
- Collection
- Risk Score
- Is Global
- Description
Ticketing Template
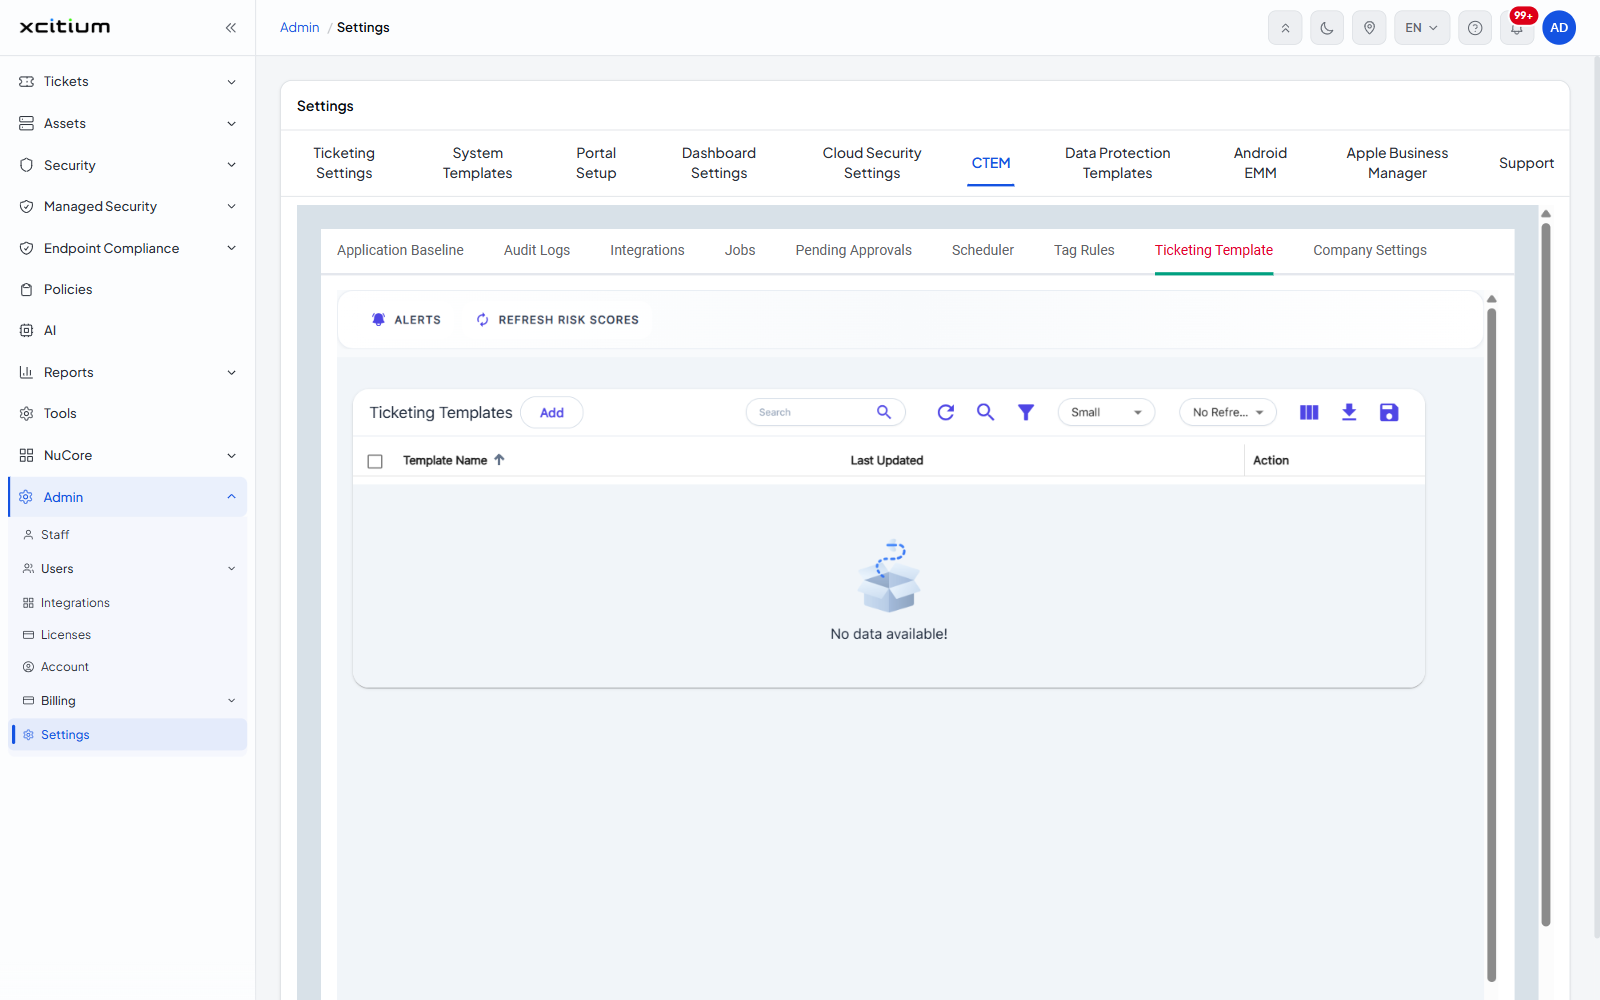
The templates CTEM uses when it raises a ticket. Click Add to create one. Columns are Template Name and Last Updated.
Company Settings
Twenty-four account-wide CTEM settings, listed down the left. Click one to open it on the right.
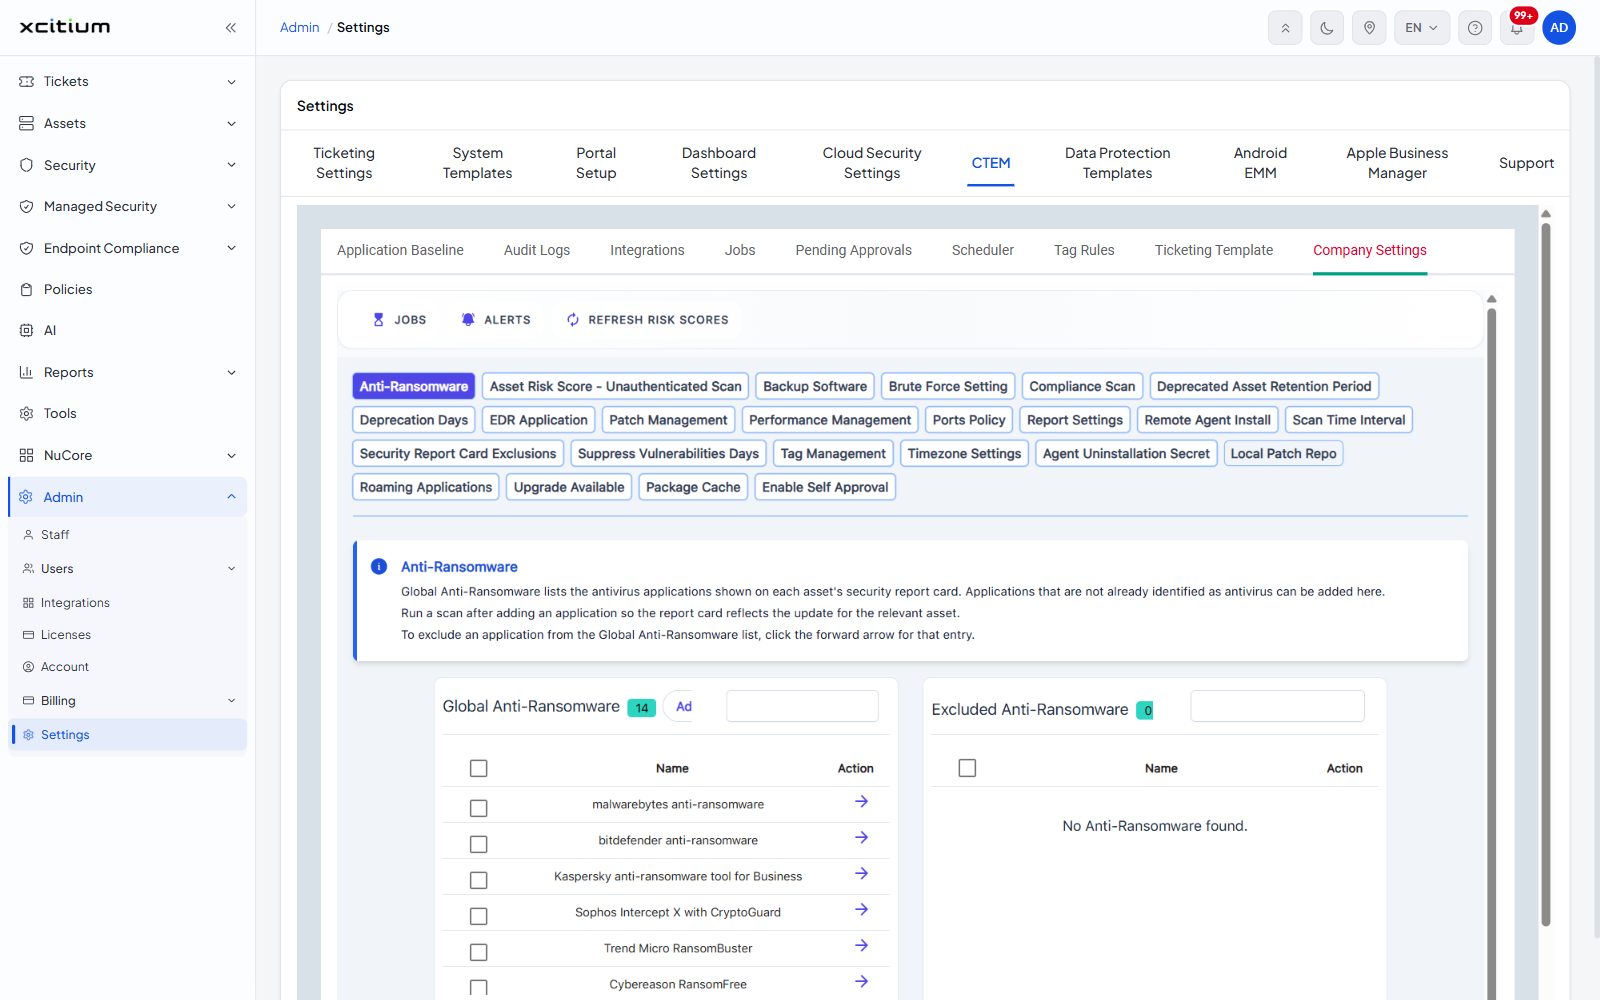
- Anti-Ransomware
- Asset Risk Score - Unauthenticated Scan
- Backup Software
- Brute Force Setting
- Compliance Scan
- Deprecated Asset Retention Period
- Deprecation Days
- EDR Application
- Patch Management
- Performance Management
- Ports Policy
- Report Settings
- Remote Agent Install
- Scan Time Interval
- Security Report Card Exclusions
- Suppress Vulnerabilities Days
- Tag Management
- Timezone Settings
- Agent Uninstallation Secret
- Local Patch Repo
- Roaming Applications
- Upgrade Available
- Package Cache
- Enable Self Approval
Anti-Ransomware opens first. It lists the antivirus applications shown on each asset's security report card, and the page explains how to change it: "Applications that are not already identified as antivirus can be added here. Run a scan after adding an application so the report card reflects the update for the relevant asset. To exclude an application from the Global Anti-Ransomware list, click the forward arrow for that entry."
- Click Add to put an application on the Global Anti-Ransomware list.
- Click the forward arrow on a row to move it across to Excluded Anti-Ransomware.
- Run a scan so the asset's report card picks the change up.
Each column has a box above it for filtering a long list. The excluded column reads No Anti-Ransomware found when nothing has been excluded.