


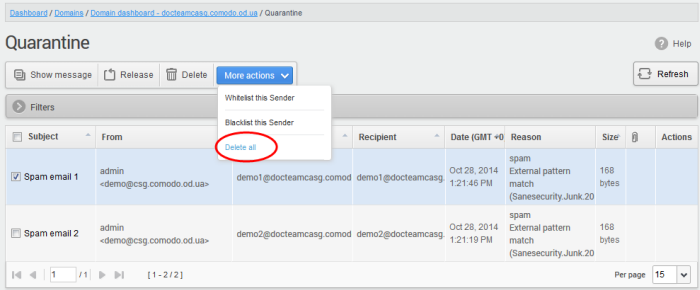
Quarantine
- View all quarantined emails and their headers for all users on the selected domain.
- Release quarantined emails to the intended recipient if you decide that a particular email is not spam.
- Delete selected or all spam mails
|
Tip: CASG periodically generates a report on all messages moved to quarantine.
|
Open the quarantined email interface
- Click
'Quarantine' on the 'Incoming' drop-down menu on the left
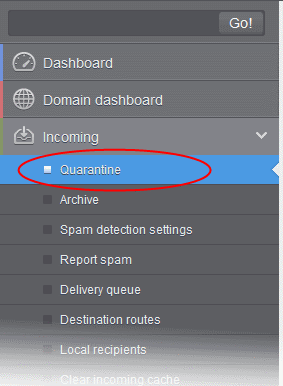
The quarantined email area will open:

- Click any column header to sort items in ascending/descending order.
- Click anywhere on the 'Filters' tab to open the filters area:
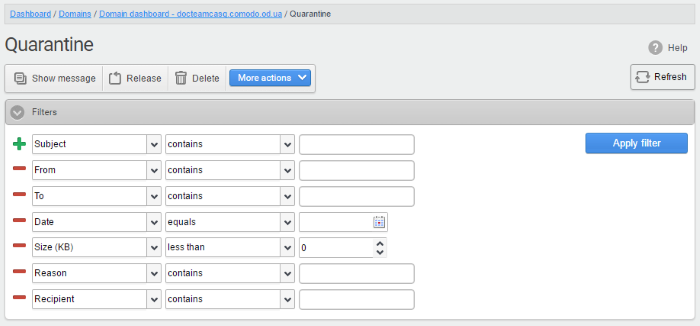
- Choose the filter by which you want to search from the first drop-down, then a condition in the 2nd text box. Some filters have a third box for you to type a search string.
- Click ‘Apply Filter’.
You can filter results by the following parameters:
- Subject: Type the mail subject in the text box (column 3) and select a condition in column 2.
- From: Enter the sender name or address in the text box (column 3) and select a condition in column 2.
- To:Enter the recipient name or address in the text box (column 3) and select a condition in column 2.
- Reason: Enter the quarantined reason in the text box (column 3) and select a condition 2.
- Recipient: Enter the recipient name or address in the text box (column 3) and select a condition in column 2.
Click anywhere on the 'Filters' tab to close the filters area. Click the 'Refresh' button to remove filters.
You
can add multiple filters to the same search by clicking  .
.
View Details of Quarantined Mails
The details like subject, sender, recipient , date and size of the mails added to the Quarantine can be viewed in two ways:
View the details of a quarantined mail in the same CASG window
- Select the mail that you want to view in the quarantined email area
- Click the 'Show Message' button
OR
- Click on the email link in the subject column that you want to view its details
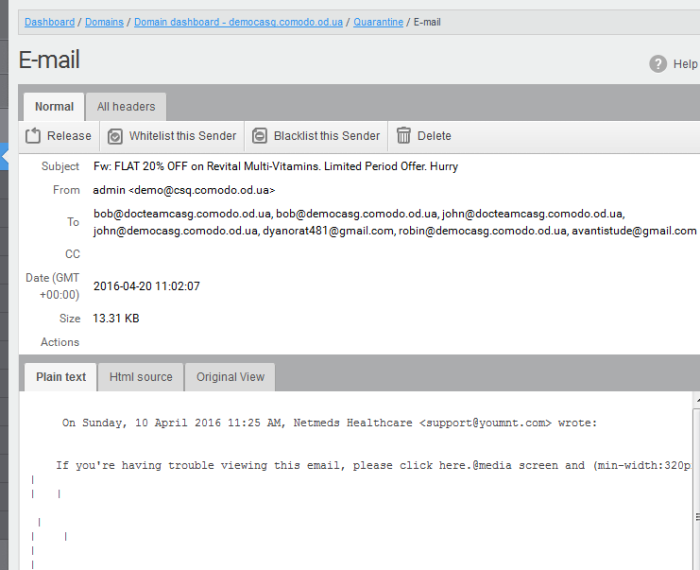
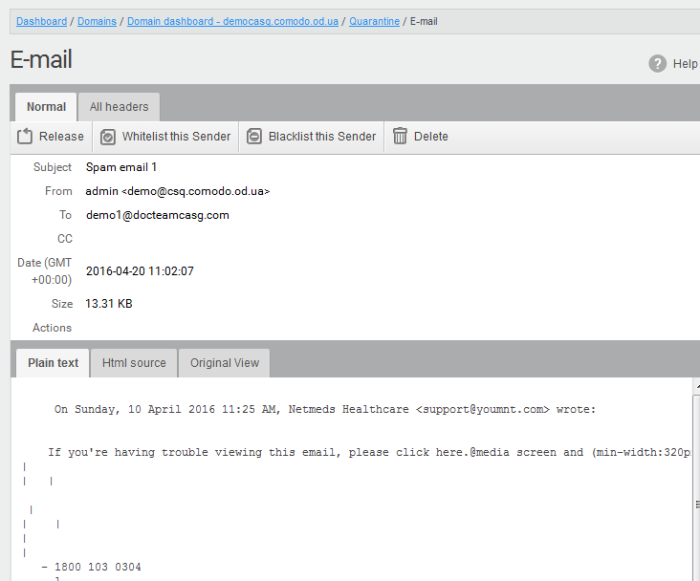
The details of the selected email will be displayed.
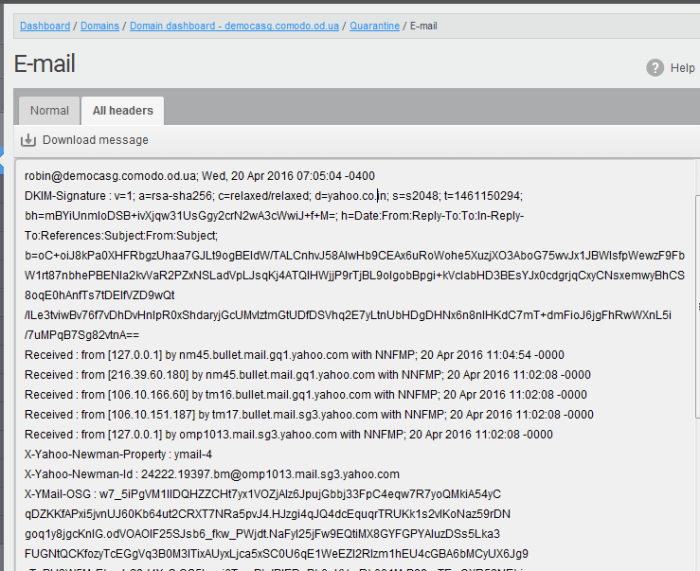
- Click 'All headers' to view the email headers which contain the tracking information of the mail detailing the path it has crossed before reaching the recipient. The headers give full details of the sender, route, recipient, sent date, mail type and so on and enable you to check the authenticity of the mail.
Check the details of the mail and ascertain whether it is a spam mail or not. You can choose to either release the mail or delete it.
- Click 'Whitelist this sender' to add the sender to 'Sender Whitelist'
- Click 'Blacklist this Sender' to add this sender to Sender
Blacklist.
View the details of a quarantined mail in a new CASG window
- Select the mail that you want to view in the quarantined email area
- Right-click on the email link in the subject column and select to open in a new tab or new window.
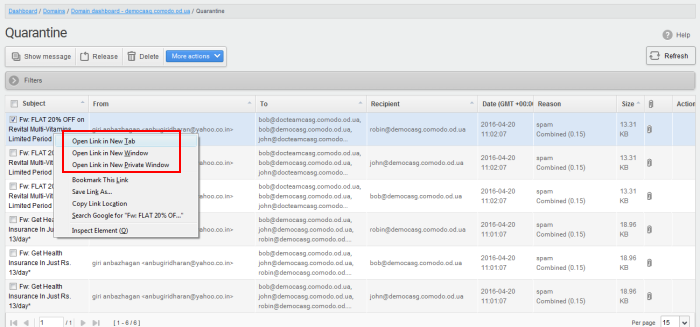
The browser may display a warning pop-up window notification. Click the 'Options'> then select 'Allow pop-ups for...' to allow to open new message in a new window. Click again 'Show message in new window'.

The details of the selected mail will be displayed in a new CASG window.
The
details of the selected mail will be displayed in a new CASG window.
Release a quarantined mail:
After viewing the details and ensuring that the selected email is not a spam you can choose to release the mail to the recipient.
- Select the mail that you want to release and click the 'Release' button.

An alert will be displayed to confirm the release of selected email.
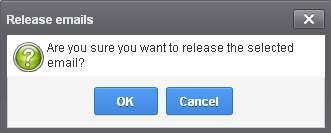
-
Click 'OK' to confirm the release
The email will be released to the address and the mail will no longer be in the quarantined list.
After confirming that mail from a sender is not spam, admins can add them to the 'Sender Whitelist'. Emails from whitelisted senders will no longer get quarantined.
-
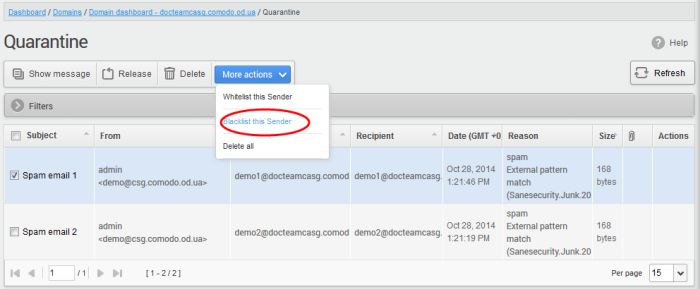
Select a mail from a sender that you want to whitelist
- Click 'More actions' > 'Whitelist this Sender'.
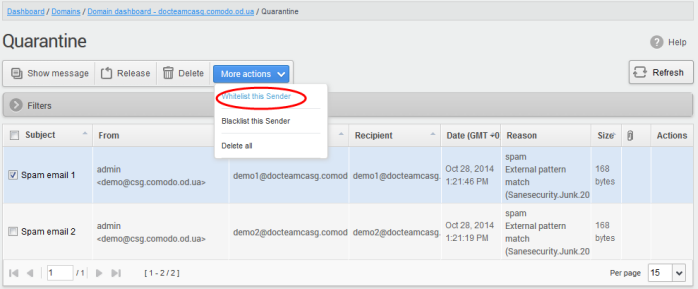
A
confirmation is shown as follows:
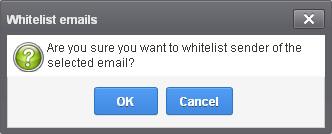
-
Click 'OK' to whitelist the sender. See 'Sender Whitelist' for more details.
Add a sender to blacklist
Admins can add blacklist senders from the quarantine interface. Once blacklisted, all mails from the sender to the selected domain are automatically blocked.
- Select a mail from a sender you want to blacklist
- Click 'More actions' > 'Blacklist this Sender'.
A confirmation is shown as follows:
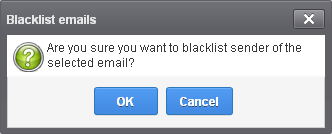
-
Click 'OK' to blacklist the sender. See 'Sender Blacklist' for more details.
Delete quarantined mail
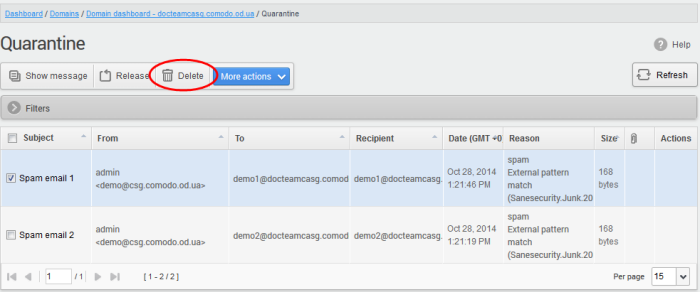
- Select the mail that you want to remove
- Click the 'Delete' button
A confirmation request will be displayed:
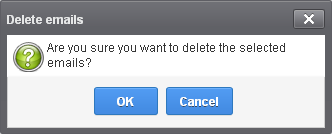
The selected mail will be deleted and will no longer be in the quarantined mail list.
- To delete all the quarantined mails, click 'More actions' > 'Delete all'.
A confirmation is shown as follows:
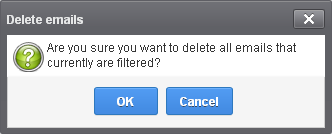
- Click 'OK' to delete all quarantined emails. All the quarantined emails for the selected domain will be deleted.