


CDN Settings
The content delivery network (CDN) improves the performance andsecurity of your websites.
Make sure you have configured the DNS settings of your website to use the CDN. See DNS Configuration for more information.
- You can also configure DNS settings at 'CDN' > 'Settings' > 'Activation'. See https://help.comodo.com/topic-285-1-848-13908-Activate-CDN-for-a-Website.html if you want help with this.
Once configured, the CDN service will:
Accelerate performance by serving your website from the data center closestto your visitor’s location.
- Forward event logs to the Comodo CSOC team who will monitor your traffic for threats.
- Enable Comodo web application firewall (CWAF) protection for your domains. The CSOC team constantly improves the firewall rules to provide cutting edge protection for our customers.
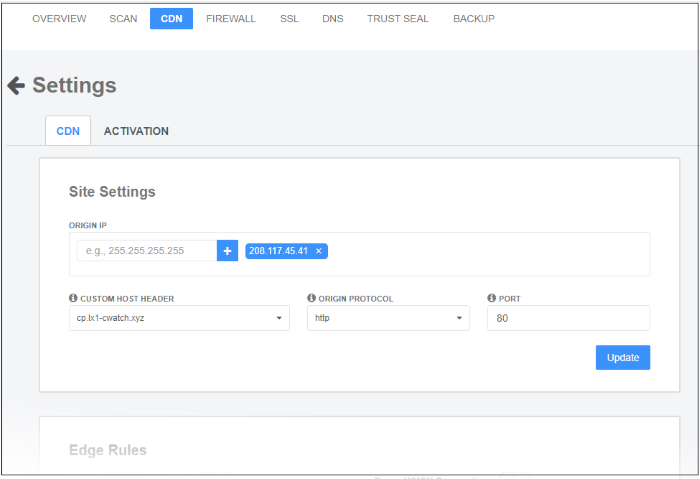
Configure CDN Settings
- Open the cWatch dashboard
- Select the target website from the menu at top-left
- Click the 'CDN' > 'Settings' > 'CDN'
Click the following links for help with each box on the settings screen:
- Enter the site’s IP then click the ‘+’ button. You can add multiple origin addresses. The CDN will load balance from the list of origins.
- Custom Host Header - Enter the domain name of the origin website. For example, simply enter www.yourwebsite.com
Background – If you don’t complete the custom host header field, then the CDN will simply retrieve the default website at the origin IP. While this is OK if there is only one site hosted on the IP, it can be problematic if the IP hosts multiple sites. By specifying your domain, you tell the CDN exactly which website to collect.
- Origin Protocol - Select whether the site is hosted over HTTP or HTTPS. Choose the https or http version of your URL as appropriate.
- Port – The port number on the site that the CDN should connect to.
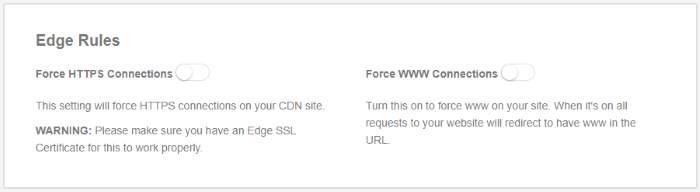
- Force HTTPS Connections - Ensures your site is only ever served over a secure, HTTPS, connection. Any requests made over HTTP will be converted to HTTPS. Make sure that you have uploaded your SSL certificate to the CDN edge servers. See SSL Configuration for help to do this.
- Force WWW Connections - Resolves all requests for your domain to the www version. For example, requests for https://your-website.com will be redirected to https://www.your-website.com
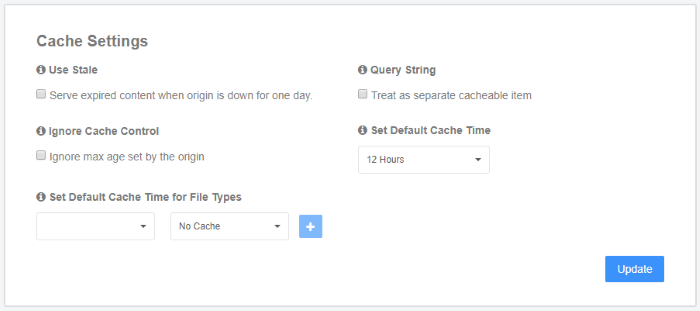
- Use Stale - Serve cached-but-expired content to visitors if your site is not reachable for 24 hours or more. This is useful to ensure you keep a web-presence if your server is hit by problems.
- Query String - Web-pages with a query string (e.g.'?q=something') will be cached as separate files. CDN updates the cached files whenever the original pages are updated.
- Ignore Cache Control – Enable this to invalidate cache settings on the origin. Selecting this option will automatically disable ‘Use Stale’ setting above.
- Set Default Cache Time - Define how long content fetched from your web servers should remain in the CDN cache. Cached content is used to accelerate site loading times for your visitors.
The CDN will collect refreshed content from your site when this period expires.
- Set Default Cache Time for File Types – Define how long files should be cached before they are forced to request a new copy from your origin.
- Select the file type from the first drop-down and set the cache time in the second. Click ‘+’ to add the file type. Repeat to add more file types.
Click ‘Update’ to save your changes.
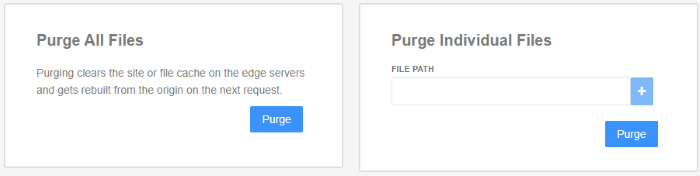
- Purge All Files - Manually remove all cached files so the CDN is forced to check your website the next time the files are requested.
- Purge Individual Files - Remove specific files from the cache so that the CDN is forced to check your website the next time these files are requested.
- Enter the URI of the file in the box then click the blue '+' button
- Repeat the process to add more files
- Click 'Purge'
Tell cWatch the
content management system (CMS) used to develop your site. Doing so
helps accelerate CDN setup and performance. While
cWatch supports all content management systems, quick configuration
currently only supports Joomla and WordPress.
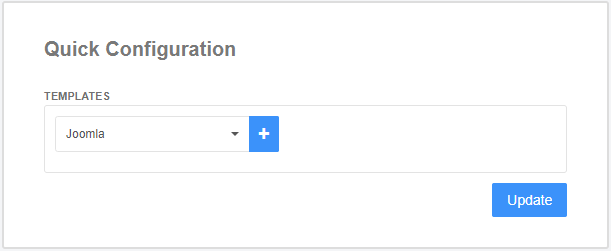
- Select a CMS type and click the ‘+’ button. Repeat to add more types.
- Click
‘Update’ to save your settings.