About Software
The 'About' area lists general details about hardware, software and virus update status. It also allows you to change the web console access password and run the setup wizard.
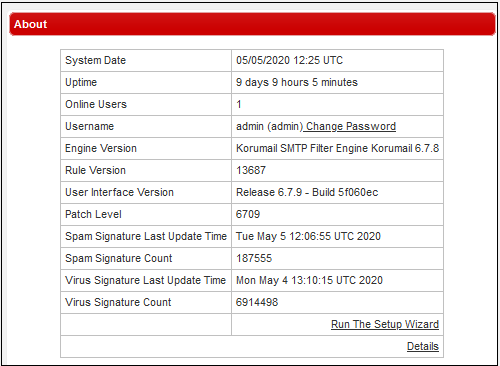
- Click 'Change Password' in the 'Username' row to update the password
- Click the 'Details' link at the bottom-right to open the advanced 'About' screen
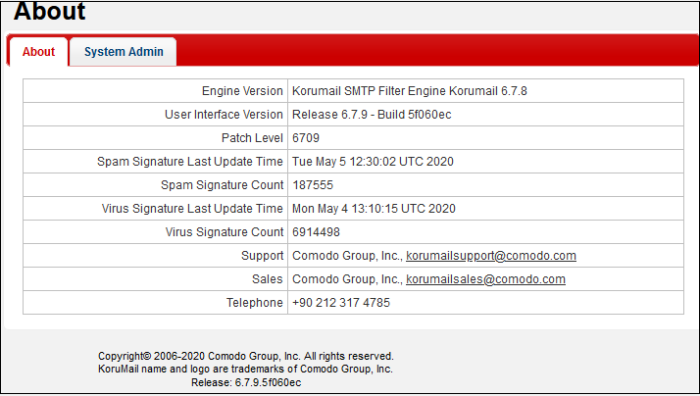
- Click the 'System Admin' tab to view or update administrator details:
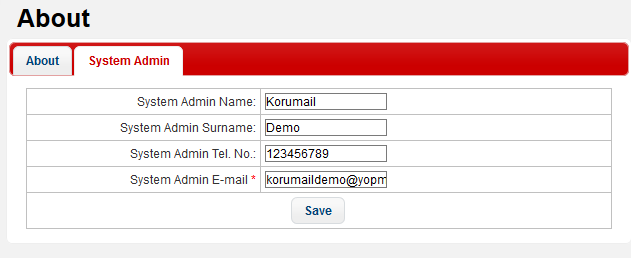
- Click 'Save' to apply your changes
Note. When
the SMTP IPS module blocks IP addresses, the details of the blocked
IPs are sent to the e-mail address shown in this interface.
If 'System Admin E-mail' is left blank then an error message is shown in 'System Messages' in the 'Dashboard'.
Run a Setup Wizard
Allows you to quickly configure protection on a mail server.
- Click the 'Run the setup wizard' link at bottom-right of the 'About' screen
- Admins can configure 'Certificate Entrance', 'System Admin' details, 'Network Settings', 'Timezone', 'LDAP' profiles, 'Managed Domains', 'Routes' and 'Relay' details.
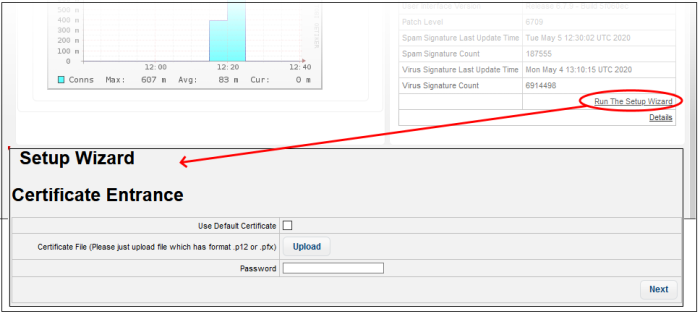
An SSL certificate is required to provide secure, HTTPS access to your Korumail admin console. The 'Certificate Entrance' screen lets you choose which type of SSL certificate you wish to use. You have two options:
- Upload a certificate you have on file. Ideally, this will be a certificate which you have obtained from a trusted certificate authority. Using such a certificate means you will not see browser error messages when you access the admin console.
- Use the default, self-signed certificate. Korumail will automatically install a self-signed certificate on your console. Your connection to the console will be just as secure as above, but your browser will show error messages as the certificate is not signed by a trusted certificate authority. You can bypass these errors and create an exception in your browser to avoid these messages in future.
See 'System General Settings' for more details on user preferences.
- Click 'Next' to complete 'System Admin Name', 'System Admin Surname', 'System Admin Tel. No' and 'System Admin E-mail'.
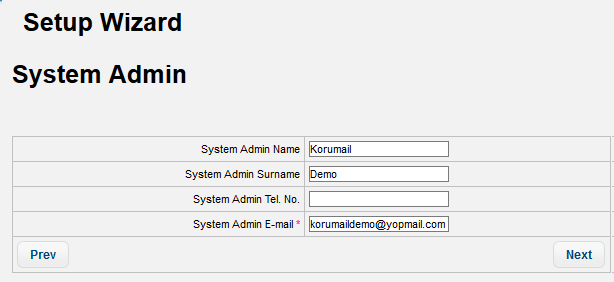
- Click 'Next', to enter network details.
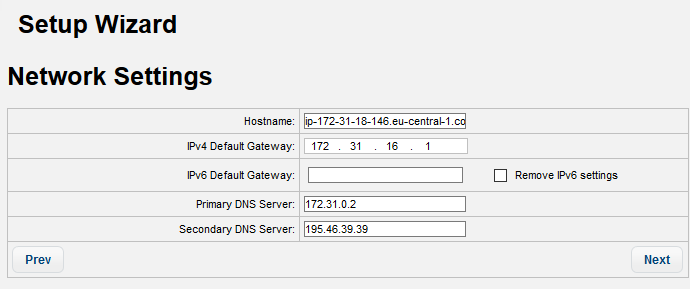
See 'Network Settings' for more details on this section.
- Click 'Next', to enter details of 'Timezone'.
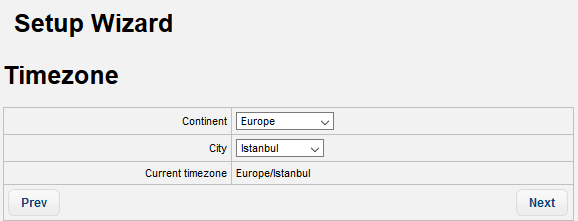
See 'Timezone' section for more details.
- Click 'Next', to enter 'LDAP' information:
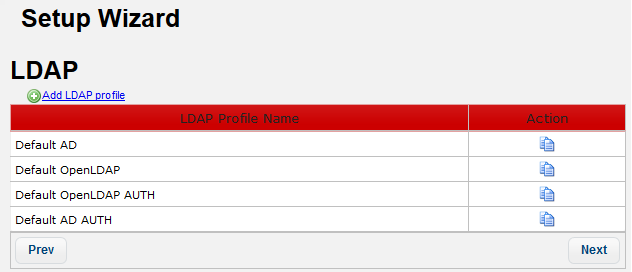
See 'LDAP' section for more details.
- Click 'Next', to enter details of 'Managed Domains'.
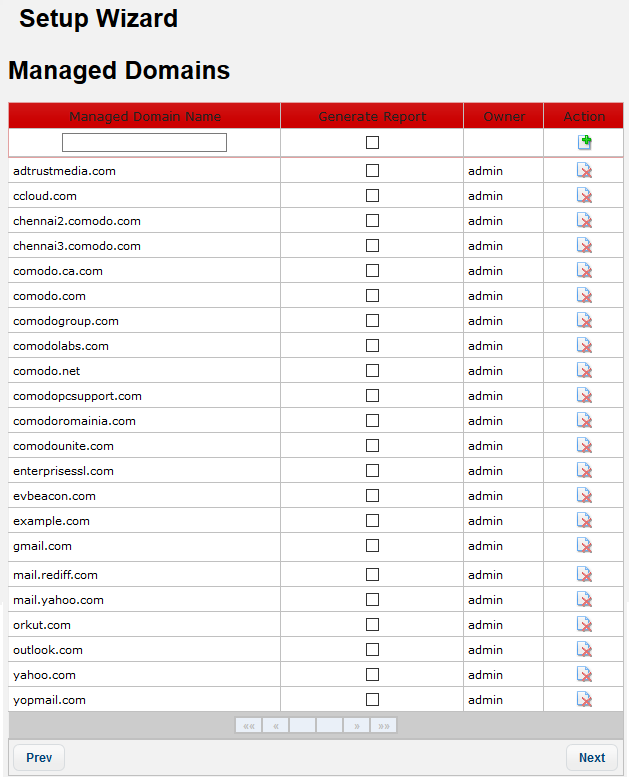
See 'Managed Domains' section for more details.
- Click 'Next', to enter details of 'Routes'.
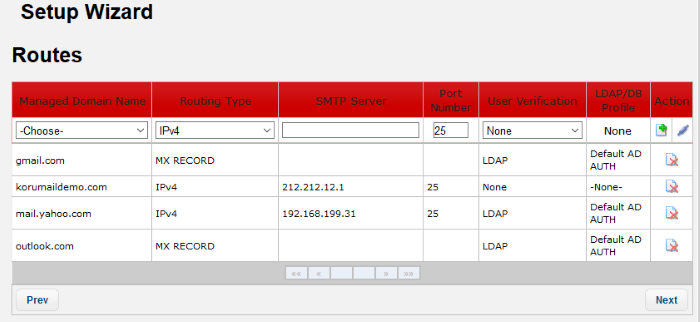
See 'Routes' section for more details.
- Click 'Next', to enter details of 'Relay'.
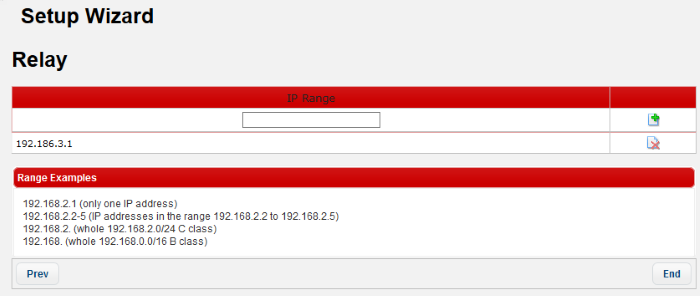
See 'Relay' section for more details.


