Manage Admins
To open this area:
- Click 'User Management' > 'Users' on the left-menu
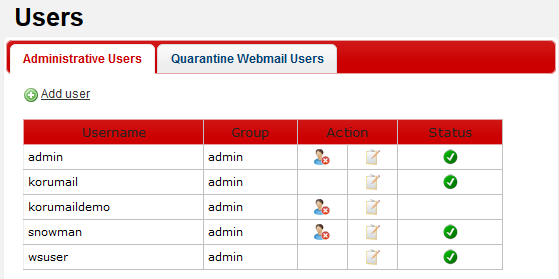
- Click the 'Administrative Users' tab:
|
Administrative Users – Table of Column Descriptions |
||
|---|---|---|
|
Column Header |
Description |
|
|
Username |
The admin name. |
|
|
Group |
The name of the group to which the administrator belongs. See 'Manage Groups' for more details. |
|
|
Action |
|
Delete the admin. Administrators with appropriate privileges can delete other admins by clicking this icon. Please note, admins that are currently logged in cannot delete themselves. |
|
|
Administrators with appropriate privileges can edit other admins' details. See 'Edit an Administrator' for more details. |
|
|
Status |
Indicates whether the admin is in enabled or disabled status. Disabled admins cannot log into the web console. See 'Enabling/Disabling Administrators' for more details. |
|
From the this interface an
appropriately privileged administrator can:
- Click the 'Add User' link
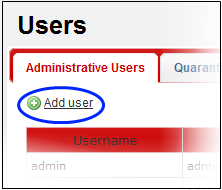
The 'Add New User' screen will be
displayed.
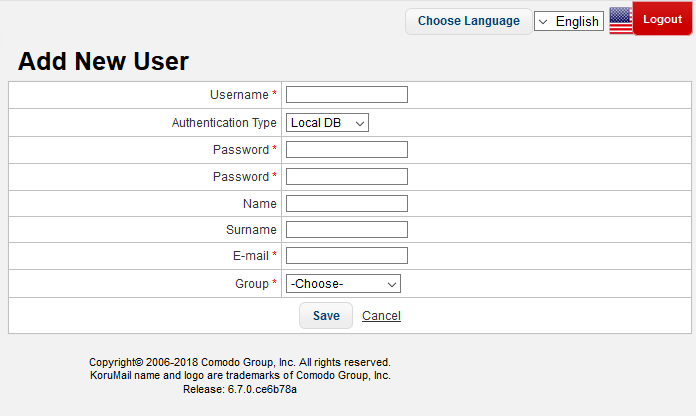
- Username: Enter the username to access the console
- Authentication Type: Two options are available – Local DB and LDAP AD
- Local DB: Authentication of the user will be done using the local database
- LDAP AD: Authentication of the user will be done using LDAP
- Password: Enter the password to access the console and confirm it in the next field.
- Name: The first name of the administrative user
- Surname: The surname of the user
- E-mail: Enter the email address of the administrative user
- Group: Select the group to which the admin user should be added. See 'Manage Groups' for more details.
- Click the 'Save' button to add the new admin user.
To delete an administrative user
- Click the
 icon beside the user that you want to delete
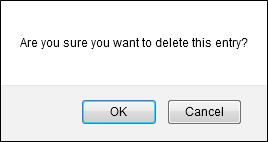
- Click 'OK' to confirm the deletion.
To edit an administrative user
-
Click the
 icon beside the user that you want to edit
The 'Edit User' screen will be displayed:
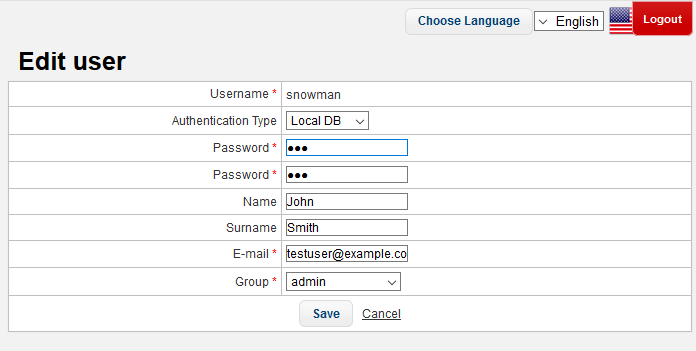
- Edit the details as required. The screen is similar to the 'Add New User' section. See 'Add an administrative user' for more details.
- Click the 'Save' button.
The changes will be saved and a confirmation note will be displayed.
To enable/disable an administrative user
The icon under the 'Status' column
indicates whether the 'Administrator User' is enabled or disabled.
|
|
Indicates the user is disabled and cannot login to the web console. |
|
|
Indicates the user is enabled and can access
the web console. |
- Click the icon to toggle between enabled and disabled statuses.
- Click 'OK' in the confirmation dialog.


