Manage Block Pages
- Click 'Configure' > 'Policy Settings' > 'Block Pages'
Block pages are shown to end-users when they attempt to visit a site that is banned by one of your policies. This includes users of endpoints in your protected networks, and all roaming endpoints.
- You can create any number of block pages and apply them to different policies.
- You can customize the content and behavior of block pages. The available options are:
- Show the same block page for all types of of rule violation
- Show different block pages for category, security and blacklist rule violations
- Display custom block message(s) with your custom banners
- Redirect users to a specific webpage
- You need to install the Secure Internet Gateway SSL certificate on all protected endpoints. This so the block page displays correctly over HTTPS connections.
_1.png)
|
Block Pages - Table of Column Descriptions |
|
|---|---|
|
Column Header |
Description |
|
Name |
Label of the block page. |
|
Remark |
Comments provided for the page. The name and remark should identify the purpose of the page. |
|
Actions |
Controls to edit / delete the block page. |
The following sections explain how to:
- Click 'Configure' > 'Policy Settings' >
'Block Pages'
- Click 'Add a New Block Page' at the top-right
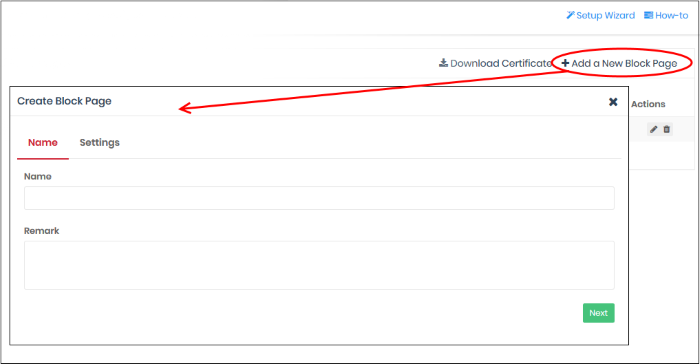
- Enter a descriptive name for the block page in the 'Name' field.
- Name - Enter a descriptive label for the block page.
- Remark - Type internal notes/comments about the page if required. Text you enter here will not be shown in the block page itself.
_1.png)
You now need to create your block page content and upload your logo:
Step 1 - Configure Block Page Content
First, choose whether to show a single block page or different block pages:
- Show a single page for all blocked domains - A same block page is shown regardless of the type of rule is violated.
- Show different pages for blocked domains - Show specific block pages when a certain type of rule is violated. You can show different pages for category rule breaches, security rule breaches and blacklist rule breaches:
.png)
- You can type a custom message for each page if required.
- Alternatively, you can use the default message of 'Please contact your system administrator for your access policy'
- You also have the option to redirect to a different URL instead. Please specify the full URL if you use this option. For example, https://www.example.com/security-redirect-page.php
Step
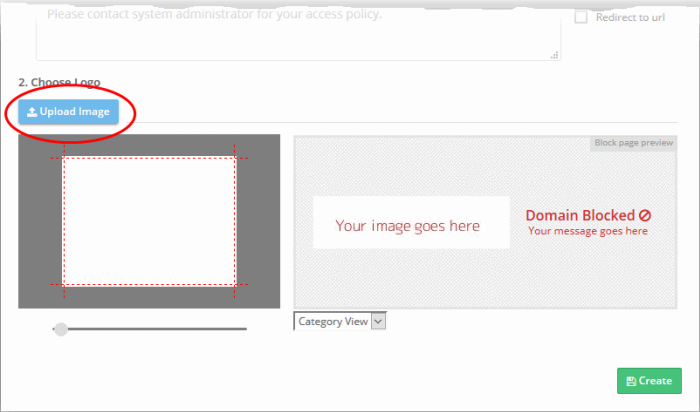
2 - Upload Your Logo
- The interface shows the Secure Internet Gateway logo on the block page by default.
- You can change this to your own company logo by uploading a suitable .png or .svg file
- Click 'Upload Image' under 'Choose Logo'. Browse to the location of your image and click 'Open'
|
Note: Max. file size = 50 kb. Images must be in.png or .svg format |
The image appears on the left:
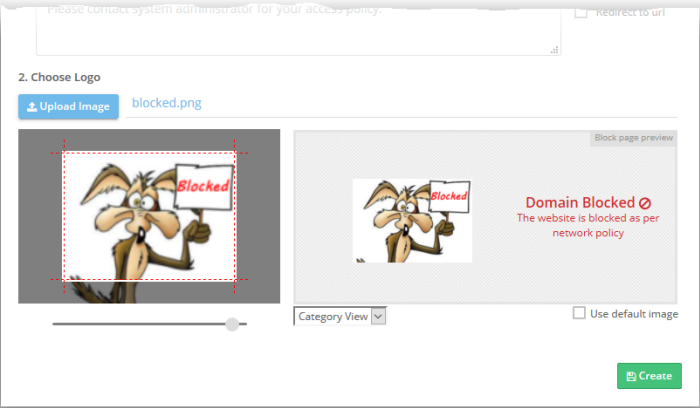
- Use the slider below the image to enlarge or reduce the image. Position the image within the red border as desired.
A preview of your block page appears on the right.
- Use the drop-down below the preview to view your block pages for security, category and blacklist rules.
- 'Use default image' – The Secure Internet Gateway logo is shown as the block page.
- Click 'Create'.
Install SSL certificate for
block pages
- Endpoint browsers may show an error message when some HTTPS pages are blocked by Secure Internet Gateway.
- You can avoid these errors by installing the XSIG SSL certificate on all protected endpoints.
Download and install the certificate
- Click 'Configure' > 'Policy Settings' > 'Block Pages'
- Click 'Download Certificate' at top-right
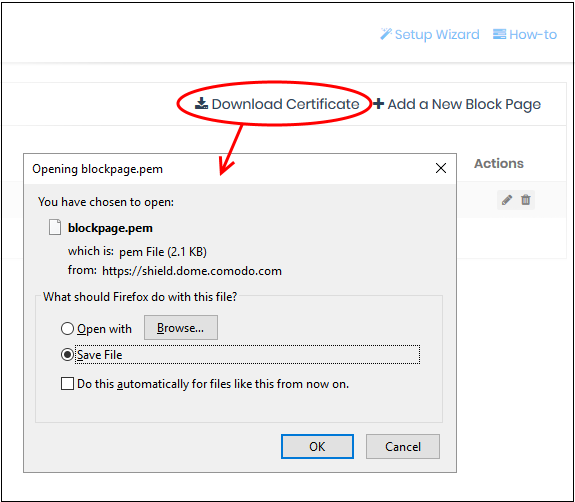
The certificate is downloaded in .pem format.
There are two steps to install the certificate on endpoints:
- Step 1 - Add 'Certificates' snap-in to Microsoft Management Console (MMC) (If not already done)
Step 1 - Add 'Certificates' snap-in to Microsoft Management Console (MMC)
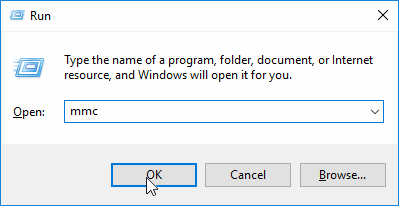
- Open the 'Run' dialog (Win' key + 'R')
- Type 'mmc' in the 'Run' dialog:
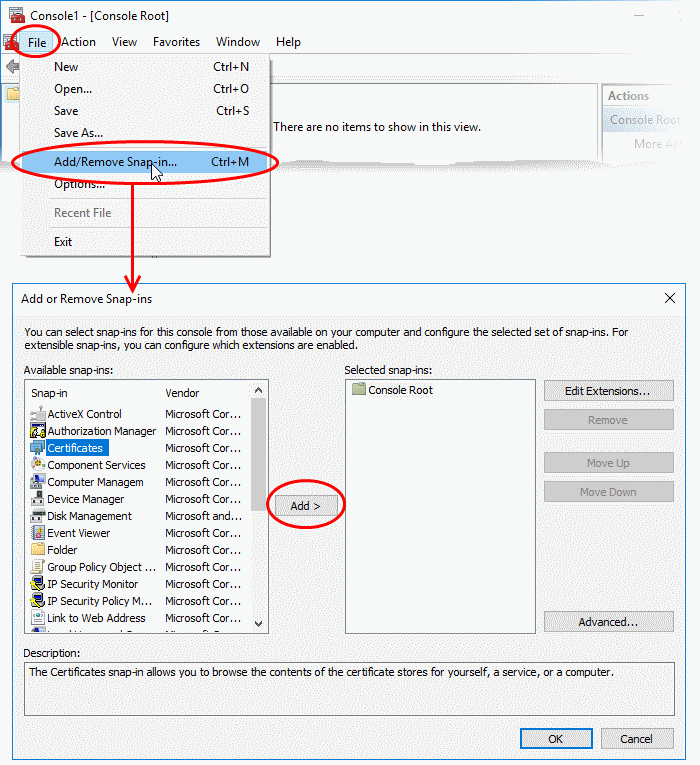
- Click 'File' > 'Add/Remove snap-in' in the console interface
- Select 'Certificates' in the list on the left. Click 'Add' to move it to the list of selected snap-ins.
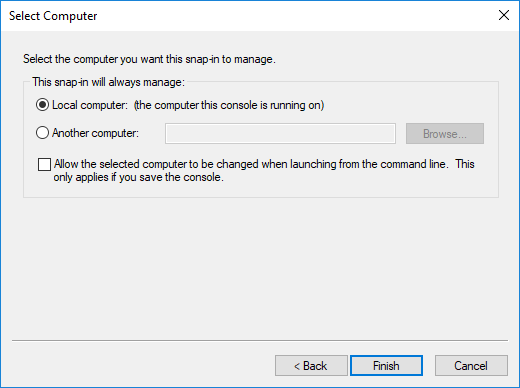
- You will be asked to select the computer and account to which the snap-in should be added:

- Select 'Computer account' and click 'Next'
- Select 'Local computer' and click 'Finish':
- The snap-in will be added to the list on the right
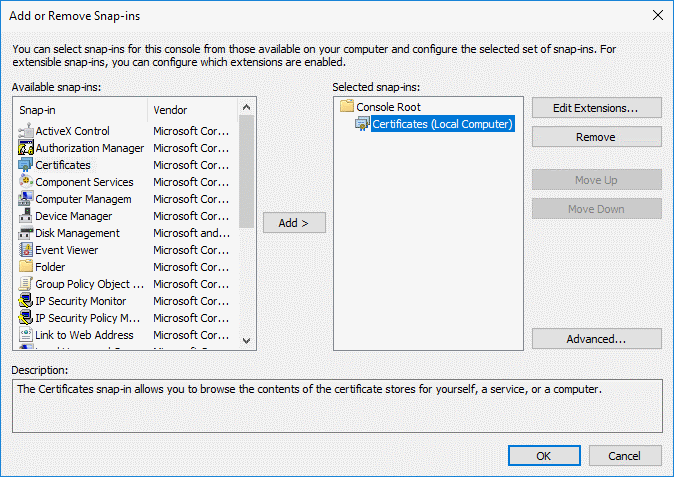
- Click 'OK' to add the snap-in to the console.
- Leave the console open. You will need it for step 2.
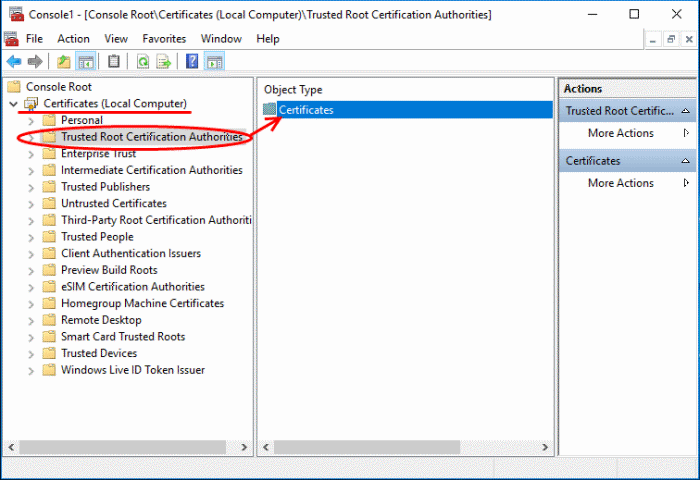
Step 2 - Import the certificate to the trust certification store
- Expand the 'Certificates (Local Computer)' tree on the left of the MMC console
- Select 'Trusted Root Certification Authorities':
- Click 'More Actions' > 'All
Tasks', on the right
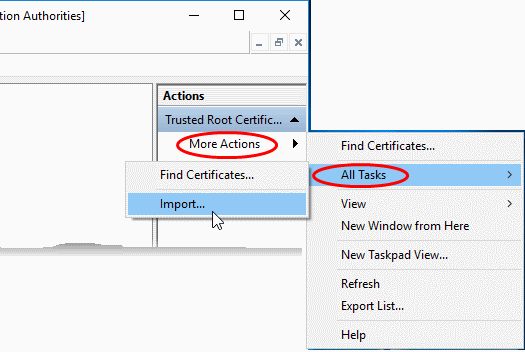
The certificate import wizard will start:
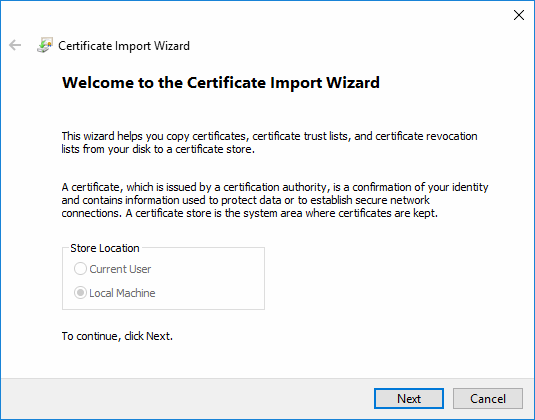
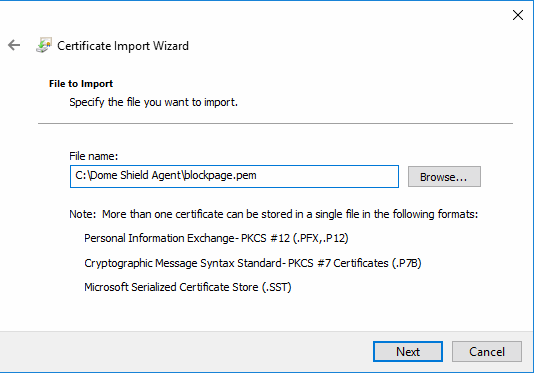
- Click 'Next' to open the certificate selection screen
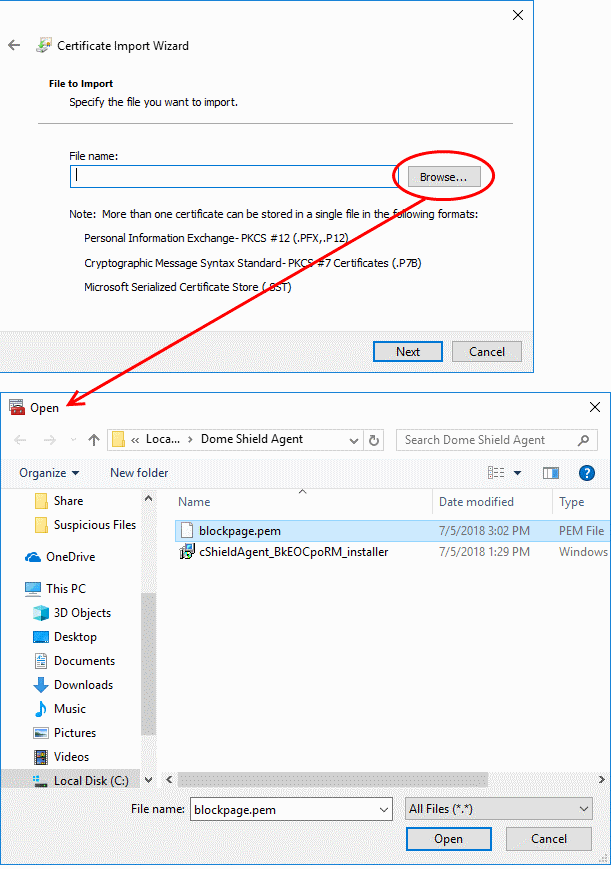
- Click 'Browse', navigate to the location of the certificate and select 'blockpage.pem':
|
Tip:
If the '.pem' file is not showing, select 'All Files' as the
file type. |
- Click 'Open'.
- Click 'Next'
- The next step is to choose the certificate store.
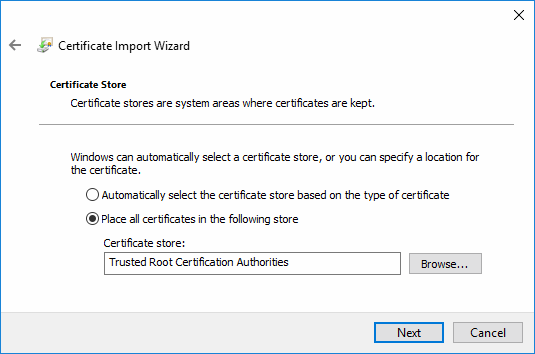
- Confirm that the 'Trusted Root Certification Authorities' store is pre-selected and click 'Next'
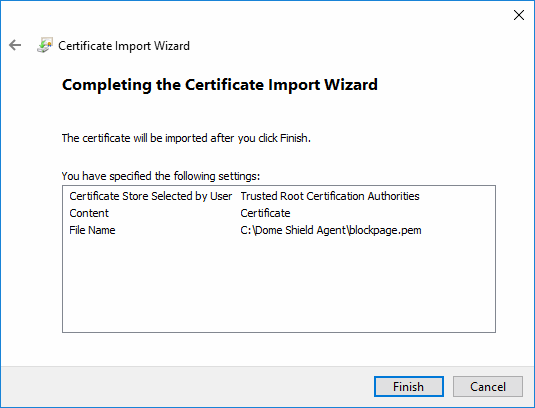
- Click 'Finish' to import the certificate.
- Click 'OK' to exit the wizard.
- Click 'Yes' in the console close dialog to save your changes.
Install SSL certificate in macOS
- Click 'Configure' > 'Policy Settings' >
'Block Pages'
- Click 'Download Certificate' at top-right
The certificate is downloaded in .pem format.
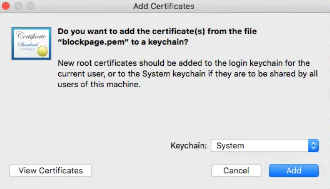
- Click the downloaded file a popup will appear. Click ‘Add’ the downloaded .pem file it will be added to the system keychain.
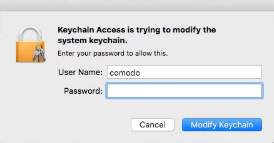
- Enter the administrator password and click ‘Modify Keychain’ to update the changes.
To Open Keychain Access.
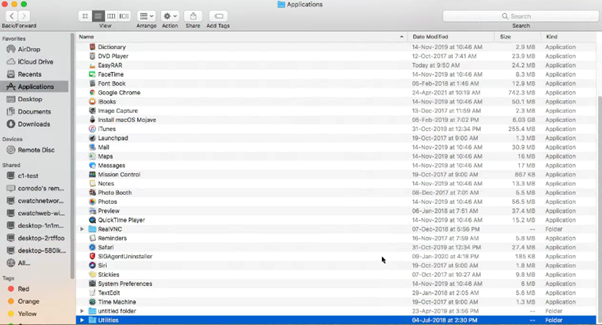
- In the Finder window, under Favourites > click ‘Applications’ > Select ‘Utilities’
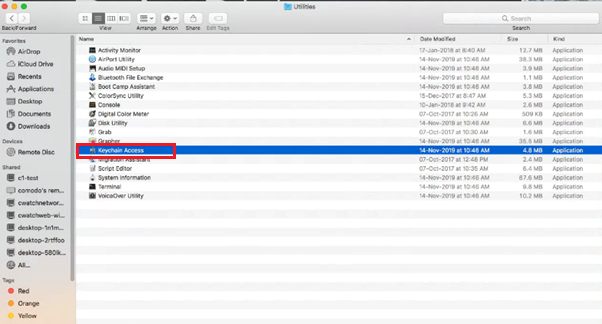
- Expand Utilities, and then double-click Keychain Access.
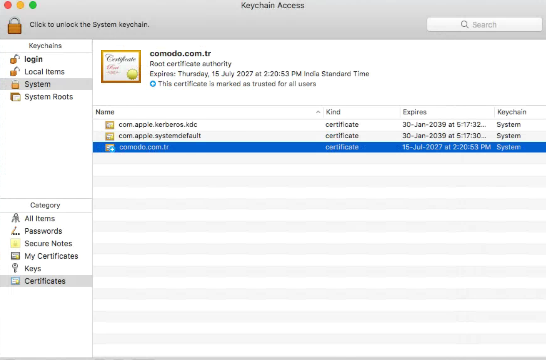
- In the Keychain Access window,
under Keychains > click ‘System’ > Click ‘Certificates’
- You can view the added certificate in this section.
If it is not added click ‘All certificates’
or drag and drop the file into the system folder where the file located.
- Enter the administrator's password and
click 'Modify Keychain' to authorize the change.
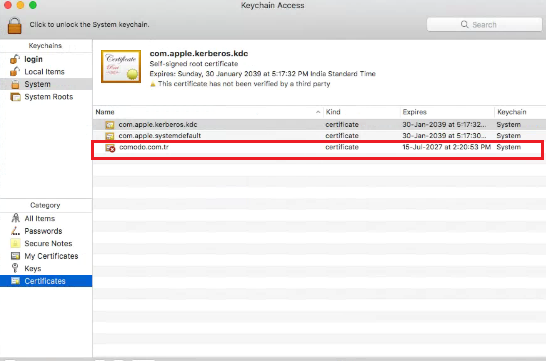
- The certificate should now show with a red X.
That means it is entrusted. To provide trust, double-click the ‘Xcitium.com.tr’ certificate.
- Click ‘Trust', change the setting at the top ‘When
using this certificate to "Always Trust".
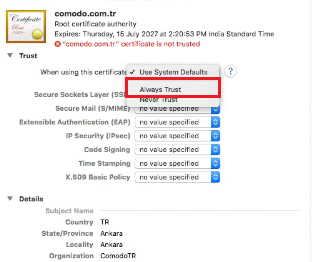
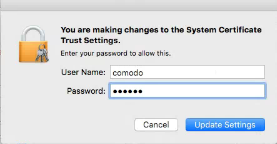
- Enter the administrator's password and click ‘Update Settings’ to authorize the changes in System Certificate Trust Settings.
- The certificate is now marked as trusted. The
certificate will be installed and can be viewed by Certificates in the
Keychain Access utility.
Mozilla Firefox browser users
- Firefox uses its own certificate store, instead of the Windows store used by Internet Explorer, Edge and Chrome.
- You need to import the certificate to the Firefox store if you want your block page shown in Firefox.
Import the certificate to Firefox certificate store
- Open Firefox
- Click the hamburger icon at top-right and choose 'Options'
- Click 'Privacy & Security' on the left then scroll down to the 'Certificates' area
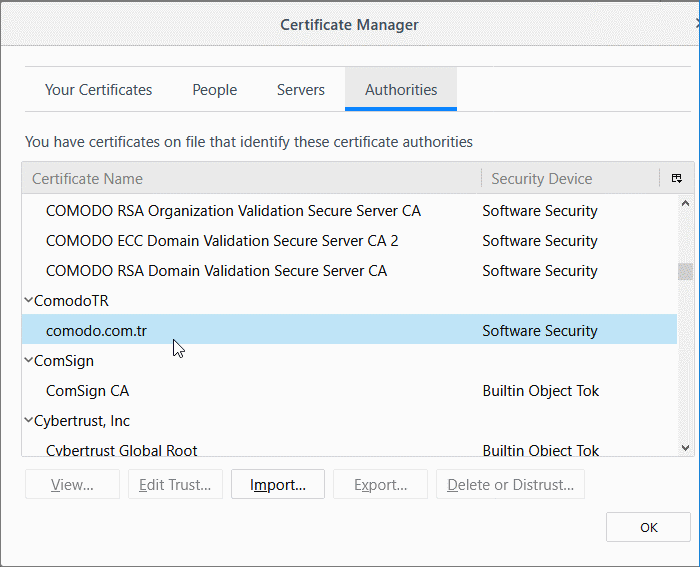
- Click 'View Certificates' to open the certificate store:
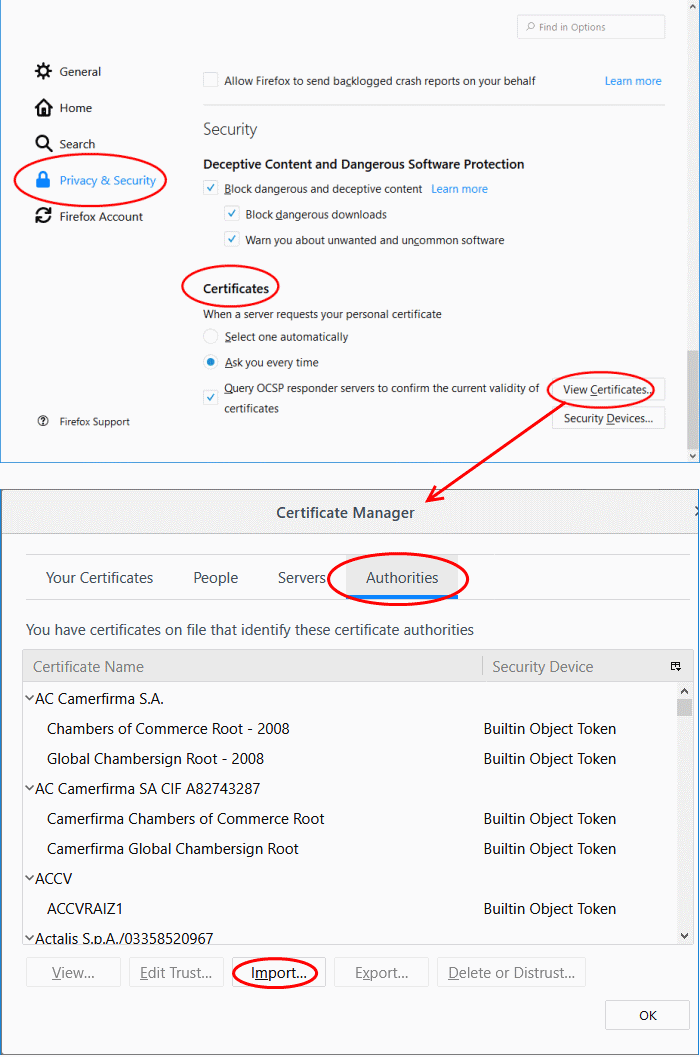
- Select the 'Authorities' tab
- Click 'Import'
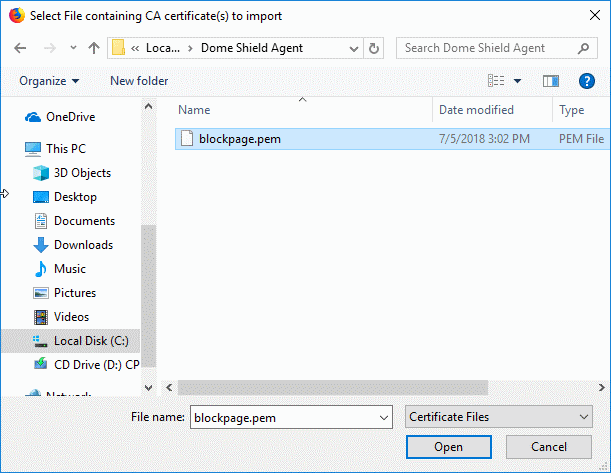
- Browse to and select 'blockpage.pem' then click 'Open'.
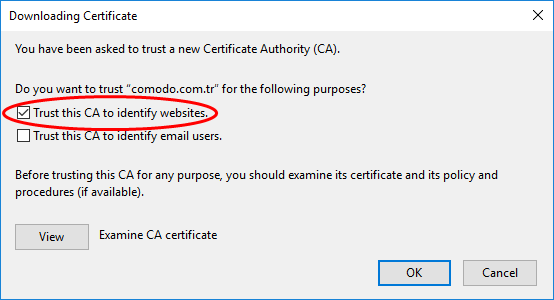
- Select 'Trust this CA to identify websites' and click 'OK'
The certificate will be imported.
- Click 'OK' to save your changes.
- To update a block page, click the edit
 button
beside the page in the list
button
beside the page in the list
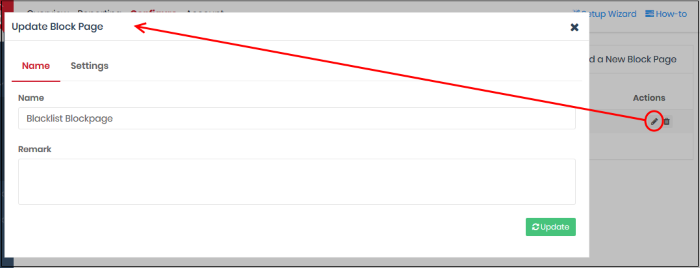
The 'Update Block Page' dialog will appear. The dialog is similar to 'Create Block Page' dialog explained above.
- Modify the name, description and/or block page settings, messages as per your requirements.
- Click the 'Update' button
Please note that the
policy/policies containing the block page will also be updated
according to the new settings and name.
You cannot delete a block page that is currently active in a policy. You have to remove the block page from all policies before deleting it from the list.
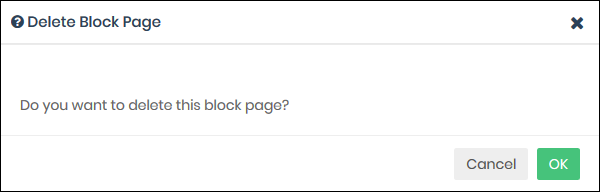
- Click the trash can icon
 beside a rule to
delete it.
beside a rule to
delete it.
- Click 'OK' to confirm the removal: