


Enroll Mobile Devices
There are two ways to enroll Android and iOS mobile devices:
- Secure Internet Gateway App - Includes a VPN client and a VPN profile.
- VPN Profile - Contains only the profile. Android users need to install the Strong Swan VPN client.
Enroll mobile devices
- Click 'Configure' > 'Objects' > 'Mobile Devices'
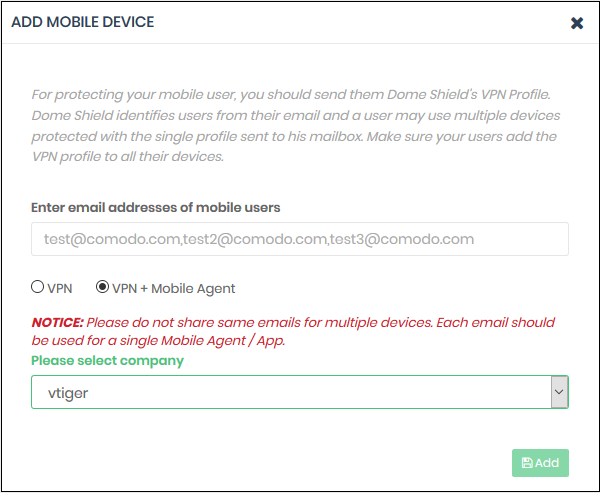
- Click 'Add New Mobile Device':
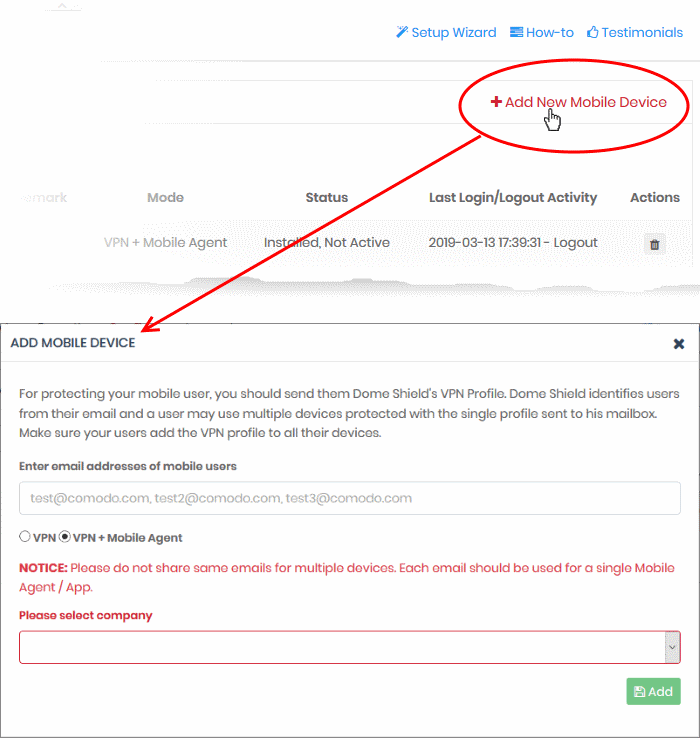
- Enter the email addresses of mobile users –The contact addresses of the users whose devices you want to add. You can enter multiple email addresses. Please note - each device requires a unique email address. You cannot use the same email address on different devices.
- Select the type of installation you want:
- VPN + Mobile Agent – This is the XSIG mobile app. If you select this, the user need not install any third party VPN client.
- Click here to see instructions for this option.
OR
- VPN - This is the profile only. If you select this, Android users must also install the StrongSwan VPN app. StrongSwan is not required for iOS devices.
- Click here to see instructions for this option.
- Please select company - MSPs only. Choose the customer organization for which you want to enroll mobile devices
- Click 'Add'
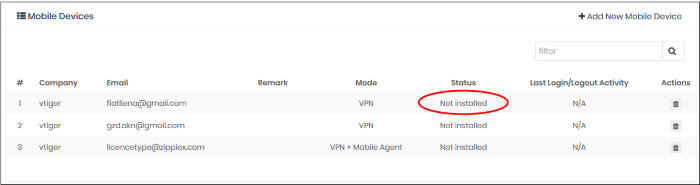
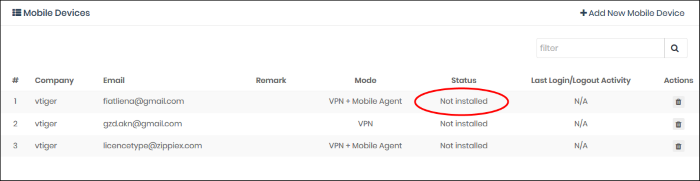
XSIG will send device enrollment emails to all users that you added.
The user is initially added to the list with a device status of 'Not installed':
- Users should open the email on their device.
- The email contains instructions to enroll their device and three attachments:
- iOS_VPN_Profile.mobileconfig - iOS device users should select this.
- Android_VPN_Profile.sswan - Strongswan VPN profile for Android users
- Android SSLCert.pem – This SSL certificate needs to be imported to Android devices to secure the VPN connection.
iOS instructions
Android instructions
- Tap ‘Activate iOS App’ in the mail
- Hit ‘Allow’ to complete the activation:

The VPN profile is now installed on the device.
- You also need to trust the SSL certificates in iOS in order to view HTTPS pages over the VPN.
- Go to 'Settings' > 'General' > 'About' > 'Certificate Trust Settings' and enable full trust for root certificates.
Once
connected, the VPN icon will appear on the navigation bar:

Instructions for Android
- Open the enrollment mail and select 'Android_VPN_Profile'
- Open the StrongSwan VPN app:
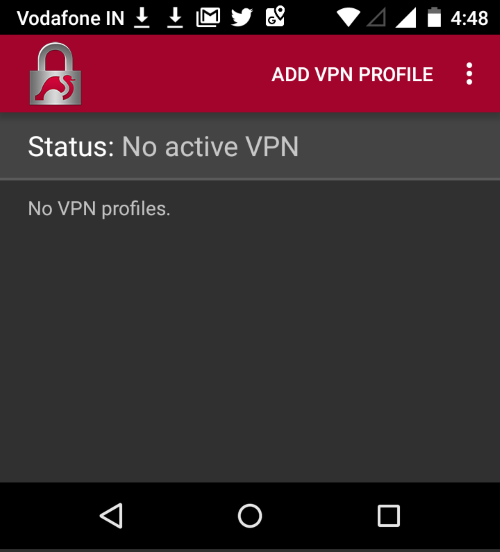
- Select 'Add VPN Profile' > 'Import VPN profile':
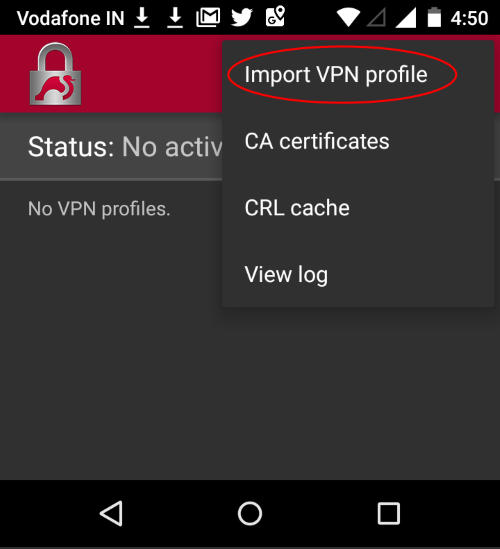
- Open the 'Android_VPN_Profile' that you saved earlier
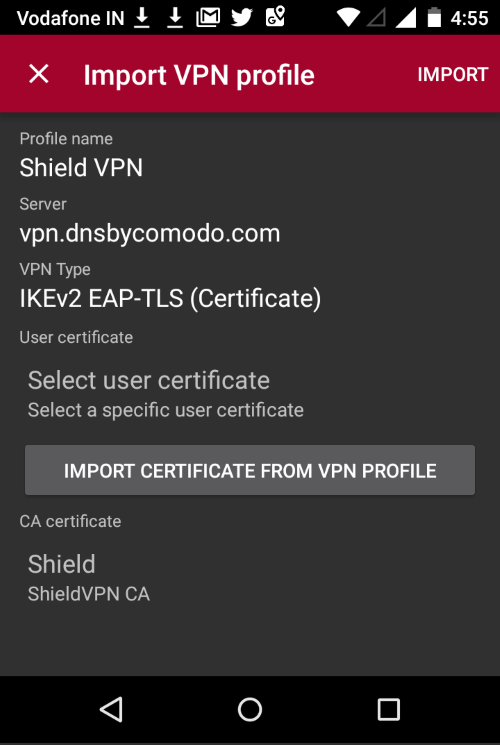
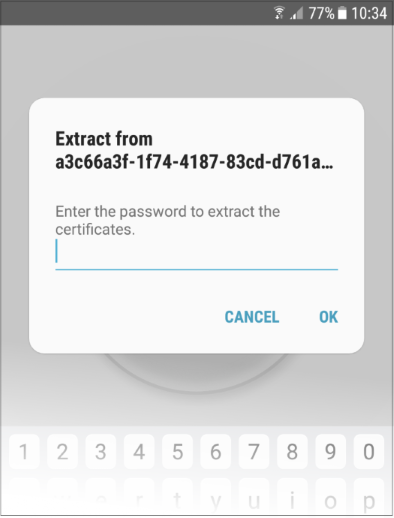
- Select 'Import Certificate from VPN Profile'
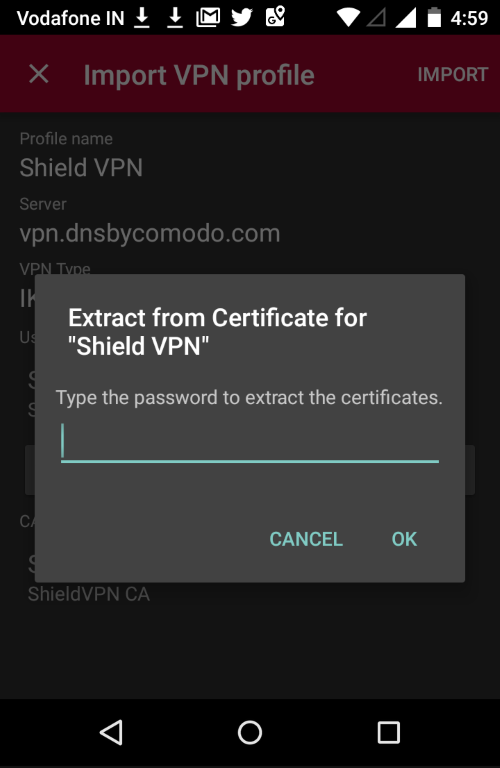
- Enter the password in the email and select 'OK'
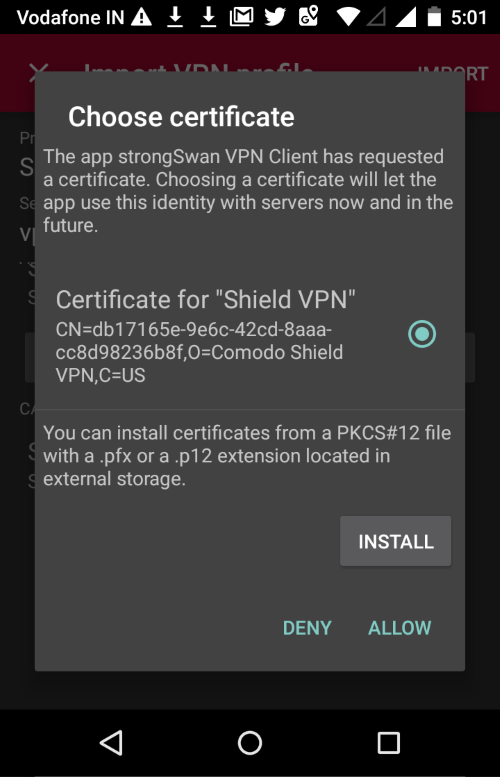
- Tap 'Allow' instead of 'Install'
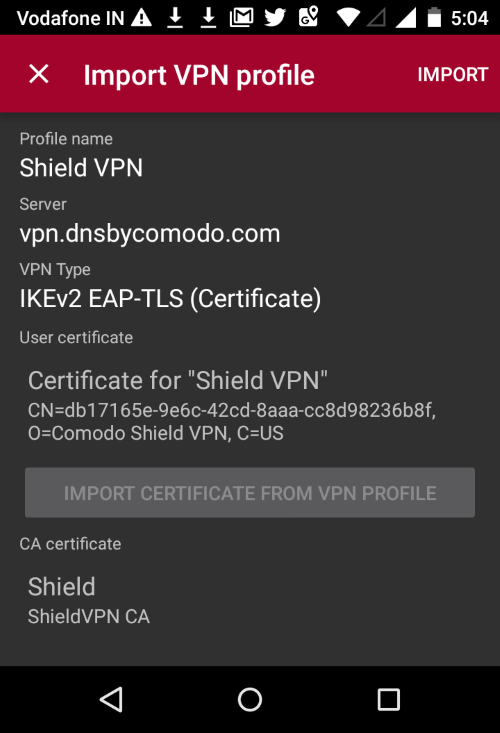
- Select 'Import' at the top-right
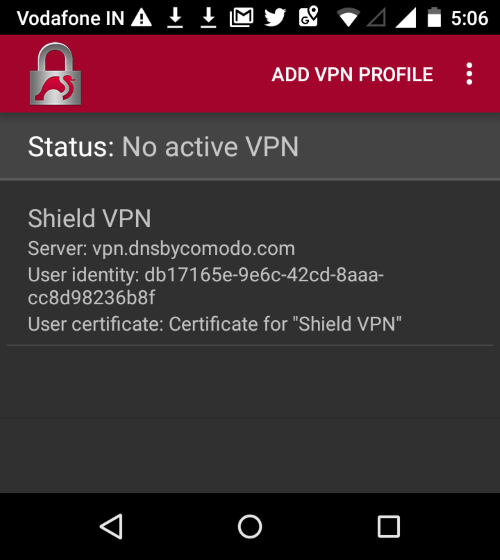
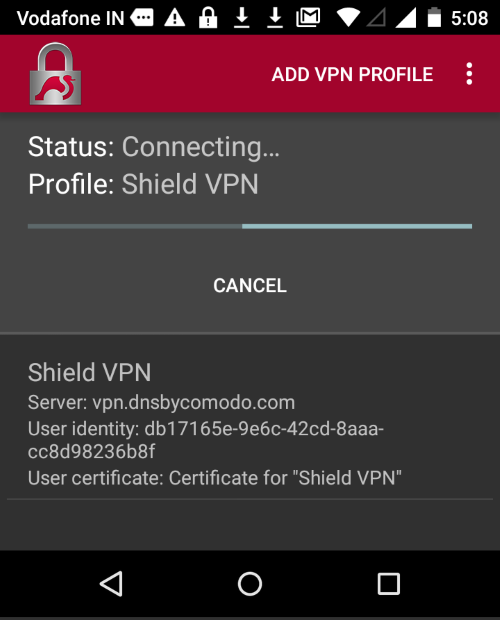
- Open the profile you just imported to start the connection to Secure Internet Gateway:
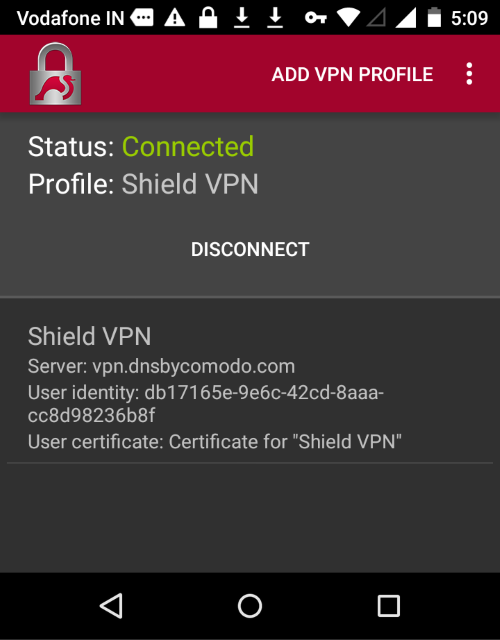
You will see the following screen when connected:
Note: You also need to trust the SSL certificates in order to view HTTPS pages over the VPN.
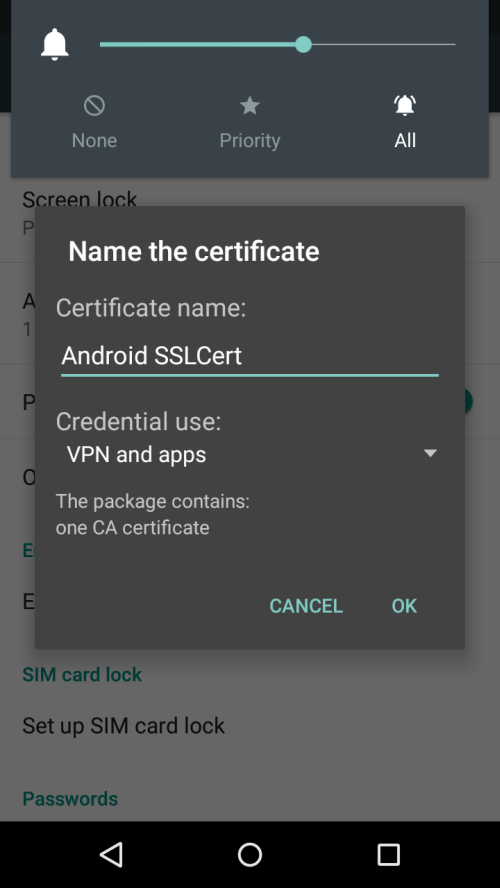
- Go to 'Settings' > 'Security' > 'Credential Storage' > 'Install from SD card'. Please note this may vary depending on the Android version.
- Select the 'AndroidSSLCert.pem' certificate from the download location, enter the name and tap 'OK'
You can view the certificate in 'Settings' > 'Security' > 'Trusted Credential' > 'User'. Note – The storage path may vary depending on the device and Android version.
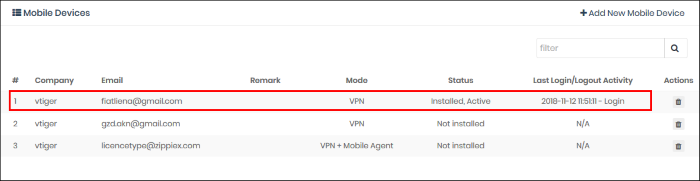
The mobile device will be enrolled and shown as follows:
- No rules are applied to mobile devices by default.
- You can apply device specific policy according to your requirements.
- See 'Step 5 - Create and Apply Security Policies' for advice on how to configure and deploy security policies to mobile devices.
XSIG Mobile App
- Enter device owner email addresses in the 'Add Mobile Device' as before
- Select 'VPN + Mobile Agent'
- Select Company - Applies to MSPs only. Select the company to whom the devices belong
- Click 'Add'
- XSIG will send device enrollment emails to all users that you add
- Users are initially added to the list with a device status of 'Not installed':
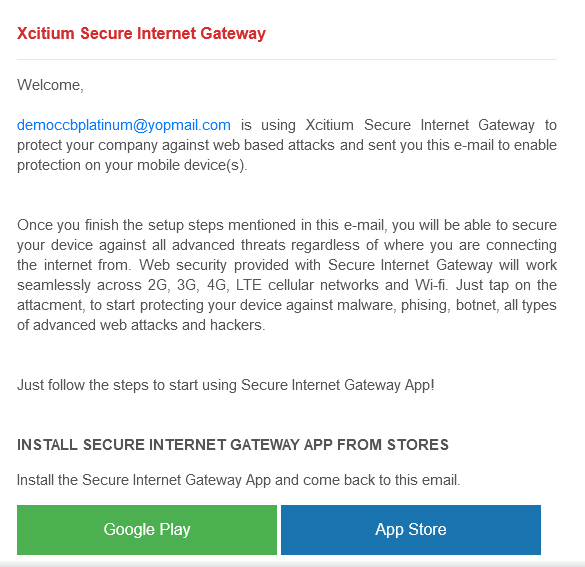
- Users should open the email on their device. The email contains clear instructions how to install the XSIG app on Android and iOS devices:
Instructions for iOS
- Open the enrollment mail on the iOS device
- Select 'App Store' and download the app from the Apple store.
- After installation, select 'Activate iOS App' in the mail.
- Next, open the app, tap the 'XSIG' button and hit 'Allow'
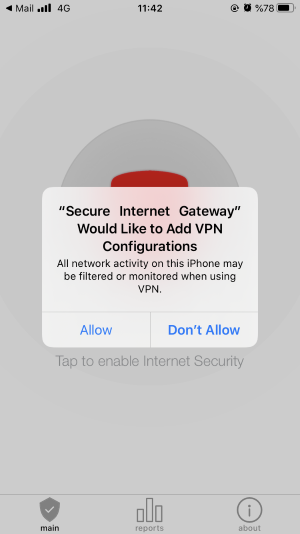
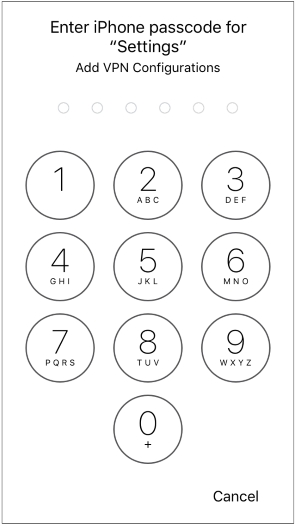
- Provide the device password if requested:
That's it. The iOS device is successfully enrolled to Secure Internet Gateway.
|
- Tap the XSIG shield icon to enable internet security
Instructions for Android
- Open the enrollment mail.
- Select 'Google Play' and install the app from the Play Store.
- Please note, the screens may vary depending on the Android version.
- After installation, select 'Activate Android App' in the mail.
- The activation password is copied to the clipboard after selecting 'Activate Android App'.
- Next, tap the 'XSIG' icon:
- Long press in the password field and select 'Paste'
- Select 'OK'.
The certificate name field is auto-filled with the certificate's unique identifier:
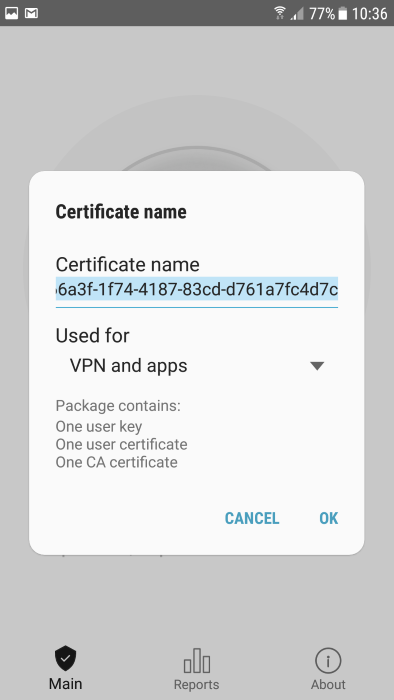
- Touch 'OK'
The VPN certificate is pre-selected in the 'Select certificate' screen:
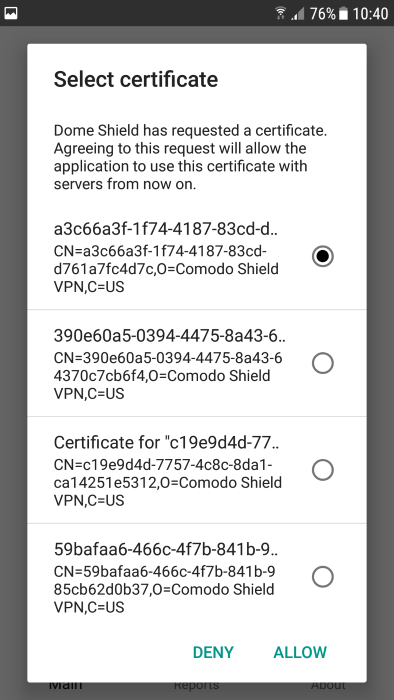
- Select 'Allow'
That's it. The app is activated and the device enrolled. Device details are shown in the 'Mobile Devices' screen in Secure Internet Gateway.