Add Networks and Devices
- The device enrollment wizard lets you add devices and networks you want to protect with cWatch Office.
- The number of devices/networks that can be added to your account depends on your license.
- Default protection settings will be applied immediately after device enrollment.
- You can customize protection settings for each device or network. Guidance on customizing protection settings is available in the section Configure Protection Settings for Devices and Networks.
To add a new device or network
- Login to cWatch Office with your Comodo account credentials.
The dashboard will appear by default.
- Click 'Protect New Device' from the status tile
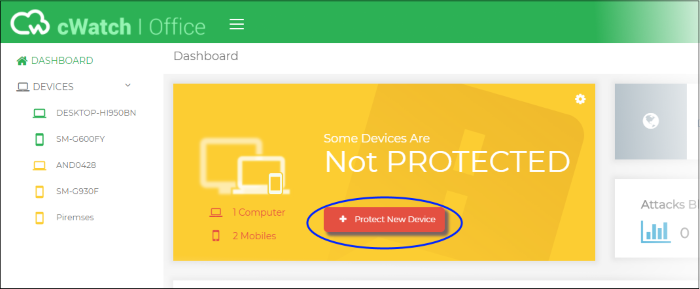
|
Note: If you are logging-in to cWatch Office for the first time, click 'Start' on the 'Welcome' page to begin the device enrollment wizard |
The wizard will start:

The wizard contains three steps:
Step 1 - Select the device type
- Choose the type of device to be enrolled. The available options are:
- Laptop, Computer or Workstation - Lets you to add Windows based devices like desktops, laptops, work stations and more
- Smart Devices - Lets you to add Android and iOS devices used by your employees
- Router – Lets you add your network
See the following sections for help with device type chosen in step 1:
- Click 'Protect New Device' in the dashboard to start the device enrollment wizard.
- Select Laptop, Computer or Workstation
The instructions for enrolling a Windows device will appear:
- Manual install
- Click 'Download' to save the agent setup file. Install the file on the target device(s).
- Alternatively, pass the file to the end-user to install by themselves.
- You can use the same agent for all devices in this account, but you cannot use the same agent on devices in different accounts.
- Enrollment email - Click 'Send as email' to send a mail to the device owner. The mail contains a link to download and install the agent.
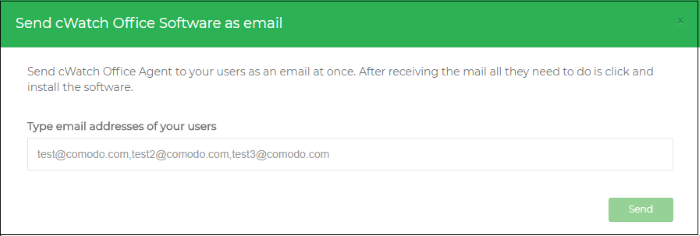
- Enter the email addresses of your end-users in the text box. You can add multiple addresses separated by a comma.
- Click 'Send'.
An email will be sent to the user(s) with instructions on how to install the agent.
- Open the email on the device you want to enroll and follow the setup instructions
- Download the setup file and double-click on it.
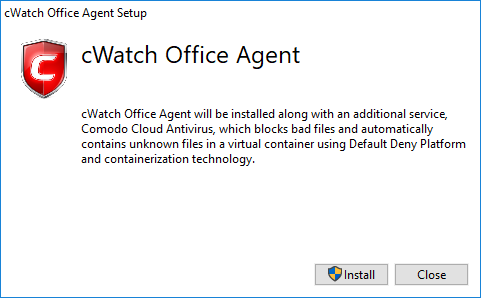
- Click 'Install'
- Along with the agent, CCAV application, which implements core antivirus and containerization service for Windows devices will also be installed.
- That's it. The application will be installed automatically.
- After
installation, the device will be automatically enrolled to cWatch
office console. The cWatch tray icon
 will appear on the endpoint
screen.
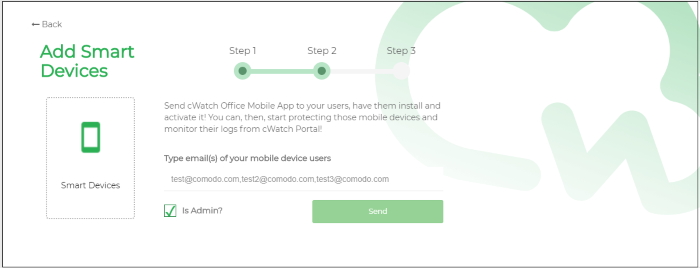
The instructions for enrolling a smart device will appear on selecting 'Smart Devices' in step 1:
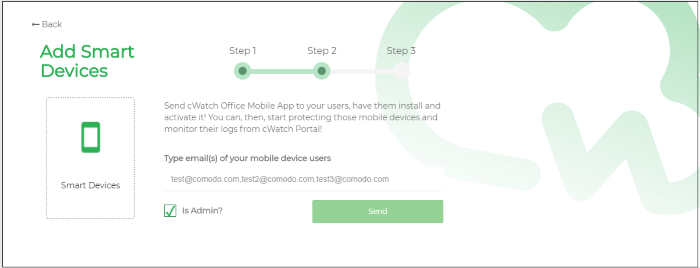
- Enter the email address(es) of the users whose devices you want to enroll. You can add multiple addresses separated by commas.
- Select the 'Is Admin?' checkbox if you want to assign an admin role to the user(s). Admins can use the cWatch app on their device to view web traffic stats for all protected devices.
- Click 'Send'.
An invitation mail will be sent to the target user(s) with instructions on how to install the app and register it with cWatch.
An example mail is shown below:
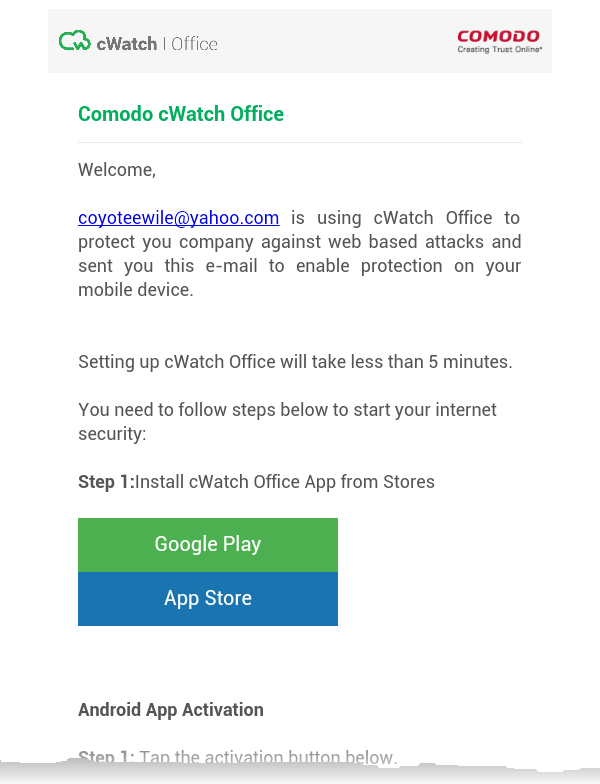
See the following sections for help on installing the app and registering it with cWatch for Android and iOS devices:
Enrollment of Android Devices involves:
Download and Install the cWatch Office app
- Tap 'Google Play' in 'Step 1' in the enrollment mail
- This will open the Google Play store at the cWatch Office app page.
- Download and install the app on the device
Activate the app and register it with cWatch Office
- Once the app is installed, go back to the email and tap 'Activate Android App' in step 1 of 'Android App Activation':
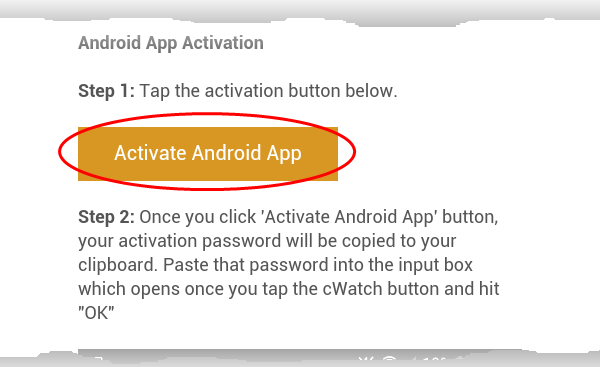
- Choose to open the link with cWatch Office:
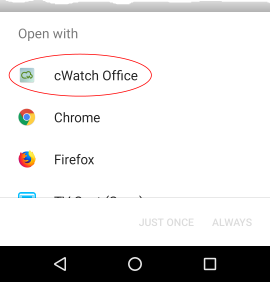
The cWatch app will open and start the registration process with the cWatch Office console.
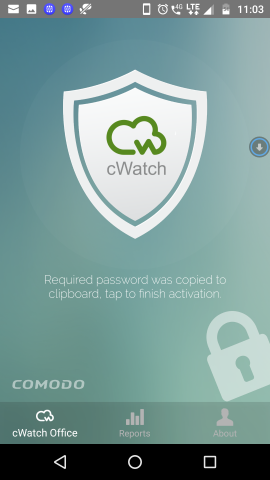
- A password will have been automatically generated and copied to the clipboard of the device. This password is required to extract a certificate and set a VPN profile so the device can connect to the cWatch console.
- The user needs to paste this password into the app.
- Tap the cWatch shield to start registration:
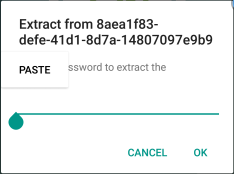
- To paste the password, just long press the text box and choose 'Paste' from the options:
The certificate will be extracted, ready for installation:
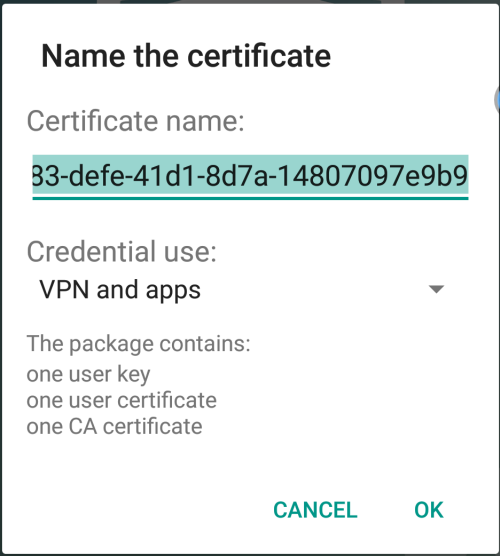
- Select 'OK'
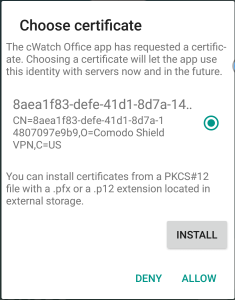
The next step is to install the certificate.
- The correct certificate will be automatically chosen.
- Tap 'Allow' to install the certificate.
The
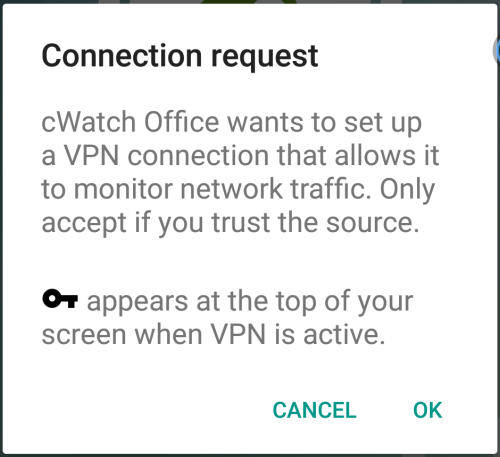
next step is to allow the VPN connection.
- Select 'OK' to allow cWatch to setup a VPN connection to monitor network traffic
Installation and activation are now complete:
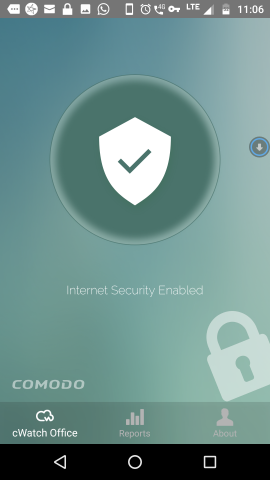
The app will connect to the cWatch Office console.
- The device will be added to cWatch Office and will be displayed under 'Devices' on the left.
- The default protection settings will be applied to the device
Install SSL certificate for displaying warning page when HTTPS websites are blocked
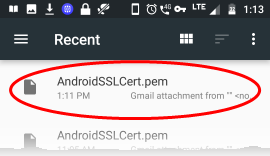
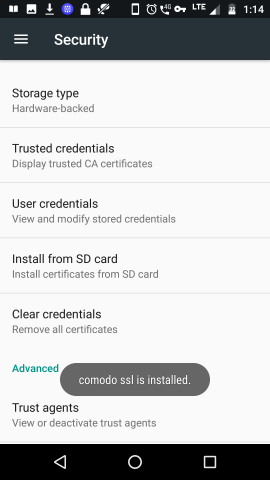
- Open the invitation email again and download the certificate file ('AndroidSSLCert.pem') attached to the mail
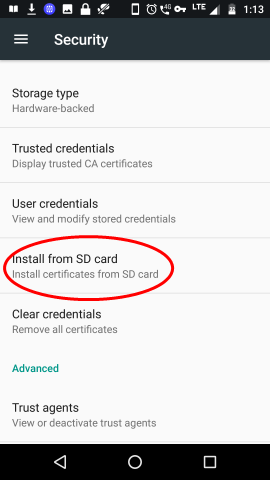
- In Android, open 'Settings' > 'Security' > 'Install from SD Card'
-
Select 'AndroidSSLCert.pem' from the list:
- Enter a friendly name for the certificate:
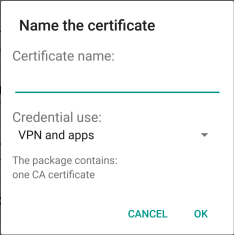
- Click 'OK' to install the certificate
Enrollment of iOS Devices involves:
Download and Install the cWatch Office app
- Tap 'App Store' in 'Step 1' in the enrollment mail
- This will open the App Store at the cWatch Office app page.
- Download and install the app on the device
- Once
the app is installed, go back to the email and tap 'Activate iOS
App' in step 1.
- The cWatch app will start.
- Tap the cWatch logo on the app screen.
- A VPN configuration confirmation dialog will appear.
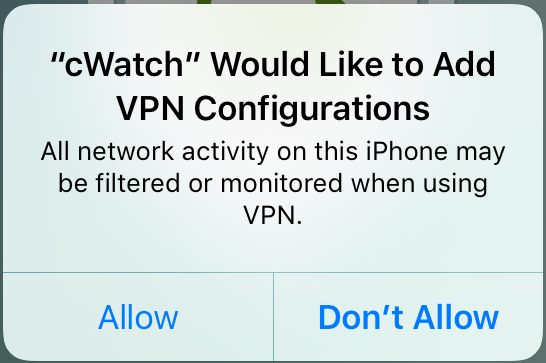
- Click 'Allow'
A new VPN configuration will be created. The cWatch app will connect to the cWatch Office console.
- The device will be added to cWatch Office and will be displayed under 'Devices' on the left.
- The default protection settings will be applied to the device
Install the SSL certificate so that the block page is correctly displayed when a HTTPS website is blocked
- In iOS, open 'Settings' > 'General' > 'About' > 'Certificate Trust Settings'
A list of certificates installed on the device is shown under 'Enable Full Trust for Root Certificates'.
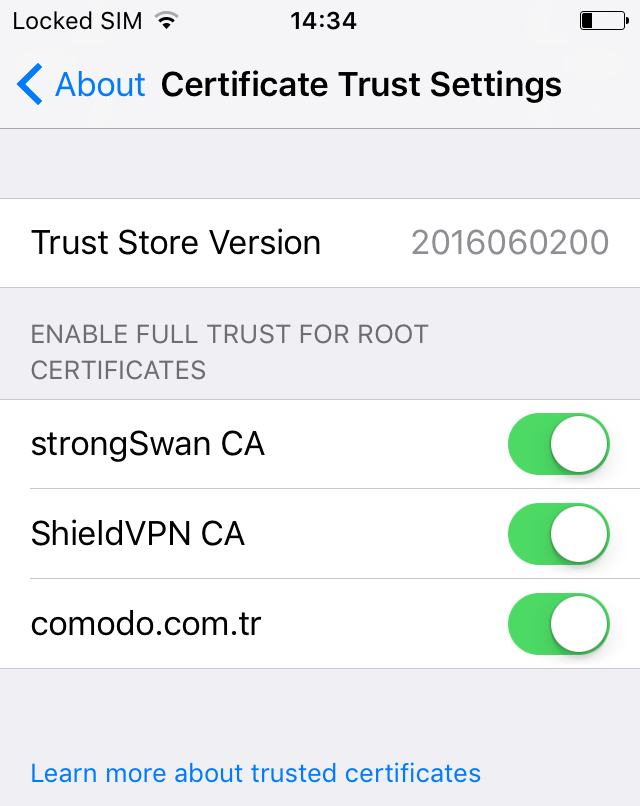
- Enable the certificate named 'comodo.com.tr'
The instructions for enrolling a network will appear on selecting 'Router' in step 1:
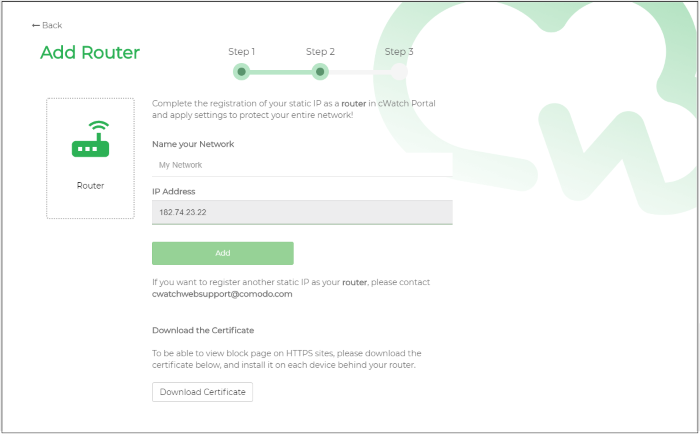
Enrolling a network involves:
Add network IP address to
cWatch console
The public IP address of the network from which you are currently connecting to cWatch Office console will be automatically fetched and displayed in the 'IP Address' field of the Instructions page.
- To enroll the same network, enter a name for the network in the 'Name your Network' text box and click 'Add'
|
Note: If you want to enroll a different network, please send an email with your account details and network IP address to cwatchwebsupport@comodo.com. |
The network will be added to
cWatch Office and will be displayed under 'Devices' on the left.
Configure DNS settings on the router
You have to configure the DNS settings of your router to point to Comodo Secure DNS addresses.
- Set your DNS server addresses as:
- Primary DNS server : 8.26.56.26
- Seconday DNS server: 8.20.247.20
cWatch Office will now be placed between the internet and your router and will act as your internet gateway. For help to configure your router, see https://www.comodo.com/secure-dns/switch/router.html.
Install SSL certificate for displaying warning page when HTTPS websites are blocked
- cWatch office displays a warning page to end-users whenever a website is blocked.
- You need to install an SSL certificate on each device behind the router in order to correctly display this warning page when a HTTPS site is blocked.
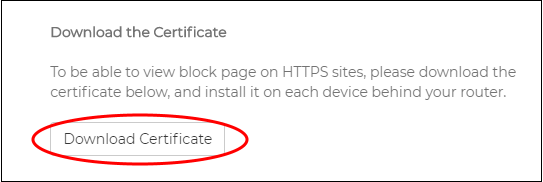
- The certificate can be downloaded from the Instructions page in the device enrollment wizard.
- You can distribute the certificate to the users through any out-of-band communication method like email.
- Users should install the certificate on their device.
To download the certificate
- Click Download Certificate on the instructions page and save the file 'blockpage.pem'
- Send the certificate file to the user of devices on your network
- The users can install the certificates on their devices


