


Installation via Installer
Prerequisites
Decide exact domain name, that will be used for setup. It must meet requirements for SSL Certificates issue (must be a publicly accessible domain, valid Top-Level Domain). In our guide/example we use itsm.yourdomain.com as a domain for On-Premise Setup.
Before the installation process:
-
Install docker-compose, If you don't have Docker Hub account, create it and ask access support. Be sure your account has access for pulling on-premise images. (link: https://hub.docker.com/).
-
Prepare Linux device with Ubuntu installed for EM Server On-Premise installation.
-
Prepare Linux device with Ubuntu installed for Tigase Server On-Premise installation.
-
Prepare certificate and key for the installation process for your domain (in our case domain is itsm.yourdomain.com). You can use this link to create free SSL certificate https://www.comodoca.com/comodo-ca-free-trial.
Process in Brief
-
Login to the docker hub using your credentials
-
Download and install the On-Premise installer on the two Linux servers.
-
To start setup, click 'Install Endpoint Manager'. Then follow instructions to complete the Endpoint manager setup, wait for the EM to complete the installation.
-
To Install Tigase” Select INSTALL ENDPOINT MANAGER > Choose Tigase. Enter the credentials to complete the setup.
-
After completing the installation of the two servers, login to the EM portal. Enroll a Windows device in 'Device' > 'Bulk Installation Package'
-
If steps were performed correctly, the device should be enrolled and have green (online) status on EM Portal shows in 'Device' > 'Device list'.
Use the links below to jump to the task you need help with:
-
Open Terminal
-
Download the installer and run it from the root user using the following command:
curl
-L -O http://get.on-premise.itarian.com/installer && chmod +x
installer && sudo ./installer
-
If you are not installed curl, install it by using the command “apt install curl” then run the Linux command
-
Note. If you are not running from the root and started setup, please stop installation. Then run it from the root user and start setup from the very beginning.
-
Configuration files are stored in the folder /home/[SUDO_USER]/itsm (if it's possible to get SUDO_USER) or /root/itsm

-
The console output provides the login URL and credentials to access the installation through a browser:
username (admin)
password (always new, you don't need to save it)
port
-
After installation, open the given URL on a browser:
https://{your_ip}:{port}/
-
Press the button "To start setup". You'll have to enter credentials from the previous step.
Install Endpoint Manager Server
On-premise Endpoint Manager, helps you to manage all your endpoints from a single console. You can automate regular endpoint management routines like installing patches, deploying software, software licenses and more. You can even take control of remote desktops, using the remote control tool.
-
Endpoint Manager (EM) on-premise solution is distributed as a set of docker images and can be run with docker.
-
Docker containers and docker-compose are mandatory to deploy EM on your premises.
Install EM server
-
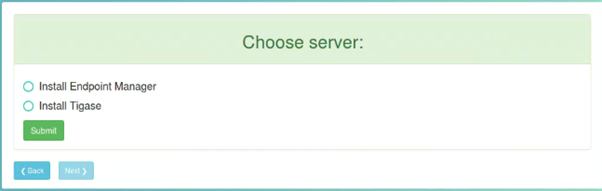
Click 'Install Endpoint Manager':
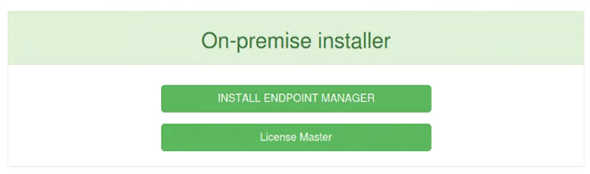
-
Select the 'Install Endpoint Manager' in the 'Choose Server' dialog:
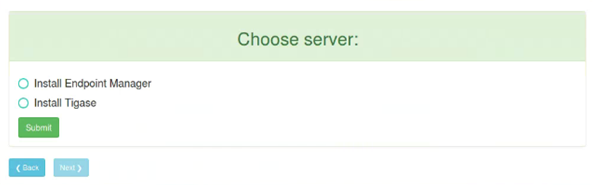
-
Click 'Next'
You'll need to set the environment variables for Endpoint Manager
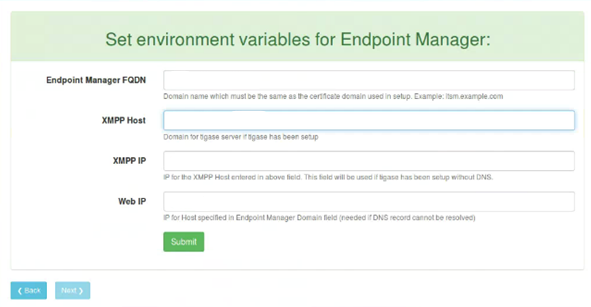
-
Enter the credentials for Endpoint Manager
-
For Example:
-
Endpoint Manager FQDN: itsm.yourdomain.com (domain name which must be the same as the certificate domain used in a setup)
-
XMPP Host: xmpp.yourdomain.com (if tigase has been setup )
-
XMPP IP: 10.8.69.108 (ip for the host specified in ITSM_XMPP_HOST)
-
Web IP: 10.8.69.132 (ip for the host specified in ITSM_WEB_HOST)
-
Click 'Submit'. The next step is to upload the SSL certificate for your domain.
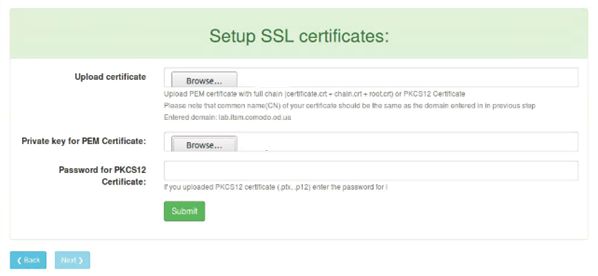
-
Upload the PEM certificate that created from your domain
-
Browse private key for PEM certificate
-
Password is not mandatory
-
Click Submit
Wait for the installation to complete.
-
Enter your username and password of your Comodo account

Note- You need to enter the existing CAM credentials, If you don't have an account in CAM use this link to create new one at https://cam.comodo.com/.
-
Wait for the Docker Compose installation to complete:
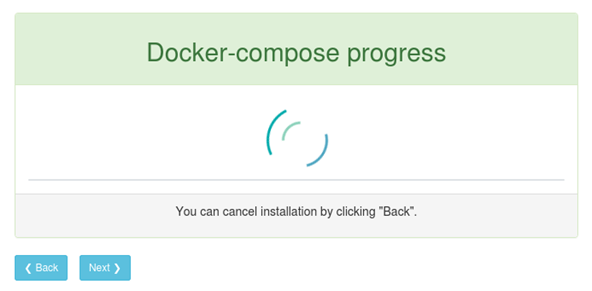
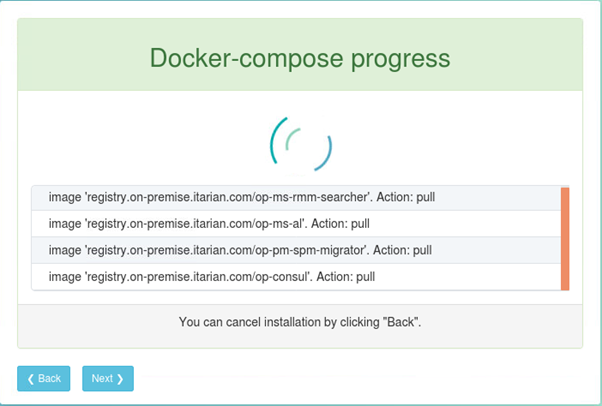
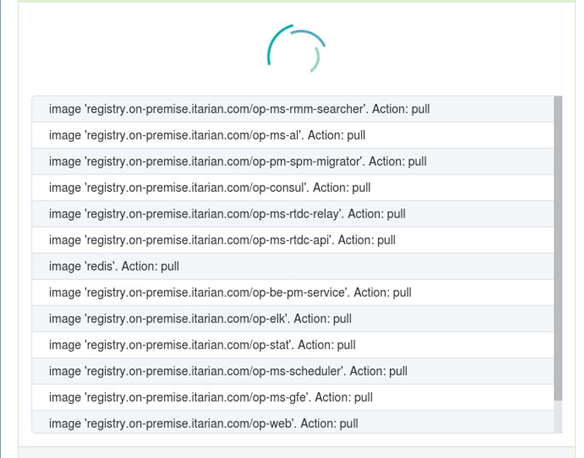
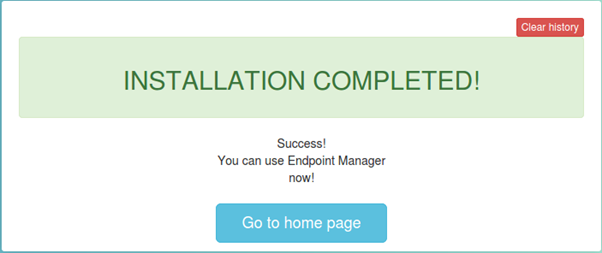
The last step of the installation (working with docker-compose) may take some time. After Endpoint Manager has been installed, you'll see the following message:

You can now use the Endpoint Manager, or you need to wait for the completion of Tigase server installation.
The Tigase Jabber/XMPP Server is an Open Source and Free (GPLv3) Java-based server. The server creates a secure communication platform and is easy to set up and maintain. The Tigase server can handle many concurrent requests/connections and can run for a long time. For EM, the server is implemented to handle millions of simultaneous connections.
Setup Tigase server
-
Run the installer again and click 'Install Endpoint Manager'
-
Select 'Tigase Server' in the 'Choose Server' dialog
-
Click 'Next'
-
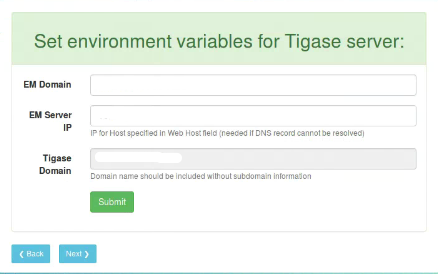
Enter the credentials for the server
-
For example:
-
EM Domain: itsm.yourdomain.com (because the certificate created for that domain)
-
EM Server IP: 10.8.69.132 (IP address of your domain)
-
Tigase Domain: yourdomain.com (It's a domain for Tigase server, it will be auto-filled)
-
Click 'Submit'
-
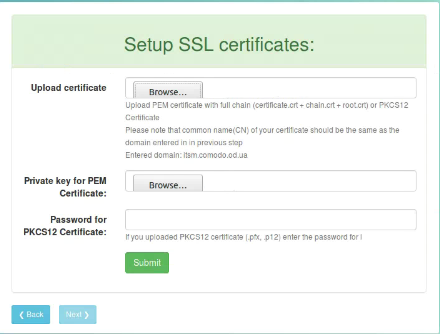
Upload the PEM certificate (Please note that the common name (CN) should be the same as the domain entered in the previous step)
-
Browse the PEM key and click submit. You don't need to enter the password
-
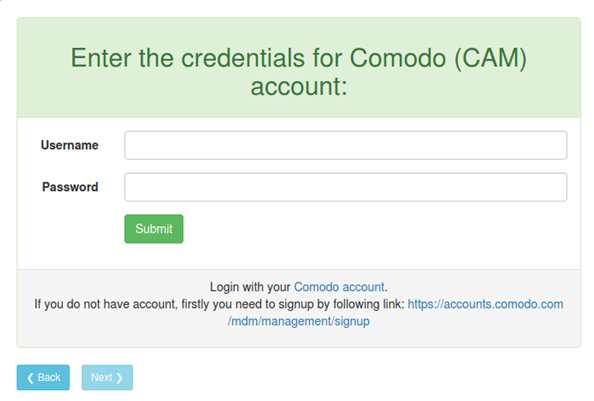
Enter the credentials of your Comodo account
-
Click 'Submit'
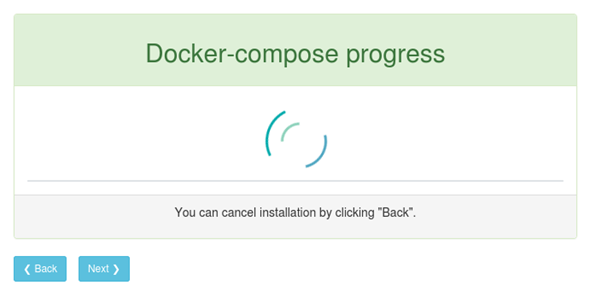
The last step of the installation (working with docker-compose) may take some time. After on-premise has been installed, you'll see the message.
After the completion of installation of the two servers, you may stop the installer.
The On-premise installer also gives you the ability to update the on-premise application, Run the installer and click 'To update docker images'.
-
Login to the EM portal
-
Open the URL of your EM portal on a browser
-
For example: https://itsm.yourdomain.com
-
Enter the username / password as: admin/admin
-
Click 'Devices' > 'Bulk Installation Package' and generate an offline communication installation package
-
See https://help.comodo.com/topic-399-1-786-10851-Enroll-Windows,-Mac-OS-and-Linux-Devices-by-Installing-the-Communication-Client.html for help to install a device using the package.
On successful enrollment, the device will be shown with green (online) status on the EM Portal ('Device' > 'Device List').
If something went wrong during the installation or you see some errors, look to console output for more details or use the troubleshooting tips:
Problem: ITSM server not responding
-
Suggestion: Check docker logs for service "web"
-
Command:
docker-compose
logs -f web --tail 20
Output should not have constantly appended rows like:
nginx:
[emerg] host not found in upstream "service_name" in
/etc/nginx/conf.d/website.conf:277
In case you find those rows, it means that your service_name is not started
Check container logs with that service_name
docker-compose
logs -f --tail 20 service_name
… and check all containers that have not status Running or Exit 0
Problem: Any docker command (example: docker ps) not works from your current user account (Error like permission denied).
-
Suggestion: Check your current user belongs to group docker
-
Command:
groups
Should contain 'docker'
If user not belongs to group docker run this command
sudo
usermod -a -G docker $USER
Then logout and login again to your current user account.
Problem: Any docker command (example: docker ps) does not work. (Error like 'docker daemon is not running').
-
Suggestion: Check docker daemon status
-
Command
sudo
service docker status
Output should have Active: active (running)
If output is Active: inactive (dead) Start docker daemon with command
sudo
service docker start
Problem: At least one container from list docker-compose ps has state Exit 1
-
Suggestion: Try to start this container.
-
Command:
docker
start {container name from column Name}
If problem persists view the container logs
Command:
docker
logs {container name from column Name} --tail 100
Send the output to EM team for analysis.
Problem: Server data consumes more disk space (/var/lib/docker/overlay2)
-
Suggestion: Try to cleanup old docker images.
Every on-premise update pull several new images and keep both old and new ones
Command:
docker
image prune -af
Problem: Server data consumes more disk space (/opt/itsm/elk)
-
Suggestion: Try to cleanup old elastic search indexes
On-premise provided with built-in elastic search management system kibana
-
Follow the kibana setup guide to setup it
-
Remove indexes with kibana GUI
Problem: EM CCS clients updates consume more internet traffic
-
Suggestion: Setup local antivirus database update server
-
Your on-premise deployment is provided with av-db offline package
-
Follow antivirus local updates guide to setup CCS update preferences