


Step 8 - Generate Reports
- cWatch Network can generate event reports covering a wide range of security and productivity criteria. You can create reports on a per-customer basis.
- You can create reports from from one hour up to one month in the past. You can show data as tables, pie charts or bar charts.
- Data for reports is fetched from event query results. You can use pre-defined queries or custom queries. See 'Query Management' for more help with this.
To generate reports
- To open the 'Report Management' interface:
- Click the hamburger button at top-right
- Select 'Reporting' then 'Report Management':
The 'Report Management' screen will open:
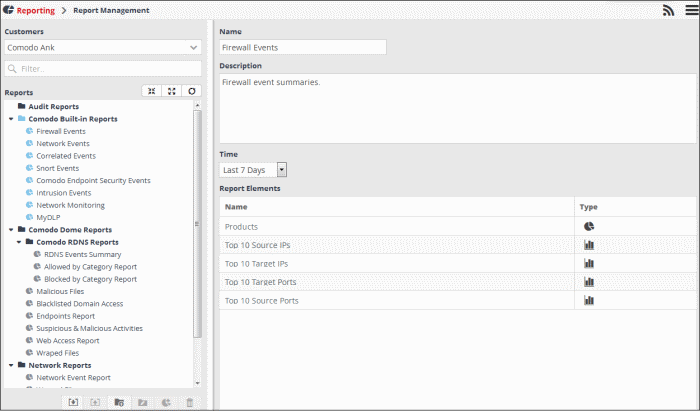
The left-hand panel shows a list of predefined reports (those in blue) and custom queries added for the selected customer. The right hand panel shows the configuration area for report generation.
Generate reports for custom report queries
Before creating a custom report query, you have to create a report folder for the selected customer.
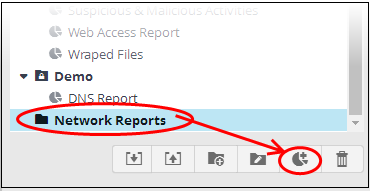
- Click
the
 button at the bottom of the left
pane. You can also create a new top level folder. The Folder Name
dialog will appear.
button at the bottom of the left
pane. You can also create a new top level folder. The Folder Name
dialog will appear.
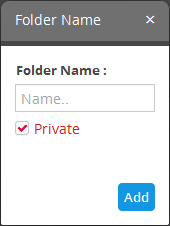
- Enter a name for the new folder in the 'Folder Name' field
- Select 'Private' if you want the folder accessible only to you. Note - this option is only available when creating a top level folder.
- Click the 'Add' button
The newly created report folder will be listed. A lock icon will be displayed on the folder icon if the folder is created as a private folder.
- To
create a report query, select the folder and click the
 button
The configuration screen for creating the new report will be displayed in the right hand side panel.
- Enter a name for the report in the 'Name' field
- Enter an appropriate description for the report in the 'Description' text box
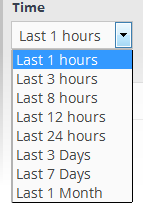
- Select the period for which events are to be included from the 'Time' drop-down. Options range from the previous hour to the entire previous month.
The next step is to add the component tables/charts to be included in the report. The events for populating the tables/charts are fetched from the query results.
- Select the type of report element that should be added, from the drop-down at the bottom of the 'Report Elements' area.
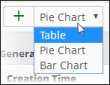
- Table - A 'Table' report is configured by selecting an event query from the list of queries added for the customer. The report contain details of events that match the query in the selected time period.
- Pie Chart - This report contains a pie-chart showing the statistical summary of the events that are aggregated based on parameters configured for the chart.
- Bar chart - This report contains a bar-chart showing the statistical summary of the events that are aggregated based on parameters configured for the chart.
- After
selecting the type of report element, click the
 button beside it.
The 'Add' screen for the selected report element will be displayed. The interface allows to select an existing query or create a new query. For more details about creating report element, see 'Manage Reports'.
The configured report elements will be added to the list.
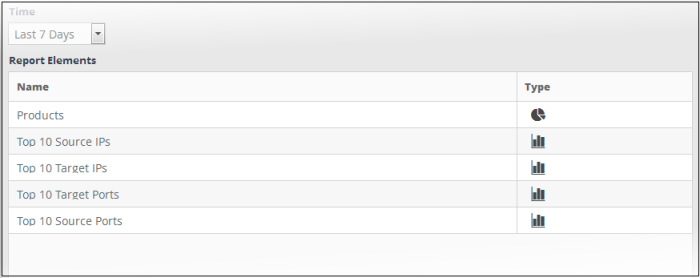
The 'Report Elements' area displays the list of report components added to the report.
- Name - Displays the name of the report element
- Type - Indicates the type of report element, whether table, pie or bar chart.
You can add as many report elements as required for a report.
- Click the 'Save' button to save all the report elements.
- You can save the report to another folder by selecting it and then clicking the 'Save As' button.
To manually generate a report
- Select the report from the list.
The details of the report with the list of report elements will be displayed in the configuration area at the right.
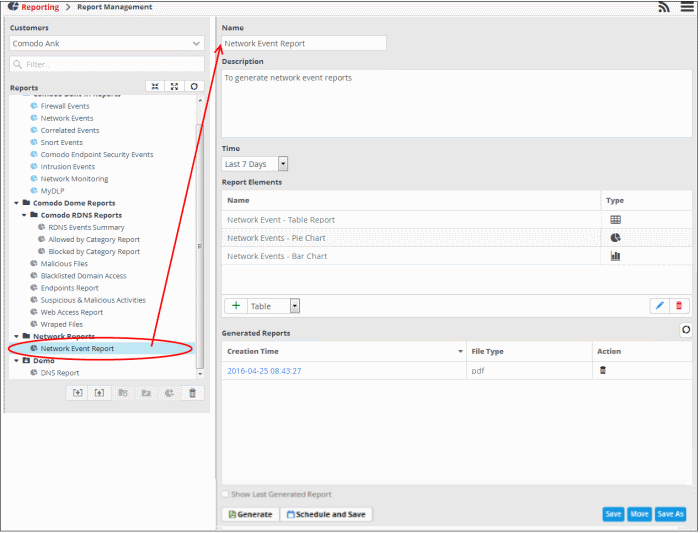
The 'Generated Reports' area displays a list of reports generated manually or as per the schedule created for the report.
- Creation Time - The date and time the report was generated.
- File Type - Currently only PDF format is available for reports. Future releases will support RTF files also.
- Action - Allows to delete the generated report.
- To generate the report instantly, click the 'Generate' button.
The report generation will be started and on completion, it will be added to the list under 'Generated Reports' and its time stamp will be added to the 'Creation Time' column.
- To download the report, clicking the time stamp under the 'Creation Time' column.
- To view the report instantly select the 'Show Last Generated Report' check box.
You can also schedule a report generation. For more details about generating reports, see 'Manage Reports'.