Quick Start Guide
This step-by-step guide explains how to start using Quote Manager.
Step 1 – Login to Quote Manager Module
Quote Manager is a module of the Comodo One management platform. To access the module, first login to Comodo One at https://one.comodo.com/.
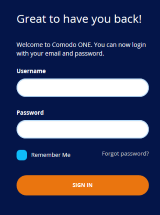
- Enter your login credentials and click 'Login'
- Click 'Forgot Password' to reset your password
- Click 'Create an account' if you do not have an Comodo account
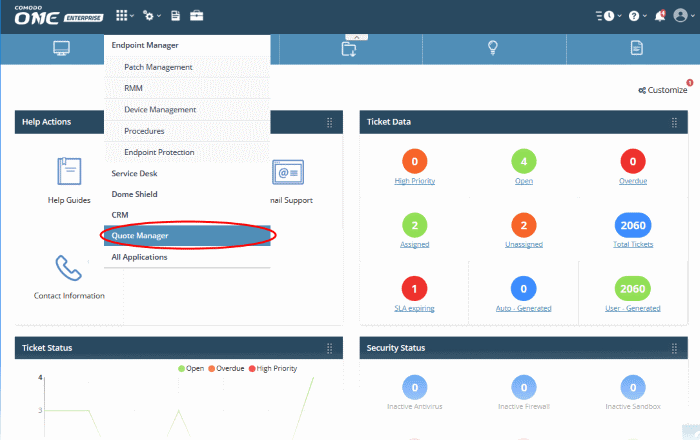
Comodo One will open at the dashboard.
- Click 'Applications' > 'Quote Manager' to open the application.
- Click 'Store' if you haven't yet activated Quote Manager. You can install it from the Quote Manager tile.
- Click 'Customer' on the left and then click '+ New Customer'
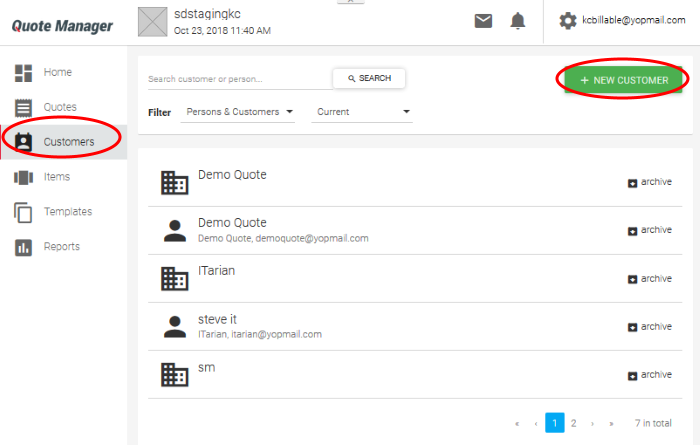
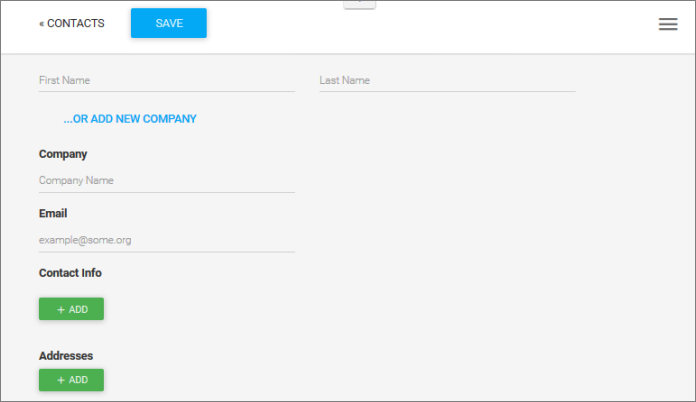
The screen to add a new contact or company will open:
-
You can create customers as a 'New Person' or a 'New Company' depending on your requirements. To switch between the two types, click the '...OR ADD NEW COMPANY/PERSON' link.
|
Add Customer/ Company - Form Fields |
|
|---|---|
|
Form Element |
Description |
|
First Name |
Forename of your customer ('New Person' only). |
|
Last Name |
Surname of your customer ('New Person' only). |
|
Company Name |
The company to which you want to send a quote. |
|
|
The email address to which the quote will be sent. |
|
Contact Info |
Click the 'Add' button to add phone number, Skype, website and fax details. You can add more fields by clicking the '+ Add' button again. |
|
Addresses |
Click the 'Add' button to add shipping and billing addresses. You can add more fields by clicking the '+ Add' button again. |
- Click the 'Save' button above the form when you are finished. The customer will be saved and listed in the 'Customer' screen. Repeat the process to add more contacts/companies.
|
Tip: For testing purposes, you may want to create a dummy company with your own email address as the customer email. |
- Click 'Items' on the left then click the '+ New Item' button
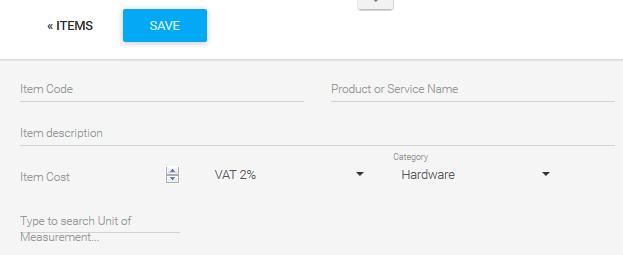
The item details screen will be displayed. Please complete as many fields as you can as the information recorded here will be visible to your customer in the quote.
|
Add Item - Form Fields |
|
|---|---|
|
Item Code |
The unique key identifier of the product. This can be an internal product ID, product code, version number, serial number or part number. |
|
Product or Service Name |
The official label of the item. |
|
Item description |
Brief summary of the product or service. |
|
Item Cost |
Price for the product or service. The default currency is USD. |
|
Tax |
Set the tax you wish to add. You can change or add new tax rates by clicking your user-name then 'Settings' > 'Tax Rates'.
|
| Type to search Unit of Measurement | The unit of measurement you would like to assign to the item. For example,
|
| Category | Placing an item into a category allows you to create a more organized product catalog. It helps you identify the type of product/service you purchase. Categories are also shown in the quotes themselves, allowing you to provide your customers with a professional-looking break-down of the charges you are making. The available categories are:
|
- Click the 'Save' button above the form to add your new item. The new product or service will be listed in the 'Items' screen. Repeat the process to add more items.
Step 4 - Generate and Send a Quote
Now that you have created your products ('Items') and your customers, you can create and send a quote.
Note - this step explains how to create a basic quote from scratch. You can also create time-saving templates which can be selected in the 'New Quote' screen.
The new quote can be configured and executed in four steps:
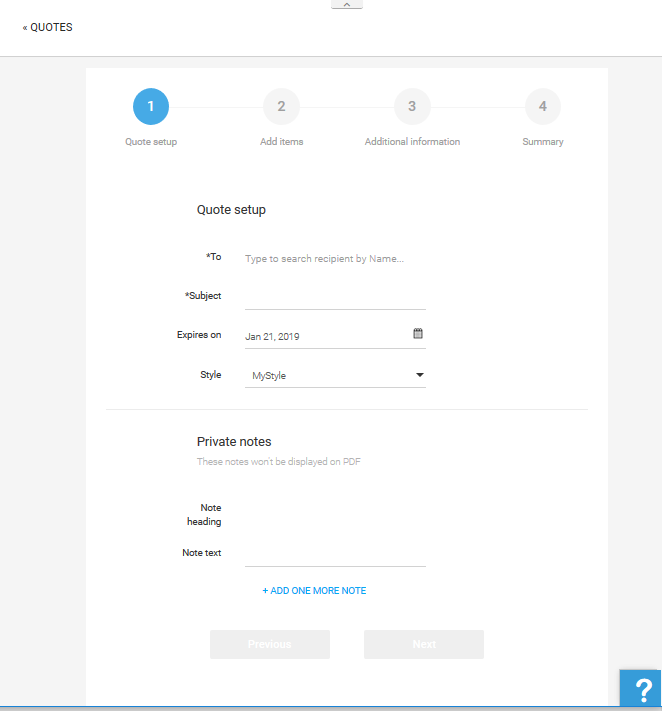
The setup stage has two areas:
- Quote setup
- Private note
|
Quote Setup - Description Form Fields |
|
|---|---|
|
Quote setup – Specify the quote recipient and configure basic quote details. |
|
|
*To |
Select
a recipient that you added in Step
2 - Add Customers. Enter a customer or
company name in part or full. Matching contacts will be displayed for you to select. The quote will be sent to the email address you have on record for the customer. |
|
*Subject |
The subject line of the quote email. |
|
Expires on |
The date up to which the quote is valid.
|
|
Style |
Select the appearance of the quote.
|
|
Private
notes - Add comments for your reference and internal communication. These notes will not be shown in the quote sent to the customer. |
|
|
Note heading |
Title related to your note. |
|
Note text |
Brief information of the internal note. To add additional notes for the quote, click the 'ADD ONE MORE NOTE' button:
|
Fields marked as * are mandatory.
- Click
'Next' to proceed into the next step
The 'Add items' area allows you to fill out fields available in the customer quote page.
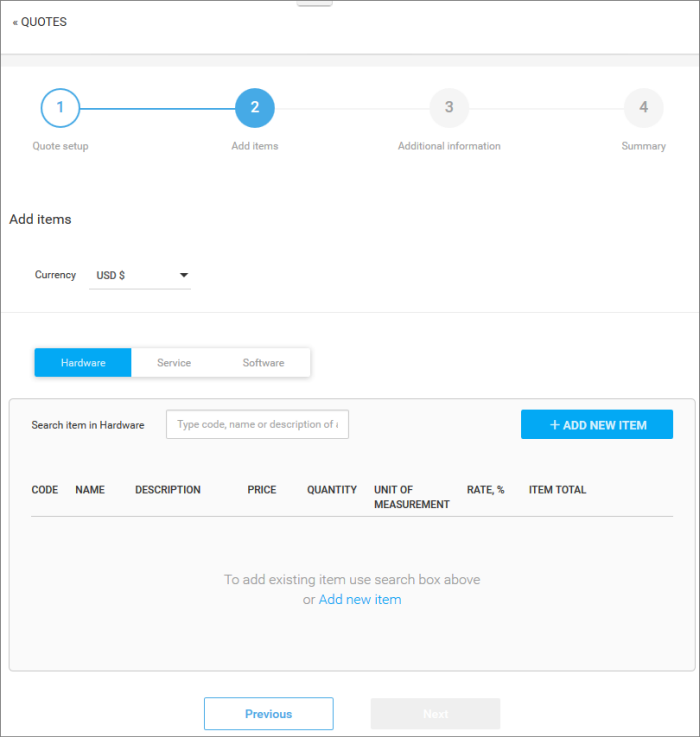
- Specify the currency which you want to use in the quote. All items added to the quote will be charged in the selected currency. You can specify the billed items parity directly affect a cost and whether the currency symbol or the currency name will be shown in the quote. See Quote Currencies Settings and Quote Parity Settings for more details.
- To add products to the quote, choose the category into which your item fits then start searching the item in the text box as follow in search item explanation in the Create a New Quote Template section.
- If you wish to add a brand new item instead (one that does not exist in Quote manager), click the 'ADD NEW ITEM' button and follow the guidance in Step 3 - Add Items.
- Repeat the process to add more items
- To remove an item click 'X' at the right of the Item name
- To re-order the items in the list use the 'Up' and 'Down' arrows at the right end of the item details
- After creating the item, QM will return you to the 'Add items' interface with the new item added
-
Enter the discount that can be applied to the item price in the 'Quote discount' field
Once the item has been added, basic detail swill be auto-completed from database records:
-
Code, name and description will auto-complete with the defaults on record for the item
-
You can modify 'Price', 'Quantity', 'Unit Of Measurement', 'Tax' and 'Quote discount' on the quote
- Set a client discount (optional). Allows you to encourage further purchases by entering a % discount on the total price
-
Click '+ Add New Item' to add more products and services to the quote
-
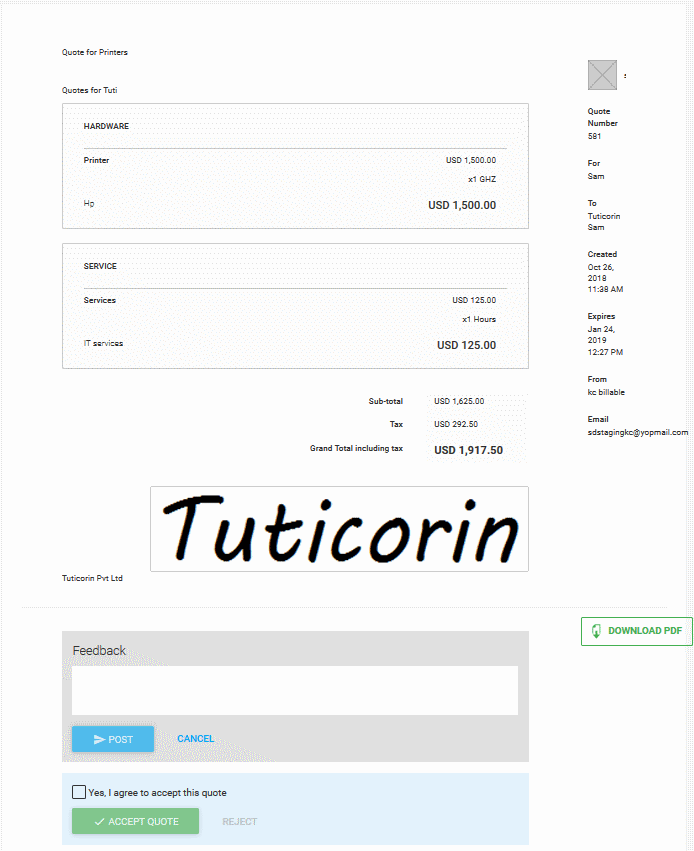
The total value for all items, including tax, is displayed on the lower-right of the form
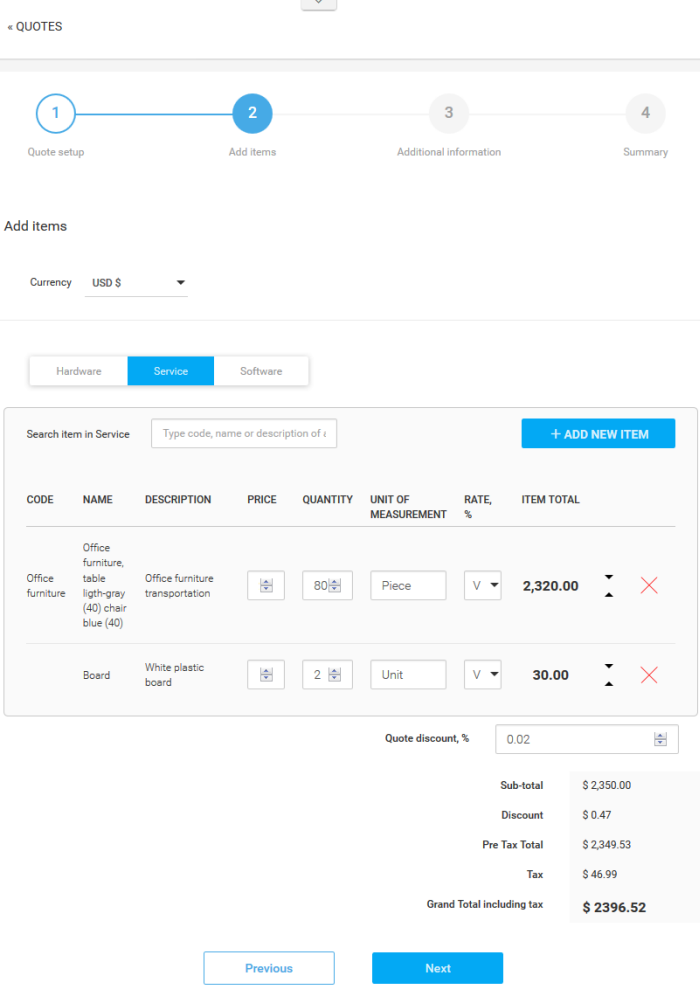
- Click 'Next'
Step 3 - Additional Information
The 'Additional Information' step allows you to define whether your image signature and contact details such as phone, email, website and heading and / or footer will be displayed in the quote page.
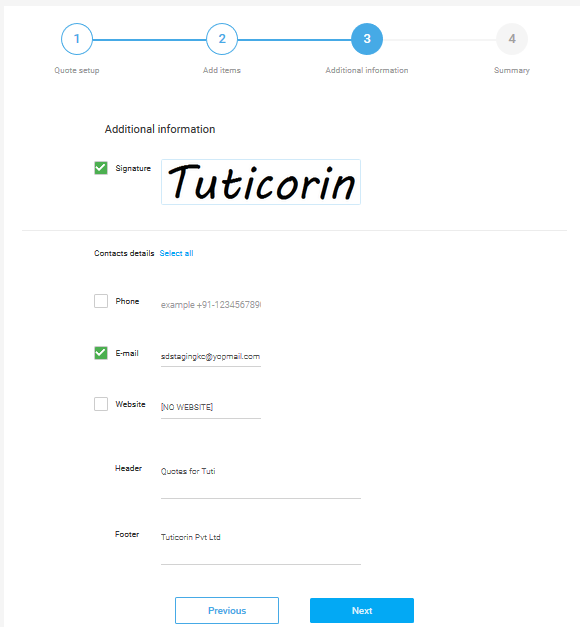
-
Click 'Next' to continue
The summary step allows you to review the quote and take the following actions:
- Save quote as draft - Store the quote for later. The quote will be shown in the quote list with a status of 'Draft' until you send it.
- Send - Immediately forward the quote to the customer. The quote status will change to 'Published'. See below for more information on what happens next.
- Previous - Click if you want to update any of the information you have entered so far.
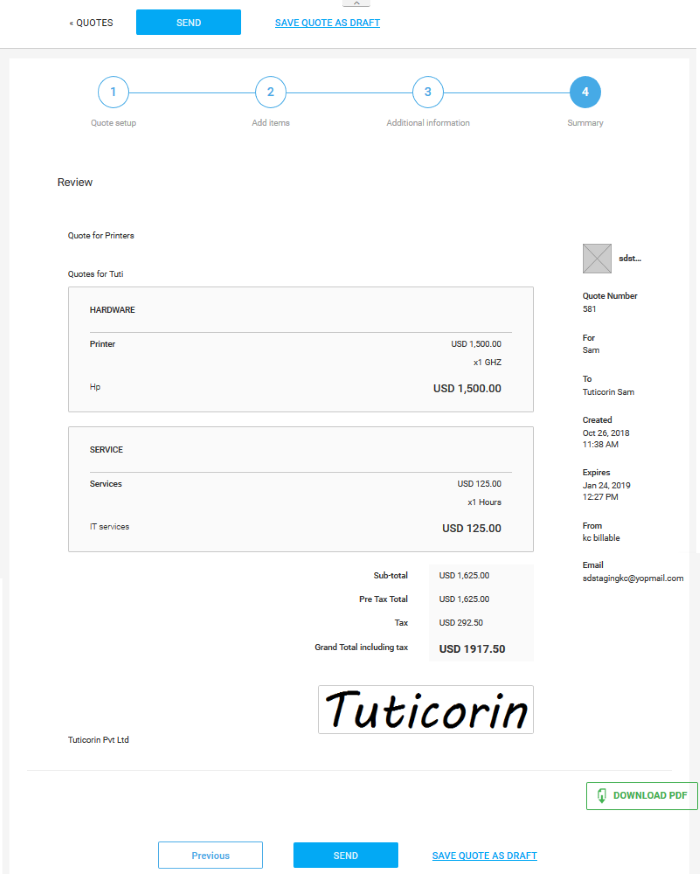
- To send the quote from QM, click the 'Send' button. The quote 'Status' will change to 'Published'
- Customers will receive a notification email which contains a link to a web-page containing your quote. Customers can provide feedback or accept/reject your quote on this page. Your quote is securely hosted on https://quote.comodo.com. See Step 5 for more details on quote finalization
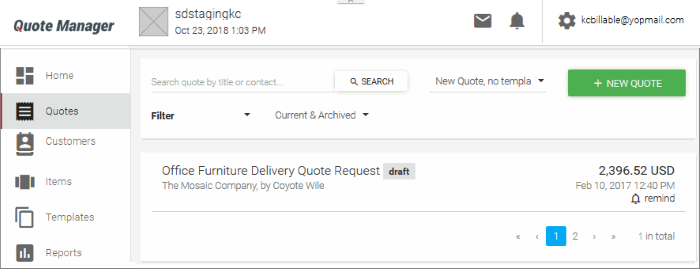
- You can set reminders per quote from main 'Quotes' interface
- Click 'Quote Manager', then click any quote in the list.
- Click 'Download PDF' on the details screen if you want to print/archive the quote, or if you wish to send it to the contact manually
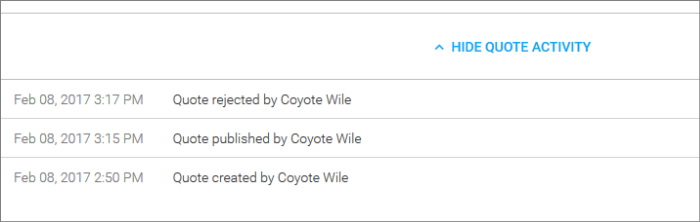
- Click 'Show Quote Activity' to show an itemized history of events pertaining to the quote
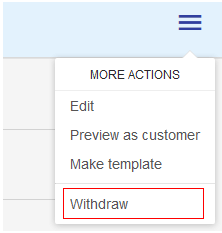
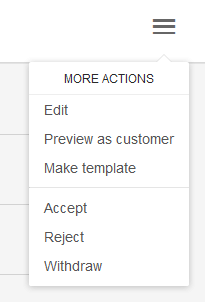
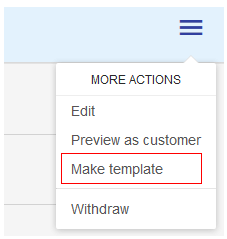
- The menu (top right) contains additional actions which allow you to edit the quote, preview it as a customer, convert the quote to a template or to withdraw the quote:
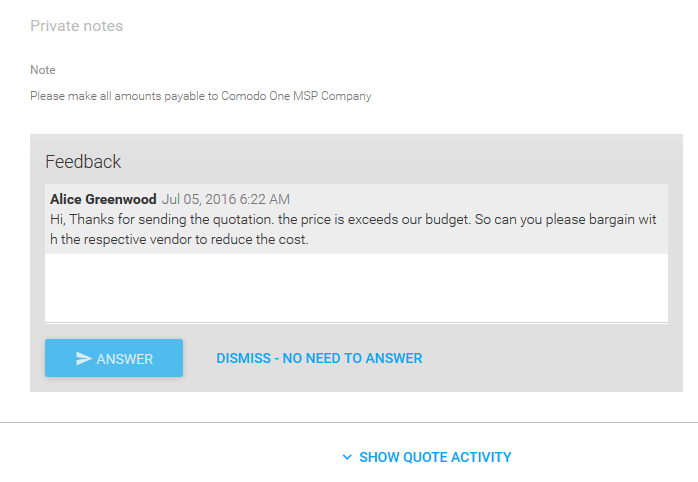
- All feedback from your customer regarding the quote will also be stored on the quote detail screen. Please see step 5 for more details on this.
Step 5 - Answer Feedback and Finalize a Quote
Each quote email contains a link to your quote:
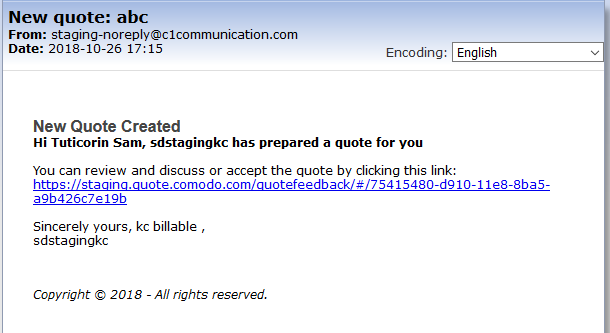
After clicking the link, your quote will open in a web browser and allow your client to post queries and/or accept/reject the quote.
The quote
details screen will be updated with all feedback and responses from
your customer. To view:
- Open the 'Quotes' section of QM.
- Select your quote from the list.
Red numbers
above the mail icon also indicate that there are responses pending
your review. All feedback is displayed inline in the quote itself,
along with controls which allow you to answer or dismiss the
feedback:
-
Click 'Answer' to post your reply to the contact/company.
Quote status will change to 'Accepted' or 'Rejected' according to your customers response. This status will be displayed in the 'Quotes' screen and the 'Home' screen:

Once a quote has been accepted, you may begin the process of executing the order in coordination with your vendors.
Step 6 - Create a Quote Template
You can save time when producing quotes by creating re-usable
templates which address single or multiple items. This makes it easy to
generate quotes for
your most popular items or item sets. Once you have chosen a
quote template, you can customize it for specific customers by
modifying quantities, prices, taxes and item composition.
- Click 'Templates' then click the '+ New Template' button:
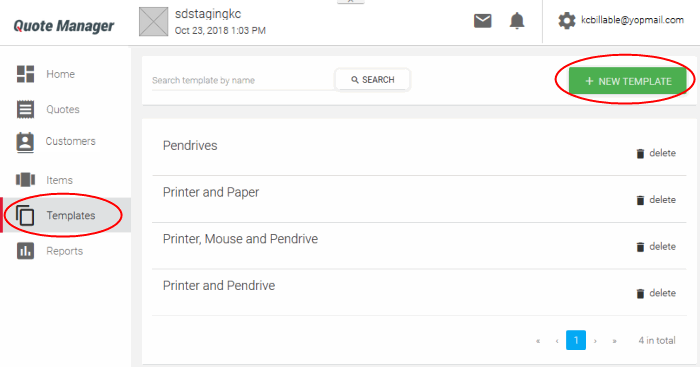
The add new template screen will be displayed:
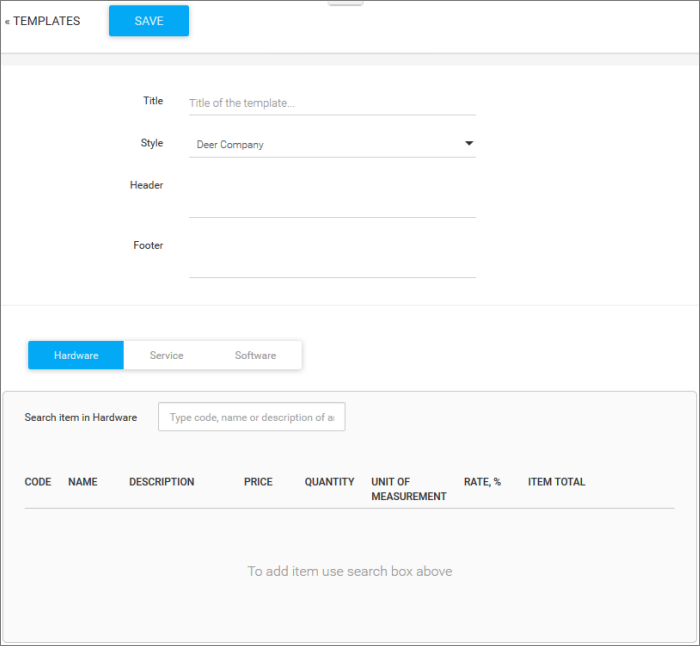
- Title - Create a name for the template
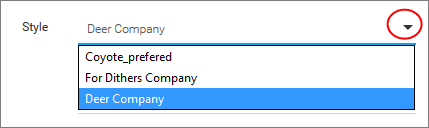
- Style - The appearance of the quote. By default, 'MyStyle' will be selected. All styles that you create will be available from the 'Style' drop-down.
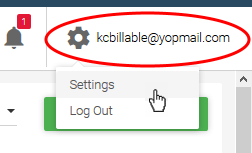
- To change the default style or to add new styles, click your user-name then 'Settings' > 'Quote Appearance'
- You can upload your logo, change fonts, background colors, heading style and more. Click 'Set as default' if you want this to be your go-to style when generating a new quote. Click 'Save' to apply your changes
- Header – Enter the page header to be displayed in the quote page
- Footer - Enter the page footer to be displayed in the quote
- Add Items from category - To add an items to the template, start typing an item code, name or description in the 'Search item in' field then select the item from the auto-generated suggestions
- The
total value of all items in the template will be displayed at
bottom-right.
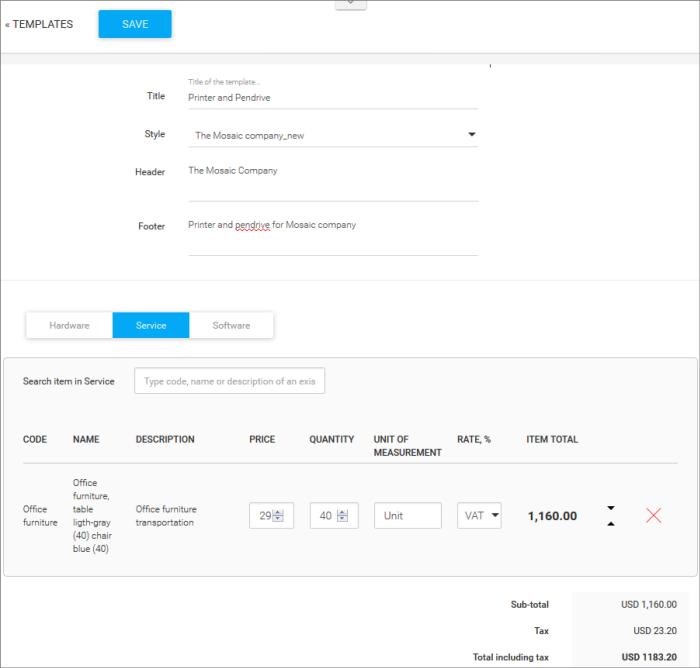
-
Click the 'Save' button to save your template.
To use your template:
- Click 'Quotes' in the left-hand menu of the QM interface.
- First select your template from the templates drop-down at the top-center of the interface.
- Then click the '+ NEW QUOTE' button.
Your template can now be tailored to generate customer-specific quotes as explained in Step 4 - Generate and Send a Quote.
Tip: You can also create a template from an existing quote. To do this, click on a quote in the main 'Quotes' interface to open its detail page, click the menu icon at top-right then select 'Make template':
- The 'Reports' screen contains statistics and charts about quote statuses, sales and revenue.
- All revenue and sales data in the dashboard is derived from the value and acceptance status of your QM generated quotes.
- Click 'Reports' on the left, to open the dashboard
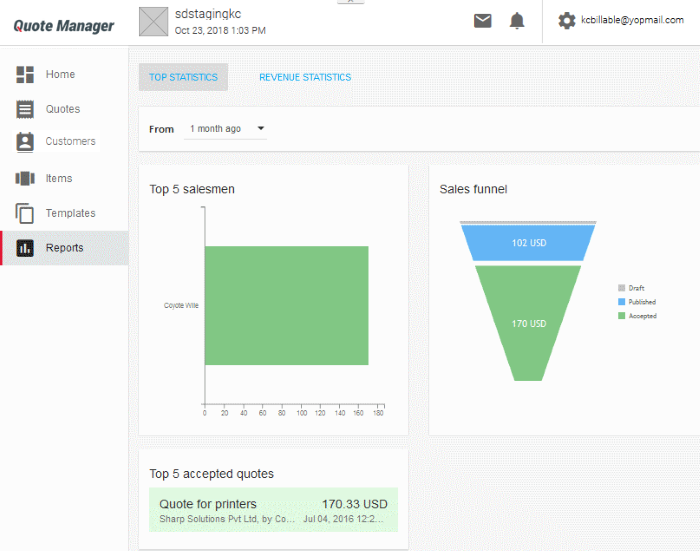
-
Top Statistics – Displays total revenue generated by top 5 accepted quotes, lists the top 5 quotes by value and shows a funnel of the value of all generated quotes according to their life-cycle status.
-
Revenue Statistics – Displays monthly, cumulative monthly and average monthly revenues. This section also shows the average time to close a quote.
Tip: To make the sales funnel more accurate, you may want to 'Withdraw' any test or otherwise unwanted quotes that have 'Draft' or 'Published' status. To do this, click on a quote in the main 'Quotes' interface to open its detail page, click the menu icon at top-right then select 'Withdraw':