


Step 4 - Add Administrative Users
- Korumail lets you add admin users with different privilege levels.
- First create a user group and assign privileges to the group. Next, add admin users and assign them to the group.
- Admins added to a group will be assigned the privileges of that group.
To add a new group
- Click the 'User Management' tab in the left-menu and click 'Groups'
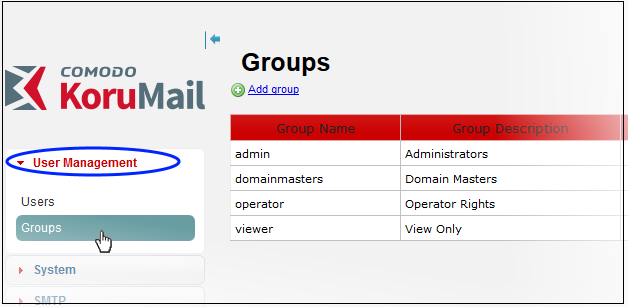
- Click the 'Add group' link
The group configuration screen will open.
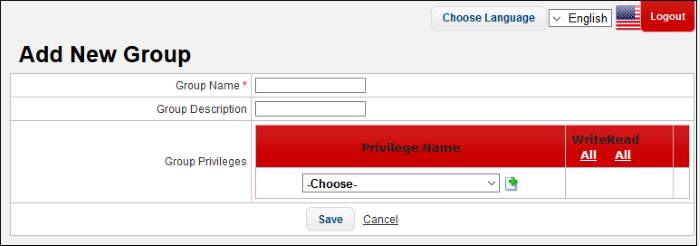
- Group Name: Create the name for the group
- Group Description: Enter an appropriate description for the group
- Group Privileges: Select the permissions you want to assign to the group. All users you draft into this group will inherit the group's permissions.
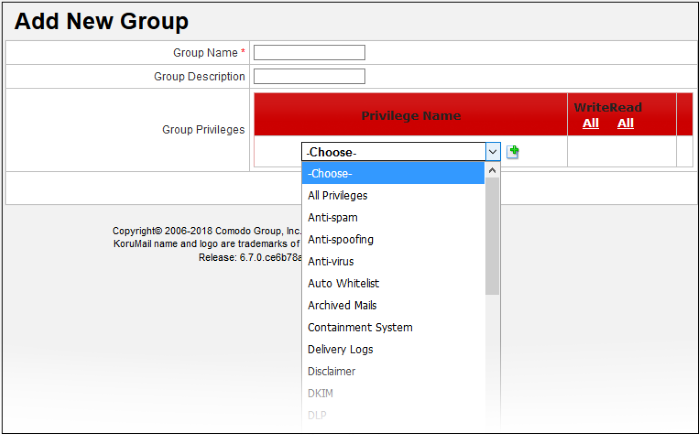
- Select a privilege then click the 'Add' button
 . You
can add as many or few privileges as required.
. You
can add as many or few privileges as required.
- Select the 'Write' option to make a privilege configurable for group members.
- Click the 'All' links underneath 'Write' or 'Read' to apply the setting to every privilege.
- To delete a privilege, click the delete icon
 beside it.
- Click the 'Save' button to add the new group.
You can now assign admin users to the group.
To add an administrative user
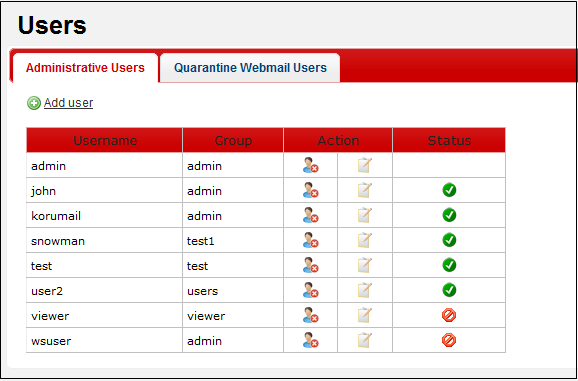
- Click 'User Management' > 'Users' on the left-menu
- Click the 'Administrative Users' tab:
-
Click the 'Add User' link
The new user configuration screen will open:
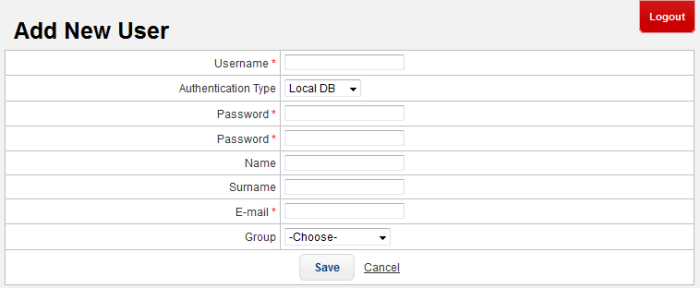
- Username: The name the admin will use to login to the console
- Authentication Type: Two options are available - Local DB and LDAP AD
- Local DB - Authentication of the user will be done using the local database
- LDAP AD - Authentication of the user will be done using LDAP
- Password:The password the admin will use to access the console. Confirm it in the next field
- Name:The real first name of the admin
- Surname:The surname of the admin
- E-mail: Address which KoruMail will use to send notifications to the admin
- Group: Select the group to which the admin user should be added. The admin will inherit the access permissions of the group
- Click 'Save' to add the new admin user.