


Step 3 - Add Domains
The next step is to add domains which you want to protect with Secure Email Gateway.
To add domains:
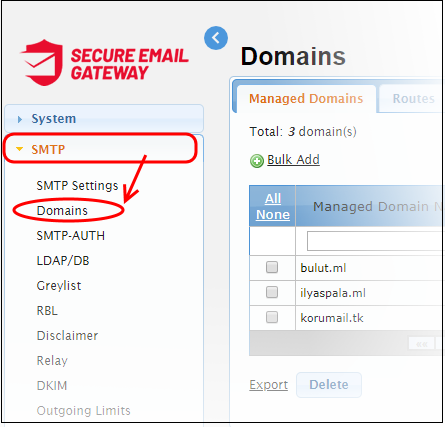
- Click 'SMTP' > 'Domains'
- Enter the domain name in the field under 'Managed Domain Name' column
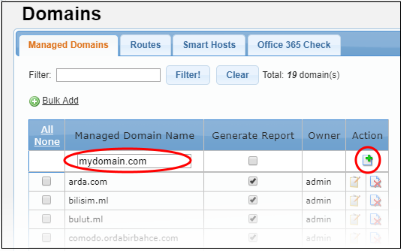
- Click the
 button in the
'Action' column.
button in the
'Action' column.
- Alternatively, you can add multiple domains using the 'Bulk Add' link.
The next step is to define the route from Secure Email Gateway to your SMTP server. SEG will filter incoming mail then use this route to forward the mail to your server. If left undefined then the 'default route' will apply.
- Click 'SMTP' > 'Domains'
- Click the 'Routes' tab
- Use the drop-down menus in the top row to specify a route for the domain:

- Managed Domain Name- Select the domain for which you want to configure the incoming route.
- Routing Type – Choose the method you want to use to send mail to the SMTP server. The options available are IP4, IP6 or Hostname, MX Record and LDAP.
- SMTP Server – Host name or IP address of the incoming mail server. Secure Email Gateway will forward mail to this server after filtering.
- Port Number – The port number of the SMTP server through which Secure Email Gateway should forward mail.
- User Verification and LDAP / DB Profile - Depending on the 'User Verification' type chosen, the 'LDAP/DB Profile' column will be populated. If 'LDAP' is chosen as 'User Verification' then the LDAP profiles added in LDAP/DB section will be shown in the drop-down. Select the LDAP profile from the options.
- Click
 to check the connection between Secure Email Gateway and the remote server. The result is shown at the top.
- Click the button to save the route.
The domain route will be added to the list.
Alternatively, you can define a the default route in the 'Smart Hosts' interface:
- Click SMTP > Domains > Smart Hosts tab.
- Select 'Enable Default Domain Routing' check box and provide the SMTP server details.
The default route will apply if you do not set a custom route for a domain. See Default Domain Routing for more information.
See Manage Domains for more details about managing domains, domain routes and smart hosts.