Start XCS
- After installation, Xcitium Client Security (XCS) will load at computer start-up.
- Real-time
protection and on-access scanning is automatically enabled, so you
are protected immediately after the restart.
- Important - We recommend admins configure XCS via a Xcitium Enterprise profile rather than locally.
- Log into 'Xcitium Enterprise' > Click 'Assets' > 'Configuration Templates' > 'Profiles' > open a Linux profile > Click the 'Antivirus' tab.
- However, you can also configure the application at a local machine should you wish. The rest of this guide explains how to configure and use the application locally.
You can access the management interface in the following ways:
- Applications Menu - Click 'Applications' to view XCS product group icons
- Double-click the ‘Xcitium Client Security’ icon to to start the application.
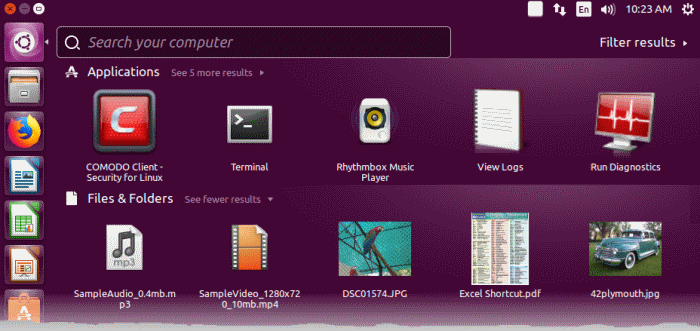
- Desktop
- Double-click
the shield icon in the dock area to start Xcitium
Client - Security

- Dock icon - Double-click the XCS icon in the dock area

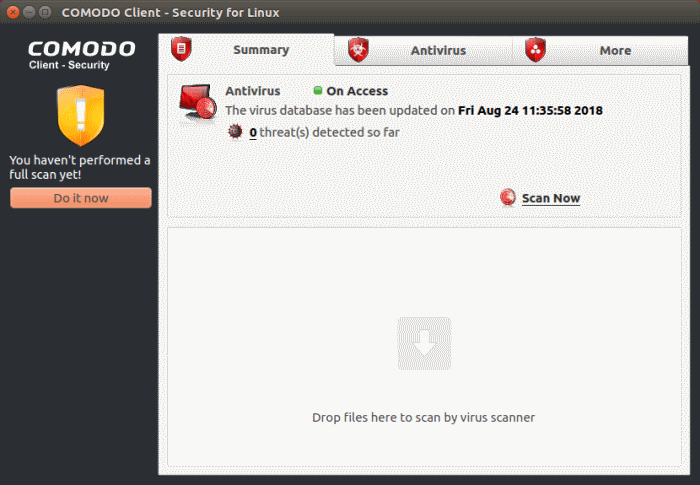
XCS opens at the summary screen by default:
-
Click 'Do it now' to run your first full computer scan.
Before running the scan, XCS will first check for AV database updates. If updates are available they will be downloaded and installed.
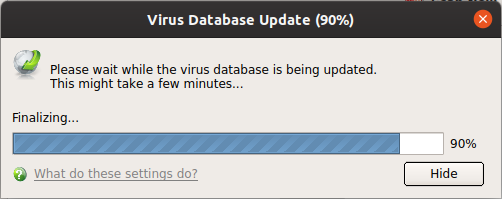
The scan will commence after the update:
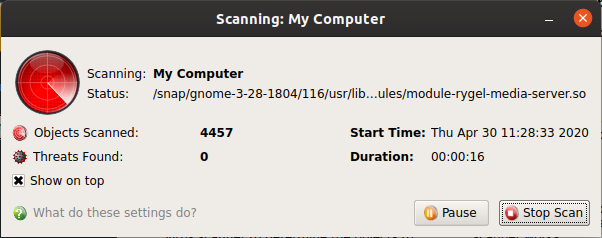
The progress dialog shows the profile name, the location that is currently being scanned, the start time and duration of the scan, the total number of objects scanned so far, and the number of threats found.
Results are
shown at the end of the scan:
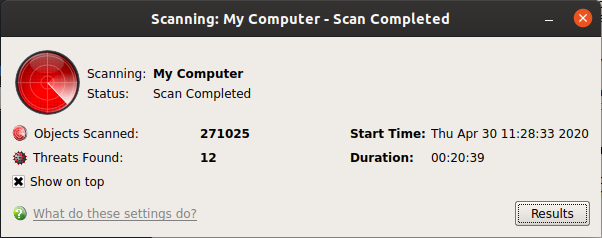
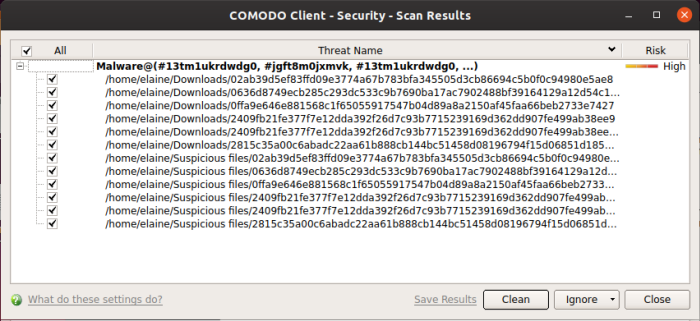
- Click the 'Results' button to see detailed file information.
- The results window lists all threats discovered by the scan. You can remove selected threats or choose to ignore them:
See Scan
and Clean Your Computer for more
details.


