


Downloading and Installing GeekBuddy
If you purchased the boxed version of GeekBuddy, insert the CD into your CD/DVD drive and follow the included instructions for installing and activating the software. If you have lost or damaged your CD, you can retrieve the Comodo GeekBuddy setup file from www.geekbuddy.com/cgb.
Visit http://www.geekbuddy.com/ to download GeekBuddy. The GeekBuddy setup file also contains another related tab, issue tracker, which automatically identifies common problems and helps you to resolve them quickly and easily. If the problems are beyond its scope for rectification, you can contact a GeekBuddy to resolve them.
After downloading the Comodo GeekBuddy setup file to your local hard drive, double click on Setup.exe and click 'Run' to start the installation wizard.
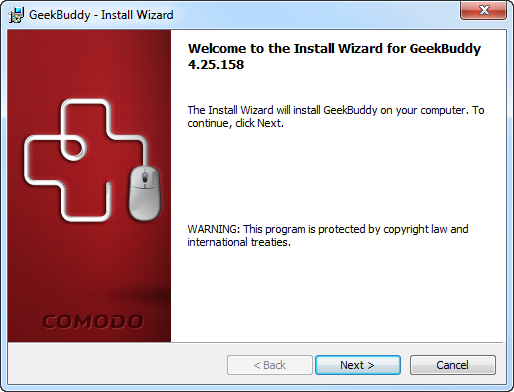
Step 1 – Welcome Screen
The setup program starts automatically and the Welcome Screen will be displayed.
-
Click 'Next'.
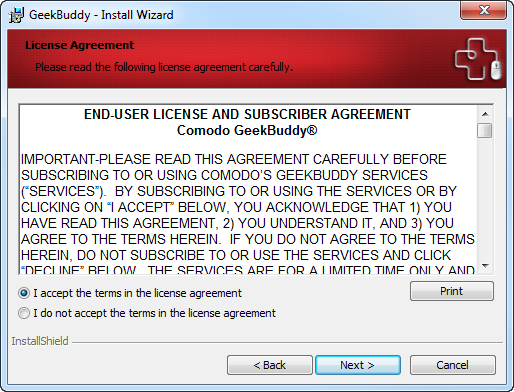
Step 2 - End User License Agreement
Complete the initialization phase by reading and accepting the EULA.
-
Click 'I accept the terms in the license agreement' to continue installation. If you want to cancel the installation, click 'I do not accept the terms in the license agreement'.
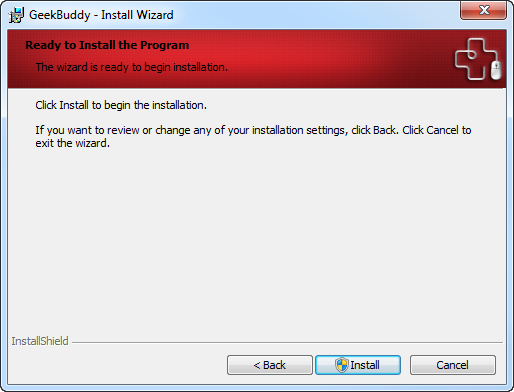
Step 3 - Ready to Install
The 'Ready to Install the Program' screen will be displayed.
-
Click 'Install' to continue installation. If you want to cancel the installation, click 'Cancel' or 'Back' to review the installation settings.
A setup status dialog box will be displayed. You will see a progress bar indicating that the files are being installed...
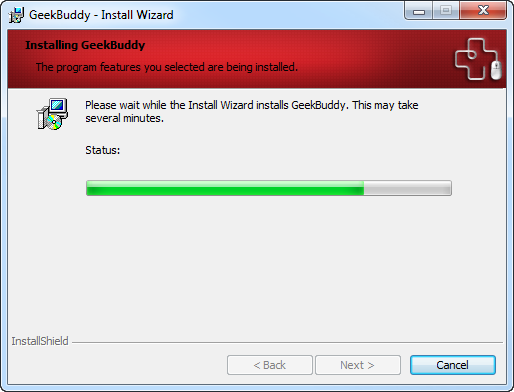
...and on successful completion of the installation, the 'Installation Complete' dialog will be displayed.

-
Click the 'Finish' button to complete the installation process.
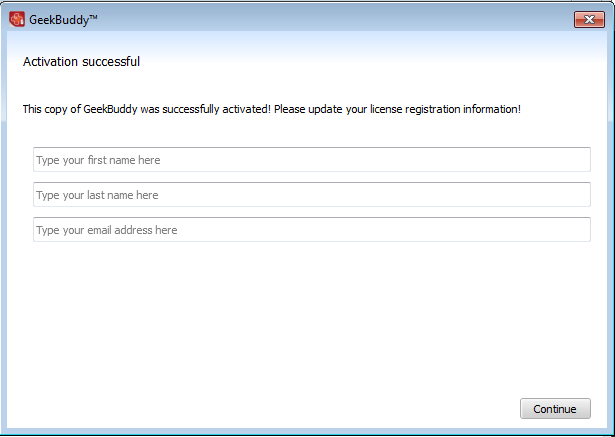
-
Enter your name and email address in the fields provided.
- Click 'Continue'.
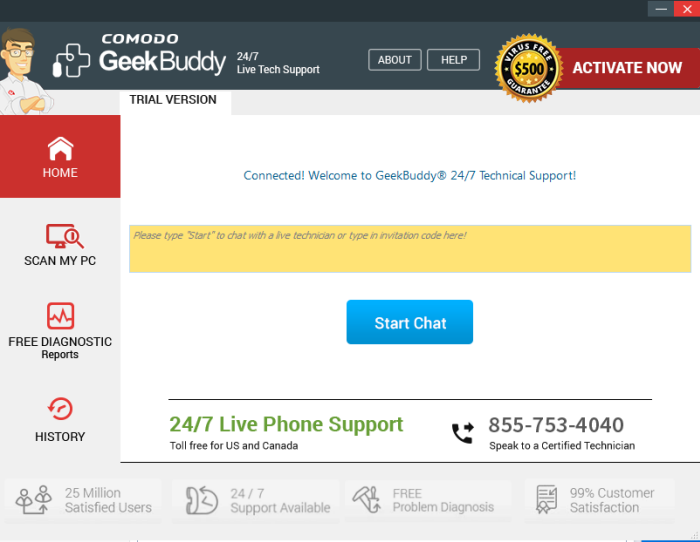
The chat page of GeekBuddy will be displayed. Now you can start using GeekBuddy and Free Diagnostic Reports and seek the help of an expert to resolve your computer problems.
Click the following links for more help with the product: