Managing Users
The
administrator can add and manage users that can be assigned to the
customers to address the incidents, cases and malicious events
arising from their respective customer's networks. These
technician users can access and view and manage only the dashboards,
events and incidents pertaining to the customers assigned to them.
The 'Correlated Incidents' and 'Cases' that are detected for
customers will be automatically assigned to users enrolled for the
respective customers on a random basis. Refer to the section
'Managing
Incidents'
for more details.
The User Management interface allows the administrator to add users, assign them to customers and manage them.
To open the 'User Management' interface, click the 'Navigational Menu' button from the top right, choose 'Administration' from the options and then click 'User Management'.
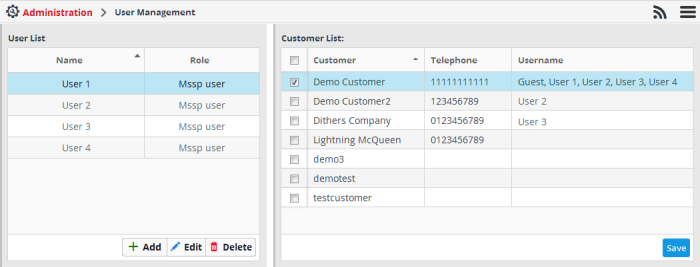
The 'User List' pane at the left displays a list of existing users and their roles. The 'Customer List' panel at the right displays the list of enrolled customers and the users assigned to them respectively. Refer to the section 'Adding Customers' to know about adding customers to the NxSIEM.
Following sections explain on:
- Click
the 'Add' button
at the bottom of the User List pane at the left.
The 'Add User' dialog will appear.
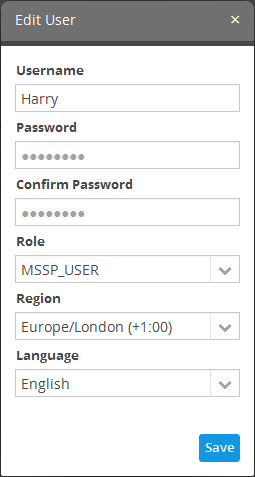
- Username - Enter the username for the user.
- Password - Enter the password for the user to login to NxSIEM. The password should be of at least 8 characters in length, should contain at least one uppercase, one lowercase and one numeral.
- Role - Select the role to be assigned for the user. Currently only one role, 'MSSP_User' is available. More roles will be added in future releases.
- Region - Choose the region and time zone to which the user belongs, from the drop-down.
- Language - Choose the language in which the NxSIEM web console is to be displayed to the user from the drop-down.
- Click the 'Save' button.
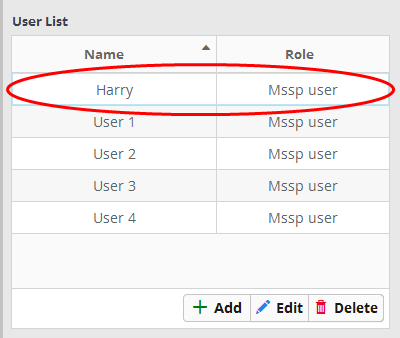
The user will be added and displayed under 'User List'.
To assign a user to customer(s)
- Choose the user to be assigned to customer(s) from the 'User List' at the left.
- Select the customer(s) to whom the user is to be assigned from the Customer List at the right side
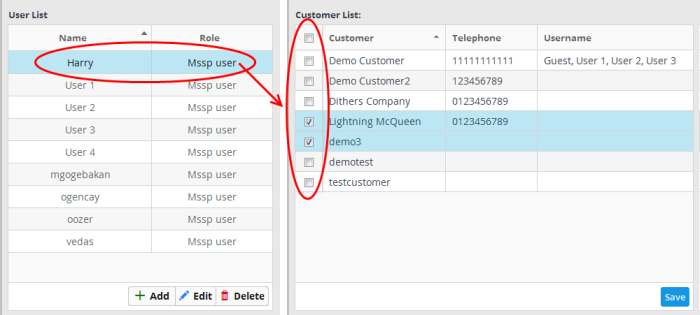
- Click the 'Save' button.
A confirmation dialog will appear.
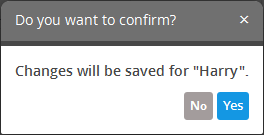
- Click 'Yes' to confirm the assignment.
- Choose the user whose details are to be changed and click the 'Edit' button from the bottom of the User List pane at the right.
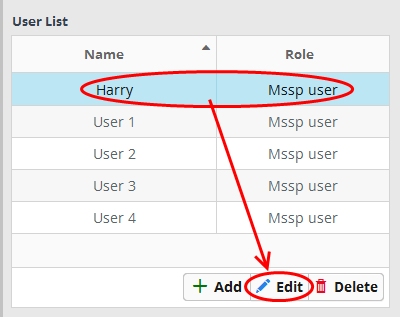
The 'Edit User' screen will be
displayed.

The 'Edit User' dialog is similar
to 'Add User' dialog. Refer to the section explaining adding
a new user above for the descriptions of the fields available in
this dialog.
-
Edit the details as required and click the 'Save' button.
- Choose the user to be removed and click the 'Delete' button from the bottom of the 'User List' pane at the right.
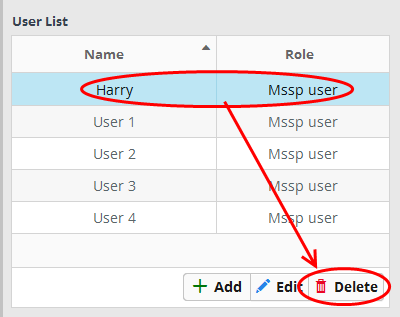
A
confirmation dialog will appear.
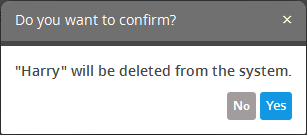
- Click 'Yes' to confirm the removal.
To reassign user to customer(s)
- Choose the user to be reassigned to a new customer(s) or removed from a customer, from the 'User List' at the left.
The customers to whom the user is currently assigned will be indicated with their checkboxes selected, in the 'Customer List' at the right.

- To assign the user to new customer(s), select the new customer(s) from the 'Customer List' at the right side
- To remove access to a customer from the user, deselect the customer.
A confirmation dialog will appear.

-
Click 'Yes' to confirm the re-assignment.


