

Deploy Packages Using Network Addresses
The 'Network Addresses' method allows administrators to deploy packages to endpoint by specifying IP addresses, IP ranges or hostnames.
- If you haven't done so already, upload your packages as shown in step 2.1
- Select 'Network Addresses' in the 'Discovery Targets' window:
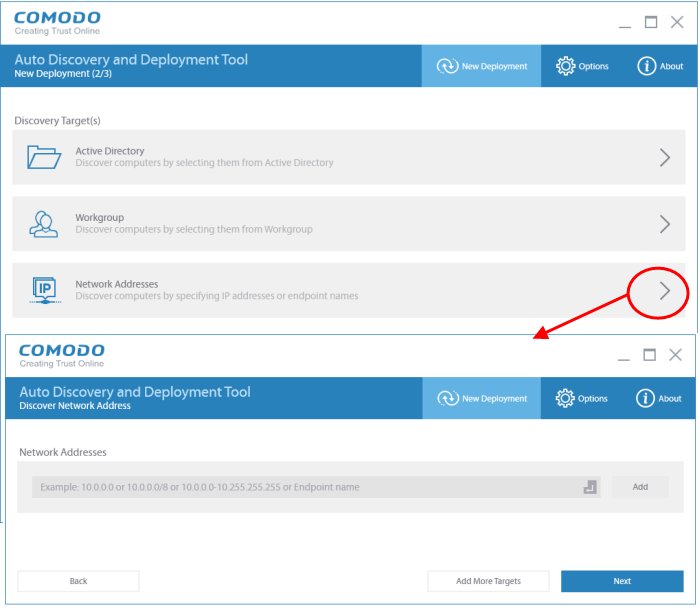
- Network Address: Enter the IP address, IP range or host name as shown below:
- IP – 10.0.0.1
- IP Range – 10.0.0.1-10.0.0.5
- IP Subnet – 10.0.0.0/24 or 10.0.0.0/255.255.255.0
- hostname-pc
- Click the 'Add' button
- Click 'Add More Targets' to add more endpoints
- To delete an item from the list, click the 'X' beside it
- Select whether you want to use your current credentials or custom credentials. You must enter an administrator password to deploy packages to target endpoints:
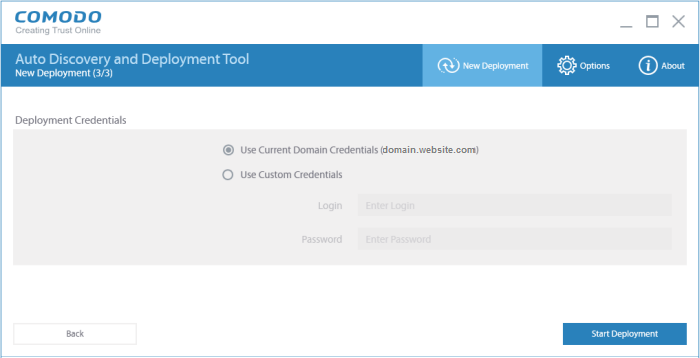
- Click the 'Start Deployment' button to begin the operation. You will see a screen indicating deployment progress. The length of time it takes to deploy the packages depends on the quantity of endpoints and network traffic conditions.

- To search for a particular host, type the name of the endpoint in the search window
- Click the 'Stop Deployment' button to discontinue the deployment process and confirm it in the 'Stop Deployment' dialog.
- Once deployment is completed, click the 'Generate Report' button
Scroll
down to view the full report.
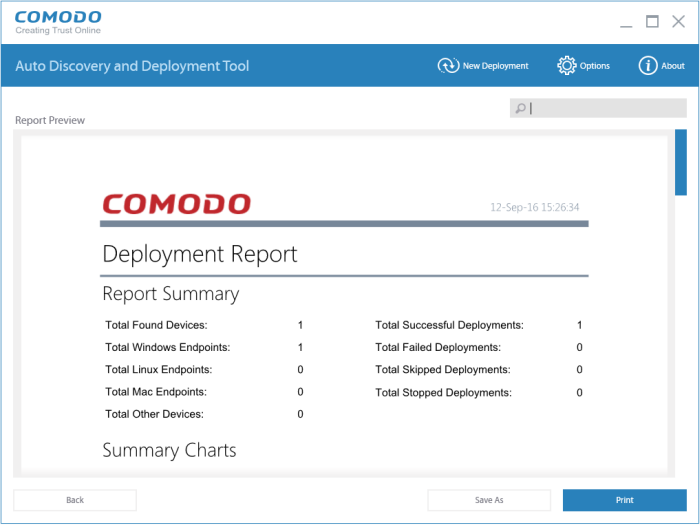
- Report Summary – Provides details about the number of devices to which the package was deployed, the date and time of the deployment, and the number of successful/failed deployments
- Summary Charts – Displays endpoints by OS type and the status of the deployment
- Discovered by Network Address – Overall summary of scan results, including the number of discovered devices, the OS breakdown of discovered devices and the quantity of deployments which were successful, unsuccessful, skipped or failed.
- Click 'Save' to save the report in .pdf format or click 'Print' to print the report