Inbound Flow Setup on Office 365
- Log in to your Microsoft Office 365 administrator center account
- Click 'Admin' in the menu on the left
- Click 'Admin Centers' > 'Exchange'
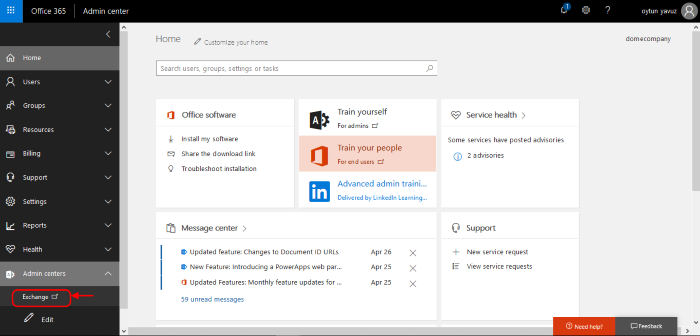
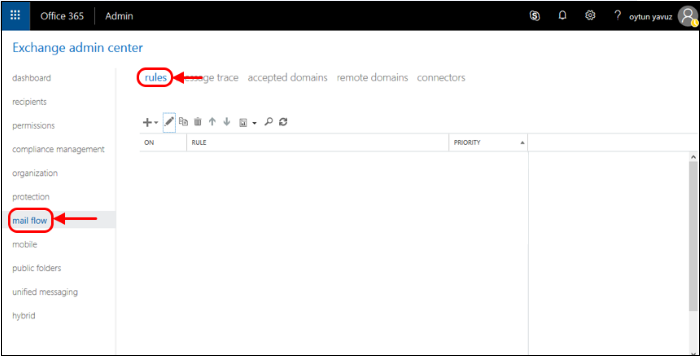
- Click 'Mail Flow' on the left
- Click 'Connectors' in the top navigation:
- Add an Inbound Connector.
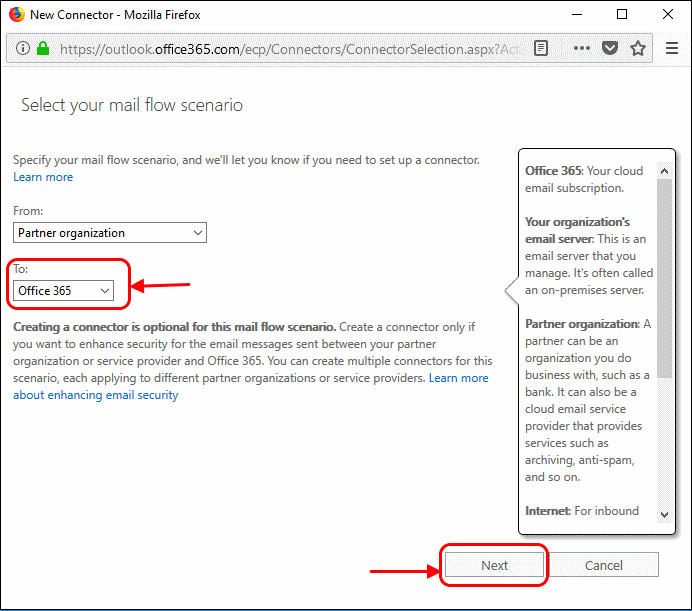
- Select 'Partner Organization' in the 'From' drop-down menu
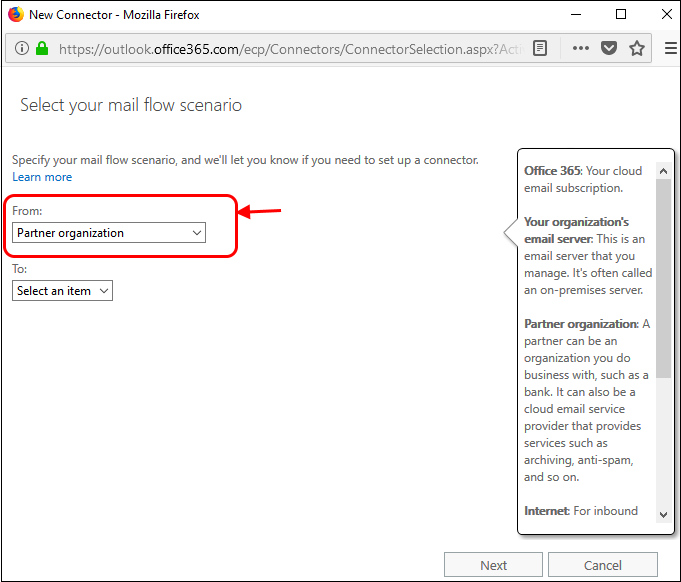
- Select 'Office 365' in the 'To' drop-down
- Click 'Next'
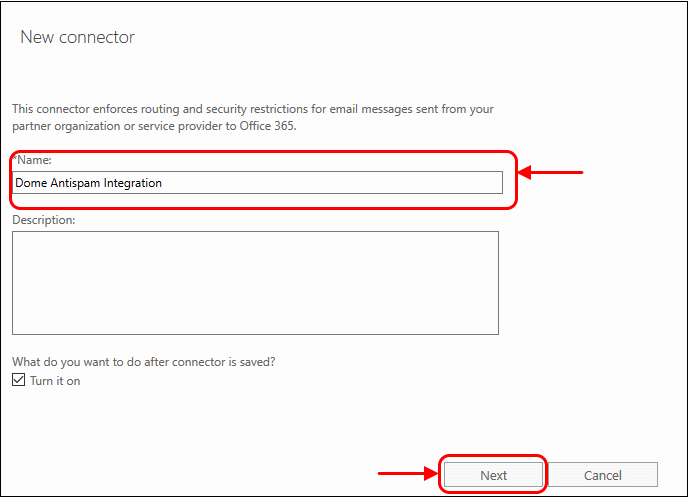
- Enter a descriptive name for the connector in the 'Name' field:
- Click 'Next'.
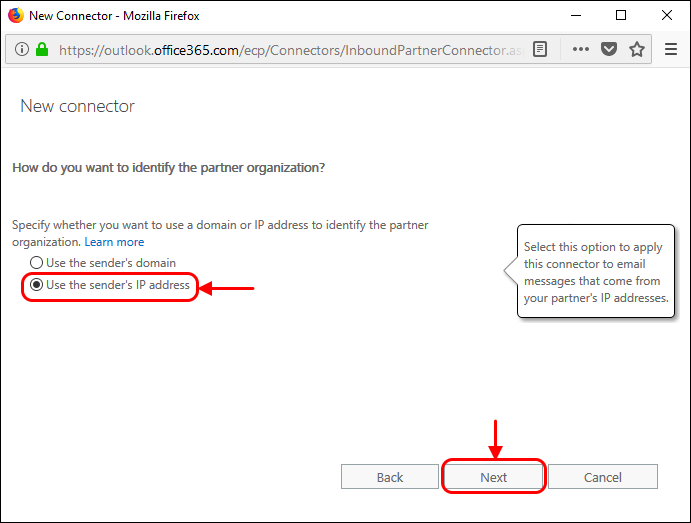
- Select 'Use the Sender's IP address':
-
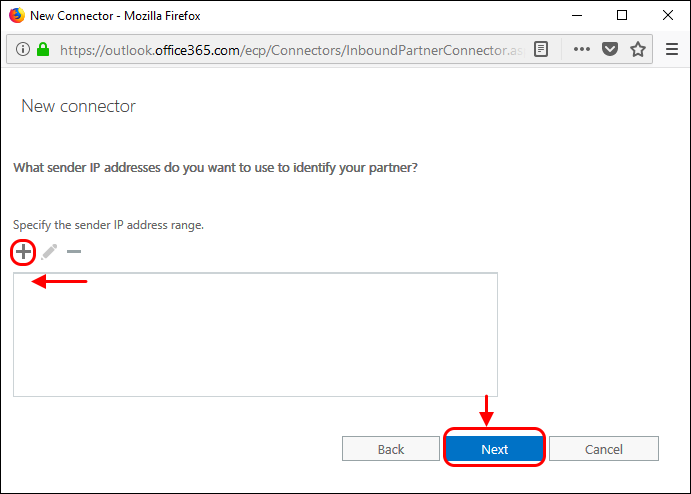
Specify the sender IP addresses range:
Click '+' to add new connector
-
Enter the IP addresses of the organization you want to add to the safe list. This will be the IP address of your KoruMail Server. This information is provided by Comodo to you by email after the provisioning step is finished.
|
Note: IP ranges should be in the format nnn.nnn.nnn.nnn/rr. Office
365 only accepts ranges (rr) between 24 and 32. Please change the rr
from the Korumail instructions to the closest Office 365 allows
you to set. For example, if the range
you were provided with is 216.104.0.0/19, you can enter
216.104.0.0/24. |
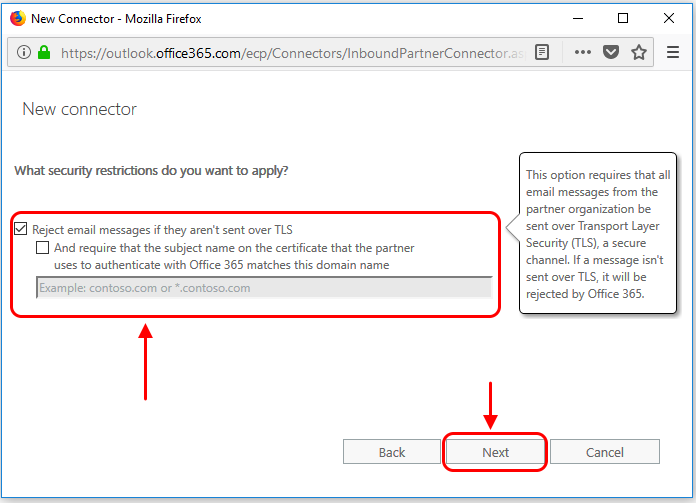
- Select the security restrictions you want:
-
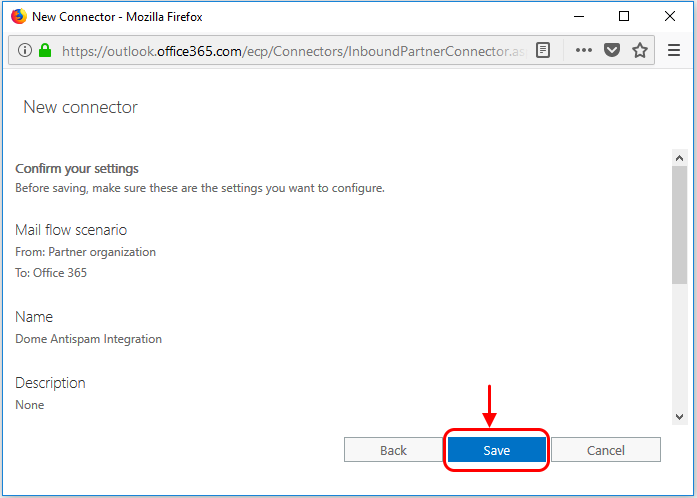
Click 'Save' to confirm
