


Step 4 - Configure Policy Items
Policies are constructed from a series of rules. There are three types of rules:
- Security Rules - Block sites known to host specific types of threat. Example threat types include malware, phishing, spyware etc.
- Category Rules - Control access to websites by content type. Example categories include social media, gambling, sports etc. Each category contains hundreds or thousands of sites that host a specific content type.
- Blacklists and Whitelists – Block or allow access to specific sites. These lists are often used to create exceptions when a site is blocked or allowed by a category rule.
You can also configure the following in a policy:
- Virtual Browsing - Specify that websites blocked by a security rule are instead opened inside a virtual environment. Virtual sessions are completely isolated from the host operating system, so any malware downloaded cannot infect the device or network.
- Block pages - Create custom block pages which are show when users visit a site that is blocked by one of your policies.
You can create as many policies as you want and apply them to networks and devices as required.
See the following sections for help with each item:
- Xcitium operates a huge database of harmful websites categorized by threat type. Secure Internet Gateway uses this database to power its security rules.
- Security rules let you block access to sites known to host specific types of threat. Categories include:
|
|
|
- XSIG ships with a default security rule that blocks phishing, malware and spyware websites. You can use this rule in a policy or configure new security rules as required.
Create a security rule
- Click 'Configure' > 'Policy Settings' > 'Security Rules'
- Click ' Create Security Rule' at top-right
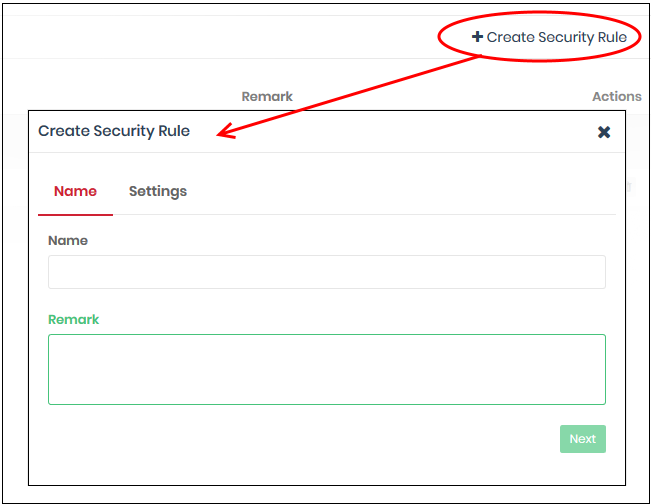
Name and remarks - Create a label for the rule and add any comments. These should help you, or another admin, identify the purpose of the rule.
- Click 'Next' or 'Settings' to choose the security categories you want to allow or block:

- Use the switches to allow or block sites in a particular threat-category
- Click the 'Create' button to save your rule
- Your new security rule will be available for selection when creating a policy
- Repeat the process to add more security rules
- Category rules let you control access to websites based on their content type. For example, you may wish to block access to adult websites, comedy sites, social media sites or sports websites.
- You can add multiple website categories to a single category rule. Category rules are another component of a policy, in addition to security rules and B/W lists.
- Security rules focus explicitly on harmful categories like phishing and malware. Category rules let you apply policy to sites that fall under a broader range of topics.
Create a category rule
- Click 'Configure' > 'Policy Settings' > 'Category Rules'
- Click 'Create Category Rule' at top-right
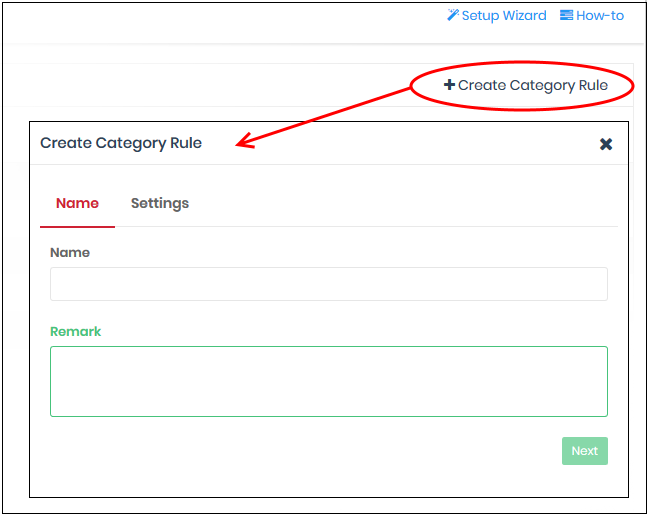
Name and remarks - Create a rule label and comments which will help you and others identify the purpose of the rule.
- Click 'Settings' or 'Next' to choose which categories you want to block/allow:

- Select Category - Use the drop-down to choose the types of website you want to block
- Main categories are shown in bold text, with sub-categories listed underneath. If you select a main category, all sub-categories are automatically selected. Review and deselect any sub-categories you want to allow
- You can add multiple categories to your rule. The number of categories you have added are shown at the end of the list:
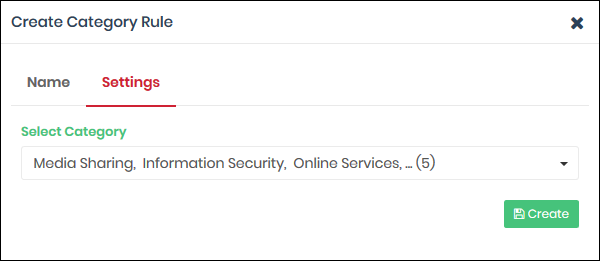
- Click 'Create' when done.
- The category rule is now available to add to a policy.
- Repeat the process to add more category rules
Add Domain Blacklists and Whitelists
- Blacklists
and whitelists over-rule category and security rules
- Whitelists over-rule blacklists
- For example - If you block the ‘Shopping’ category, but add 'shop.com' to the whitelist, then 'shop.com' is allowed
Create
a blacklist or whitelist
- Click 'Configure' > 'Policy Settings' > 'B/W Lists'
- Click 'Create B/W List' at top-right
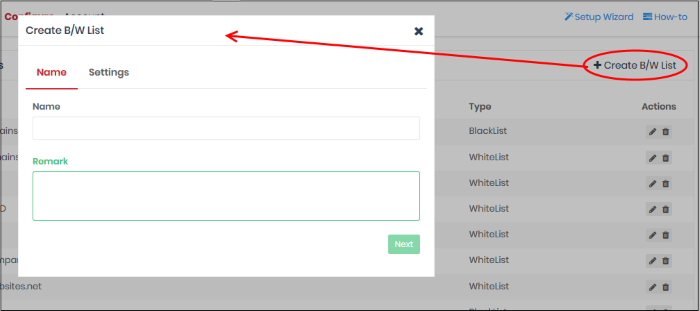
Name and remarks - Create a label and comments which will help you and others identify the purpose of the rule.
- Click 'Next' or 'Settings' to add domains you want to blacklist or whitelist.
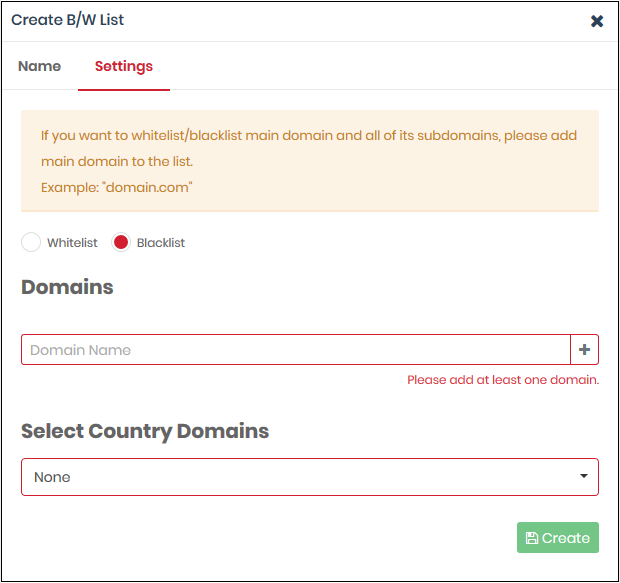
- Select Whitelist' or 'Blacklist'
- Domains - Enter the URL of the website without the 'http://' or 'https://' prefix. For example - www.example.com. Click '+' to add the domain to the rule. Repeat to add more domains.
- Select Country Domains - Add country code top-level domains (ccTLD) to the rule. The country TLD gets appended to the domain name you entered above. For example, if you enter amazon.com as the domain name and select ‘Turkey’, then XSIG adds amazon.com.tr to the rule. You can add multiple country domains.
- Click the '+' button to add the domain to the list. Repeat the process to add more domain names.
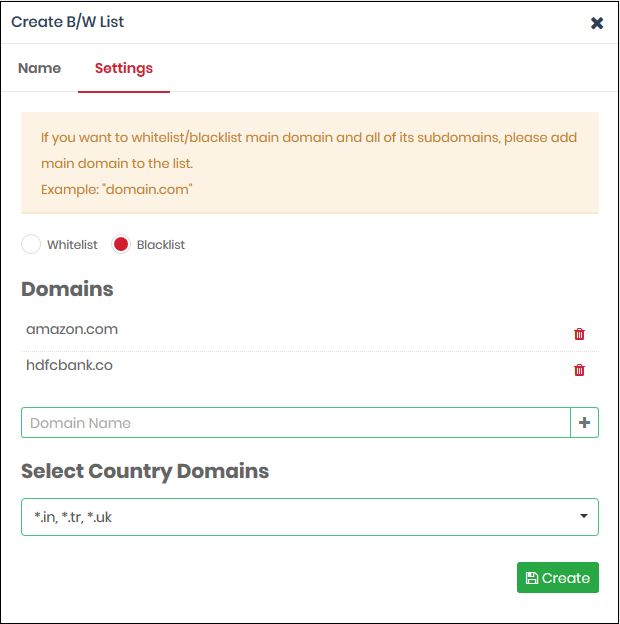
- Click the 'Create' button when finished.
The domains are added to B/W list. You can select it when creating a policy.
- Repeat the process to add more blacklists and whitelists.
Block pages are shown to end-users when they attempt to visit a site that is banned by one of your policies. This includes users of endpoints in your protected networks, and all roaming endpoints.
- You can create any number of block pages and apply them to different policies
- You can customize the content and behavior of block pages. The available options are:
- Show the same block page for all types of of rule violation
- Show different block pages for category, security, and blacklist violations
- Show custom text on block pages, and add your company logos
- Redirect users to a specific page
You need to install the Secure Internet Gateway SSL certificate on all protected endpoints. This is so the block page loads correctly over HTTPS connections.
Create a block page
- Click 'Configure' > 'Policy Settings' > 'Block Pages'
- Click 'Add a New Block Page' at top-right
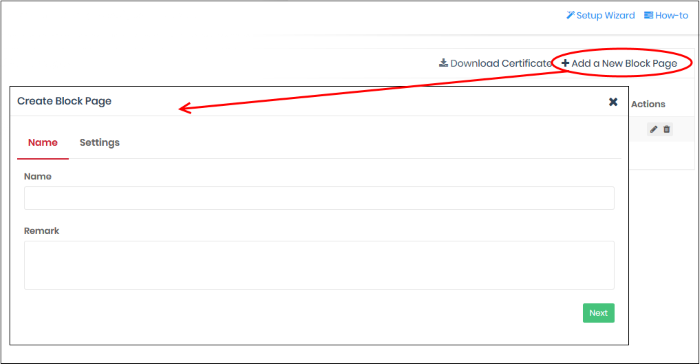
Remark - Type internal notes/comments about the page, if required. This text is not shown in the block page itself.
- Click 'Next' or 'Settings' to configure the block page
.png)
You now need to create your block page content and upload your logo:
1 - Configure Block Page Content
Choose one of the following:
- Show a single page for all blocked domains - The same block page is shown regardless of the type of rule violated.
- Show different pages for blocked domains - Show specific block pages when a certain type of rule is violated. You can show different pages for category rule breaches, security rule breaches and blacklist rule breaches:
_4.png)
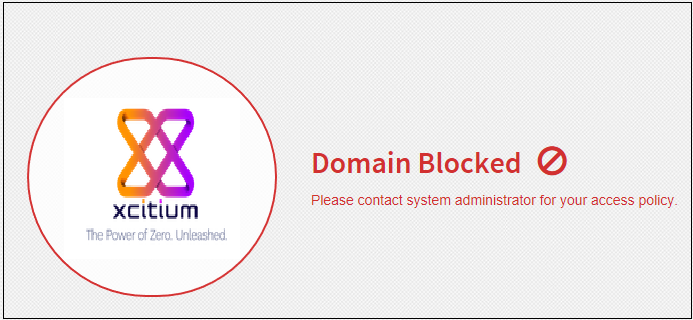
- You can create a custom message for each page if required.
- Alternatively, you can use the default message of 'Please contact your system administrator for your access policy'
- You can also redirect to a different page instead. For example, to the home page of your company website. Please specify the full URL if you use this option. E.g - https://www.example.com/security-redirect-page.php.
2 - Upload Your Logo
- The block page shows the Secure Internet Gateway logo by default
- You can change this to your own company logo by uploading a suitable .png or .svg file
- Click 'Upload Image' under 'Choose Logo'. Browse to the location of your image and click 'Open'
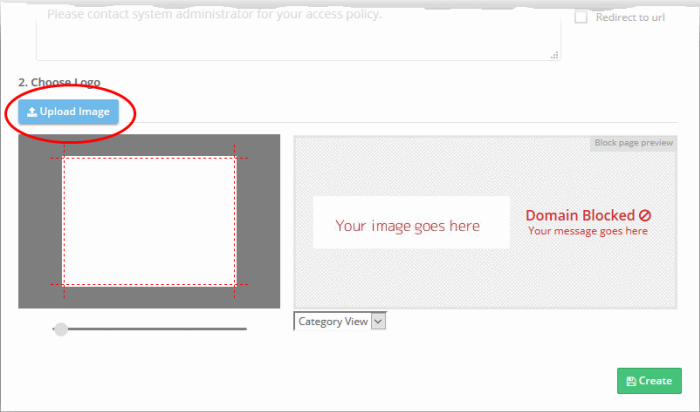
|
Note: Max. file size = 50 kb. Images must be in.png or .svg format. |
Your image appears on the left:
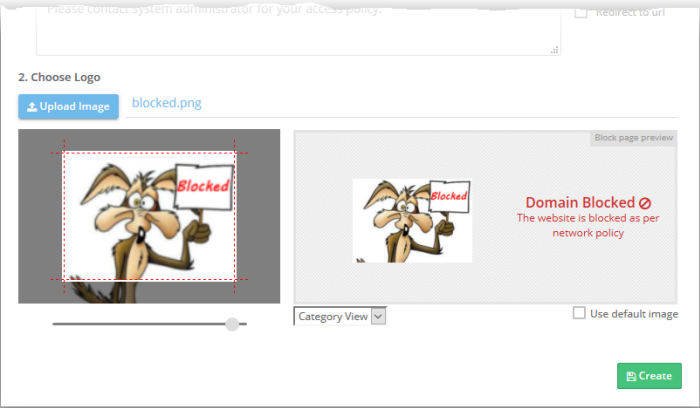
- Use the slider below the image to enlarge or reduce the image. Position the image within the red border as desired.
A preview of your block page appears on the right.
- Use the drop-down below the preview to view your block pages for security, category and blacklist rules.
- 'Use default image' - The Secure Internet Gateway logo is shown on the block page.
- Click 'Create'.
The new block page is available for selection when creating a policy.
Install SSL certificate for block pages
- Endpoint browsers may show an error message when some HTTPS pages are blocked by Secure Internet Gateway.
- You can avoid these errors by installing the XSIG SSL certificate on all protected endpoints.
Download the certificate
- Click 'Configure' > 'Policy Settings' > 'Block Pages'
- Click 'Download Certificate' at top-right
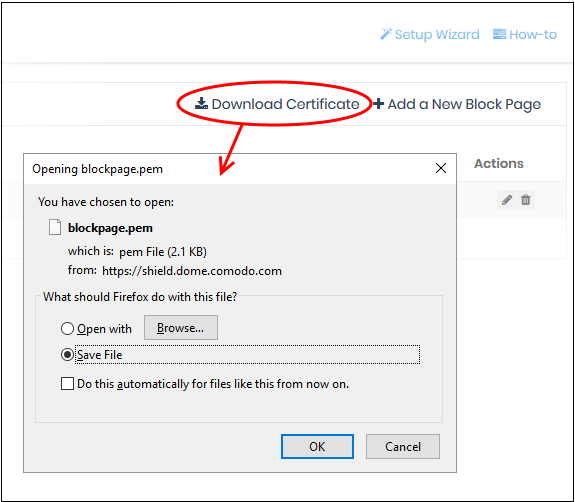
The certificate is downloaded
in .pem format.
- See
https://help.Xcitium.com/topic-434-1-840-11971-Manage-Block-Pages.html for help to install the certificate.
- The cloud browser feature lets you specify that sites blocked by a rule are instead opened inside a virtual environment.
- Virtual browsing sessions are isolated from the host operating system, so any malware downloaded cannot infect the device and/or the network.
Create a new cloud browser rule
- Click 'Configure' > 'Policy Settings' > 'Cloud Browser'
- Click 'Add a Cloud Browser Setting' at top-right
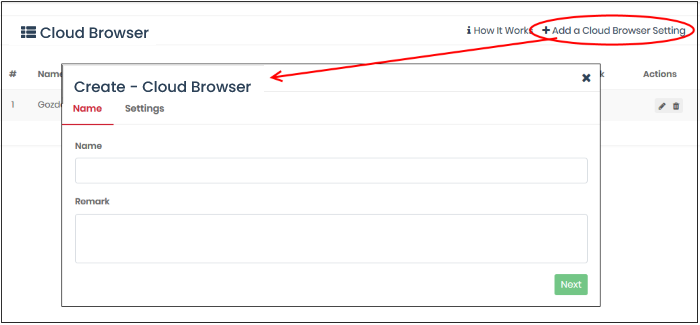
Name and remark - Create a rule label and add comments that will help you and others identify the purpose of the rule.
- Click 'Next' or 'Settings' to configure the virtual setting:
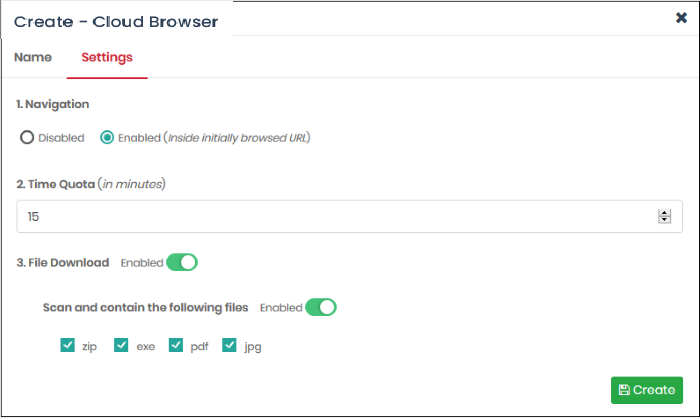
- Disabled - Users can only browse the base-domain of the site that triggered the virtual session.
- Enabled - Users can browse the initial URL, the resources under the initial URL, and any sub-domains. Users cannot change the URL itself nor visit another website.
Scan and contain the following files - Specify which types of files are scanned.
- Click ‘Create’ when done
You can now add this rule to the security section when creating a policy.