


Login to your Comodo SWG account
Stand-alone Customers
- After signup, Comodo will provide you with the URL of your Comodo SWG instance.
- Visit the URL using any internet browser to access your login page.
|
Note:Comodo SWG is hosted on Amazon Web Services (AWS) cloud computing platform. If you do not have an AWS account, Comodo will host it for you. |
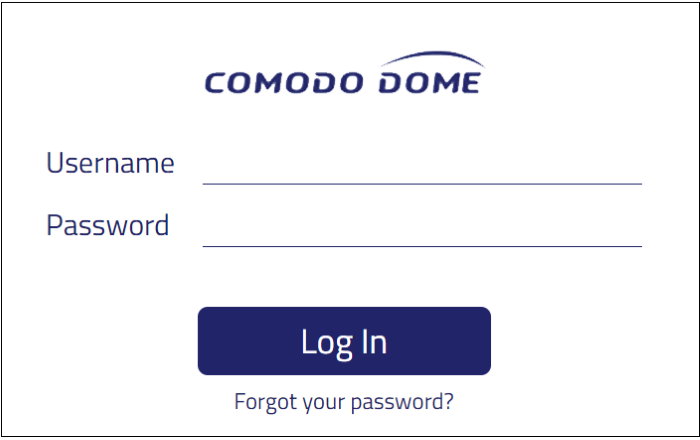
- Enter your username and password in the respective fields and click 'Sign In'
Portal Customers
- Login to your Comodo One / Comodo Dragon / ITarian account
- Click 'Applications' > 'Comodo Secure Web Gateway'
Configure Comodo SWG Nodes
You can host multiple nodes in different locations for traffic load balancing purposes. You can configure the additional nodes at first login after subscribing.
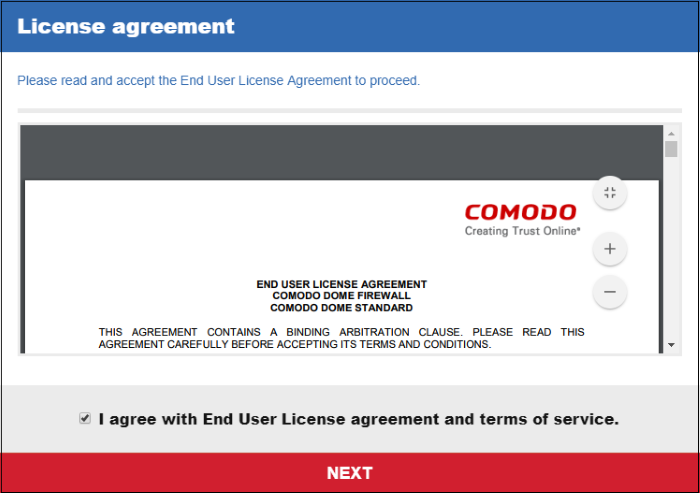
- Read the EULA fully, select the 'I agree' checkbox and click 'Next'
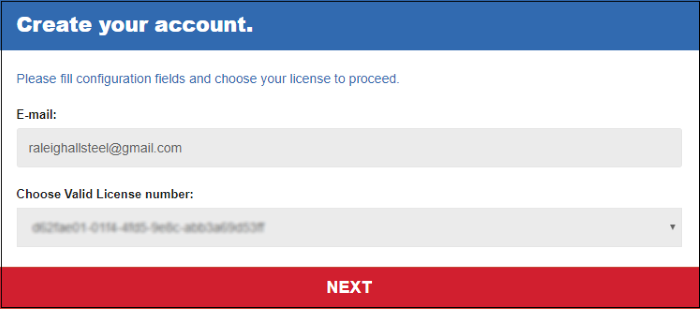
- Select the license you wish to use and click 'Next'
Next, select the hosting type:
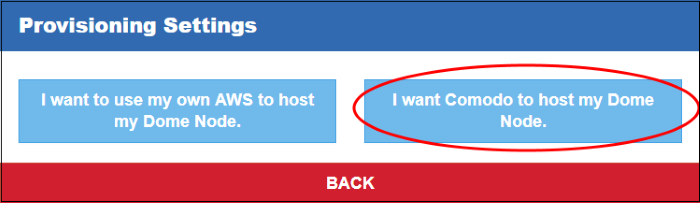
- Click 'I want Comodo to host my SWG Node'

- Select the region closet to you - Choose the region closest to your location. This will improve the performance of the service.
- How many endpoints will you protect with Comodo SWG - Enter the number of endpoints you wish to cover with SWG protection.
- Which user management method do you prefer - Select the method you want to use to authenticate users. Please note the user authentication method can be changed later on from the 'Authentication Settings' screen.
- Enter brief description in the 'Additional
comments' field and click 'Next'.
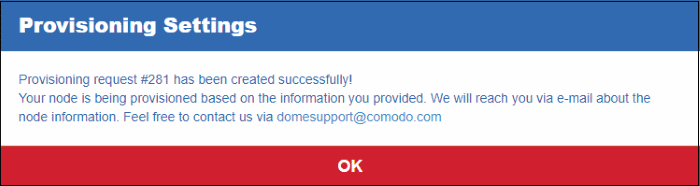
That's it. The Comodo hosted
node will be prepared and a confirmation mail sent to your registered
address. Contact support at domesupport@comodo.comif you have any questions.
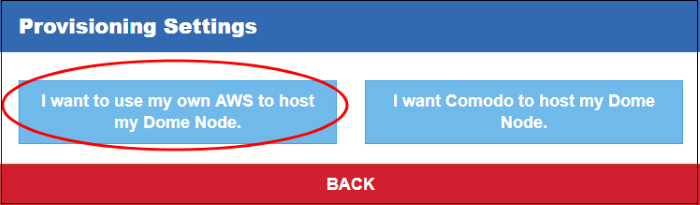
- Click 'I want to use my own AWS to host my Comodo SWG Node'
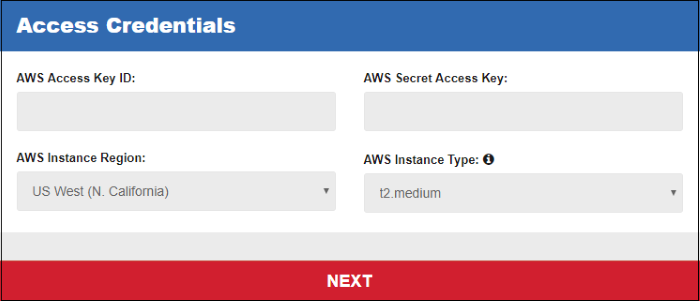
- Enter your AWS account credentials and click 'Next'.
- After your credentials have been
authenticated, next complete the 'Provisioning Settings' wizard.