

Create an Azure AD Account in your Portal
Note - You must already have an Azure AD account in the Microsoft portal before you can add Azure to Xcitium.
Add an Azure AD account to Xcitium
- Click 'Management', then 'Azure Active Directory'
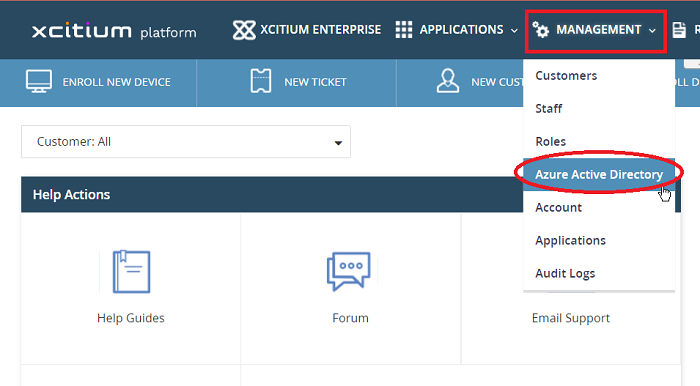
The 'Azure Active Directories' interface opens:
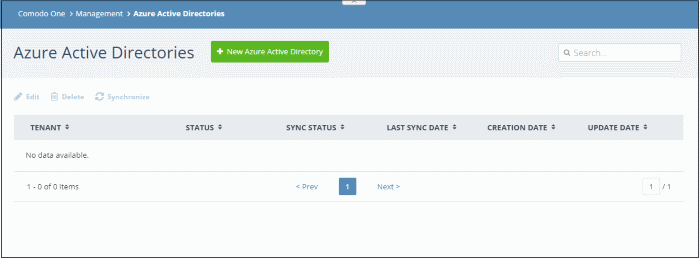
- Click 'New Azure Active Directory' button at the top
- The 'New Azure Active Directory' wizard starts:
Step
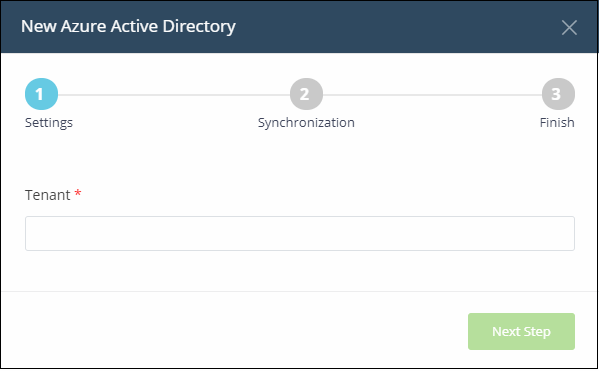
1 - Configure Azure Active Directory Settings
- Tenant - Enter your Azure Active Directory domain name. The Azure AD domain name is found in the Azure portal. See How to find the tenant name if you can’t find it.
- Click 'Next Step'
- You are taken to the Azure portal. Provide your Azure account credentials and click 'Sign in'.
- After successful Azure account validation, configure the synchronization settings in Step 2.
Step 2 - Synchronization Settings
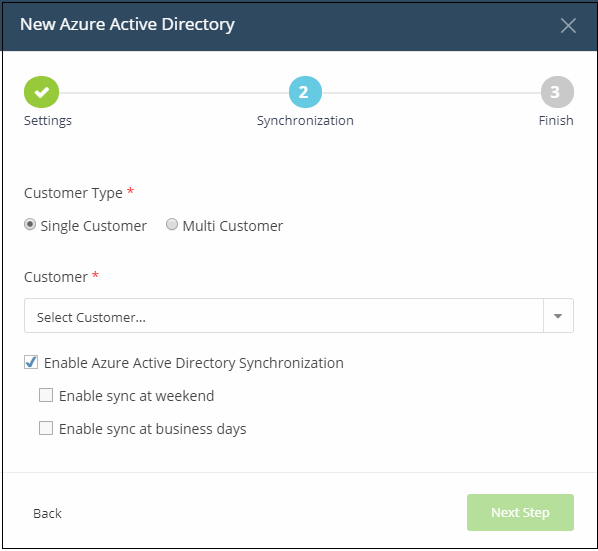
- Customer Type - Choose the customer type you want.
- Single Customer - All AD user groups are synchronized to the same Xcitium customer.
- Multi Customer - AD groups can be synchronized to different Xcitium Customers.
- Customer - This is available if 'Single Customer' is selected. Select the company with whom the Azure AD should be synchronized.
- Enable Azure Active Directory Synchronization - Select when the synchronization process should take place. All future syncs will take place at this time.
Click 'Next
Step' to continue.
Step 3 - Finish
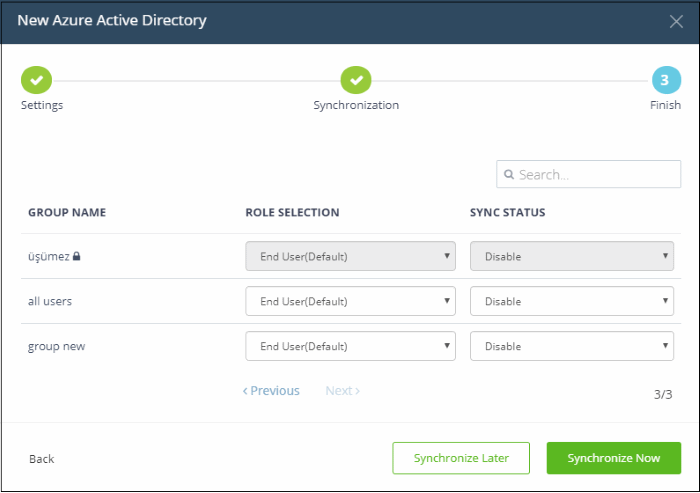
- The final screen shows all user groups defined in AD. You need to choose which groups you want to import and what role you want to give users imported from a particular group.
- Role Selection - Choose the Xcitium role you want to assign to users imported from the group. Note: The 'End User' role (default) is not defined in Azure AD. Users enrolled as 'End User' will be added to Service Desk as end users.
- Sync Status:
- 'Enable' - Imports users from the group after you click 'Synchronize Now'
- 'Disable' - Does not import users from the group after you click 'Synchronize Now'
- Click 'Synchronize Now' to start the initial import process.
- Click 'OK' on the confirmation alert
- Your AD account is added to Xcitium and users from selected user groups are imported. Xcitium will periodically synchronize with AD to update user lists.