


DNS Configuration
- Select a website from the drop-down at top-left then choose 'DNS'
-
You need to change your site's authoritative DNS server to Comodo DNS to enablecWatch protection, the contentdelivery network , and the Web Application Firewall (WAF).
- The DNS page shows the authoritative name servers (NS) for your site. You can use these to configure DNS settings.
-
After switching to Comodo DNS, you should use this page for DNSmanagement instead of your web host's DNS management page. For example, you can add new 'CNAME' and 'A' records, change MX records, and more.
Configure DNS settings for your site
- Open the cWatch dashboard
- Select the target website from the menu at top-left
- Click the 'DNS' tab
cWatch first queries your DNS servers to collect your existing records:
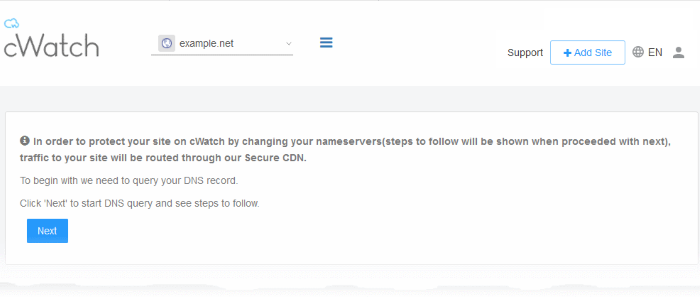
- Click 'Next' to allow cWatch to fetch your DNS records

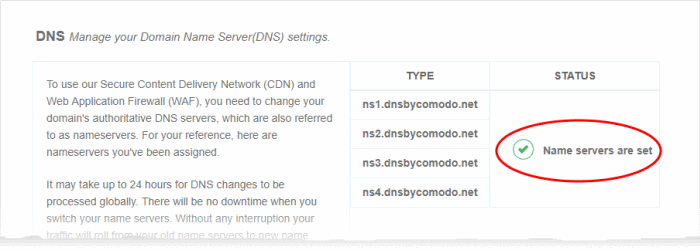
The DNS configuration page for the site will then load, complete with the site's name server (NS) details:

- Go
to your site's DNS management page and enter the new name servers.
- See https://support.google.com/domains/answer/3290309?hl=en if you need more help on name server changes.
You can view whether the change was successful in the cWatch interface:
- Select the target website from the menu at top-left
- Click the 'DNS' tab
- Look in the 'Status' column:
- It may take up to 24 hours to process the DNS changes
- FYI - there is no site downtime when you switch name servers. It is a seamless transition.
|
Note:
|
Manage DNS Records for your site
Note - you can only manage DNS records in cWatch if your nameservers are pointed to Comodo.
- This applies if you entered the NS values from the 'DNS' page as explained above, or chosen Option A - Change your domain's authoritative DNS servers to Comodo' in 'CDN' > 'Settings' > 'Activation'.
If you selected 'Option B - Enter DNS records explicitly' when activatingCDN, then you must use yourweb-host's tools to manage your DNS records.Any updates to DNS records that you make in this page will haveno effect .
Manage DNS records
- Open the cWatch dashboard
- Select the target website from the menu at top-left
- Click the 'DNS' tab
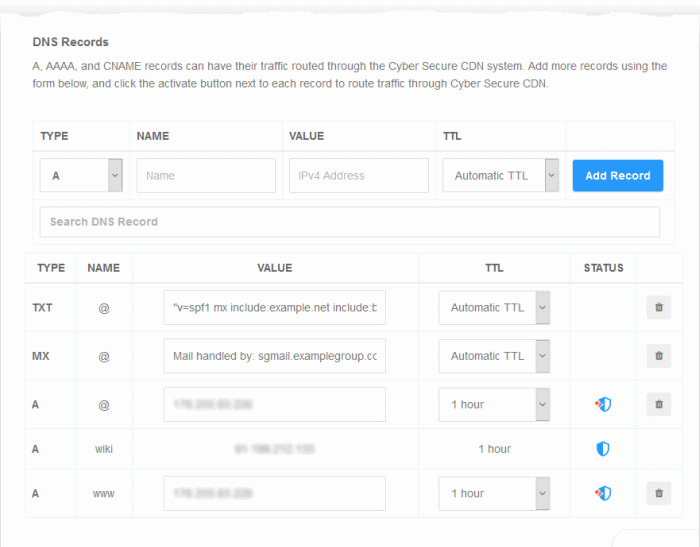
- Scroll down to 'DNS Records' pane
The DNS records associated with the website are shown:
|
DNS Records - Table of Parameters |
|||||||
|---|---|---|---|---|---|---|---|
|
Column Header |
Description |
||||||
|
Type |
The kind of the DNS record. |
||||||
|
Name |
The label of the record. |
||||||
|
Value |
The content of the record. |
||||||
|
TTL (Time To Live) |
How long the record value can be served from the name server / local cache without refreshing the value from the site. |
||||||
|
Status |
Whether the record is protected
|
||||||
|
Controls |
Remove a record from the website. |
||||||
Add a DNS record
- Open the cWatch dashboard
- Select the target website from the menu at top-left
- Click the 'DNS' tab
- Scroll down to the 'DNS Records' pane
- Configure the following items:
- Type - Select the kind of the DNS record from the drop-down
- Name - Enter an appropriate label for the record
- Value - Enter an appropriate content for the record. For example if CNAME is selected, then enter the alias domain name
- TTL - Time-To-Live value for the record. Select the TTL period from the drop-down.
- Click 'Add Record' to save your changes
You can enable protection for a site after adding the DNS record. See below more on this.
- See https://support.google.com/domains/answer/3290309?hl=en if you need more help to change nameservers
Enable cWatch protection on a site
- Click the
 icon beside the DNS record
If the website is licensed then the protection starts after youclick the icon.
If not licensed then you need to register the record tocWatch .

- Click 'Add Site' to start the 'Add Websites' wizard.
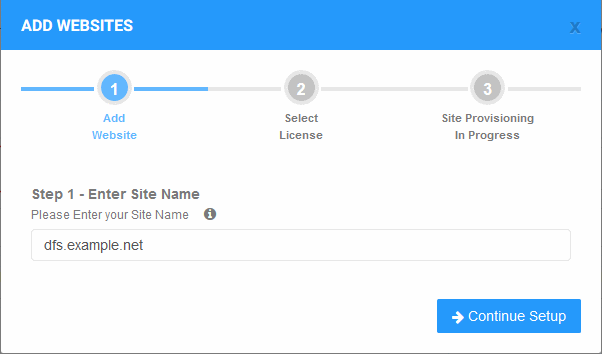
The website name is pre-populated.
- Click 'Continue Setup' to move to the next step.
The drop-down menu lists any unused licenses you have on your account. You can apply one of these licenses if available.
- Click 'Buy a license' if you don't have any existing licenses.
Click here if you need help with the order form.
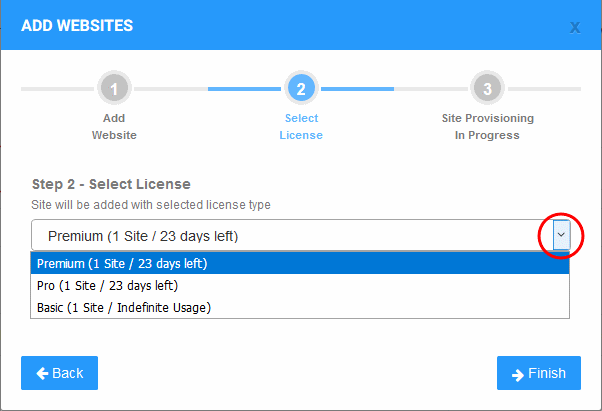
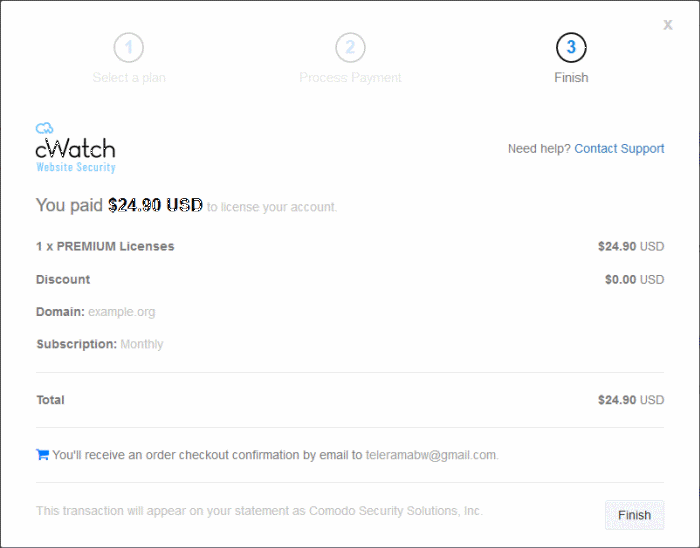
- Click 'Finish' to apply the license. The site will be registered.
- cWatch will validate your request then show the following confirmation message:
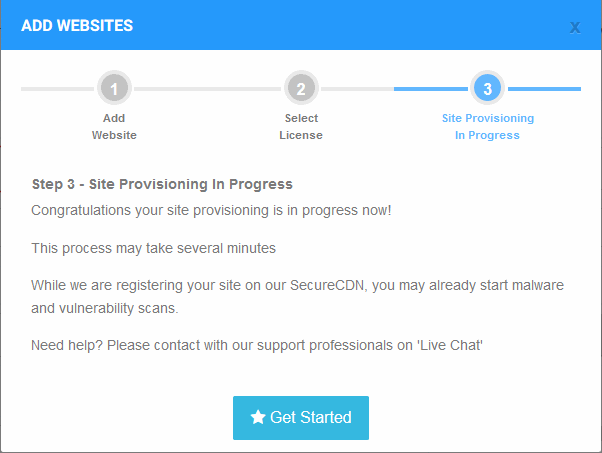
- Click
'Get Started' to activate cWatch protection.
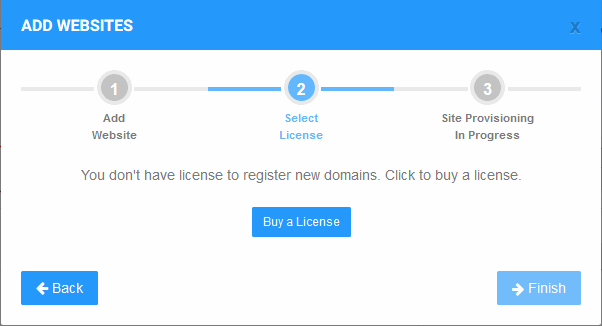
- Click 'Buy a License'
- You will be taken to the license purchase page:
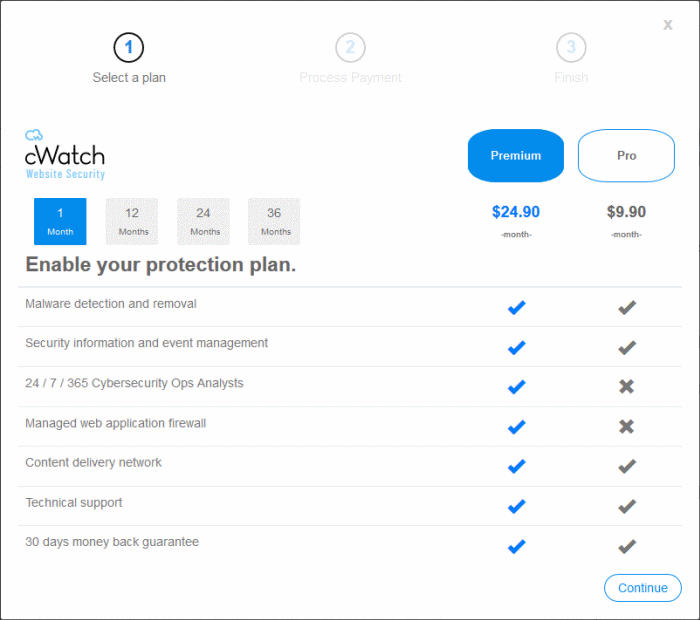
- Select the license period and type. See License Types if you want to read more about the features of each license.
- Click 'Continue'
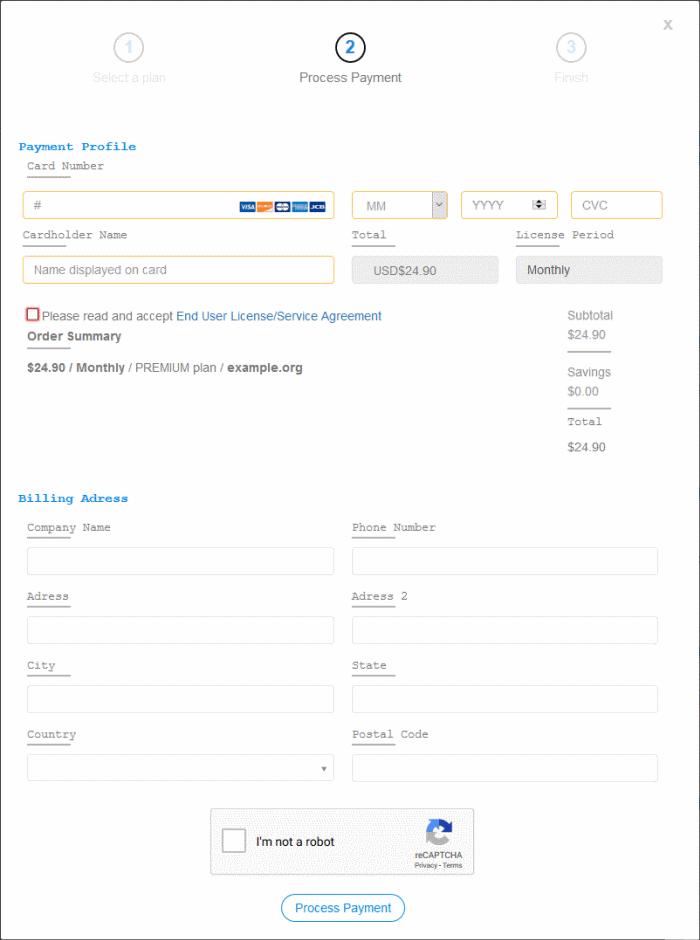
- Complete the payment details section
- Read the 'End User License/Subscriber Agreement' and tick the checkbox to agree
- Enter your billing address
- Complete the captcha verification and click 'Process Payment'
- The new license is added to your account and can be applied to the site in cWatch.
-
Restart
the process to add protection to the DNS record.
Remove protection from a site
- Click the shield icon beside the record:
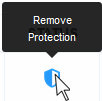
You will see the following confirmation message:

Remove a DNS record
- You can remove a record that is not
cWatch protected
- Click the trash can icon beside a record
