


Backup Settings
The backup settings area is where you establish the connectionbetween your web host server and the backup server.
You can also configurebackup schedule, exclusions, and notifications.
- Once connected, your site files and databases are backed as per your schedule
Open the backup settings page
- Select the target website from the menu at top-left
- Click the 'Backup' tab
- Click 'Settings' at the upper-left
This section explains how to connect your site to the backup servers.
- Select the target website from the menu at top-left
- Click the 'Backup' tab
- Click 'Settings'
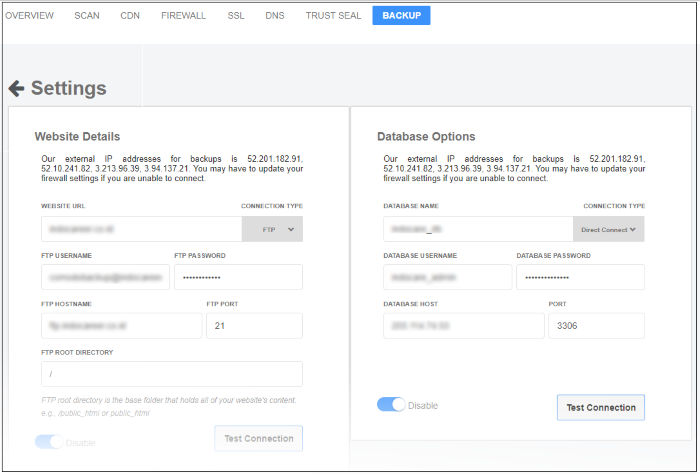
- Configure site backup in the ‘Website Details’ pane:
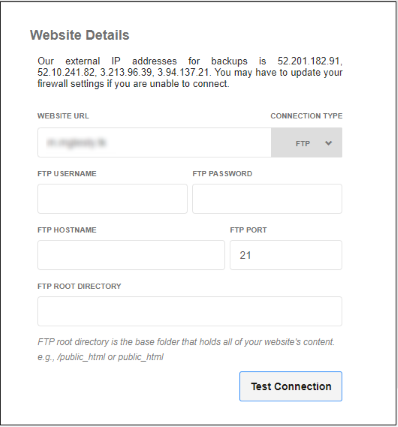
- Website URL - Enter the domain of your site. Do not include
http :// or https:// at the start.
- Connection Type - Select one of the following:
- FTP - Enter the username and password of your FTP server
- SSH-KEY – cWatch will generate a private key if you choose this option. Add the key shown in the interface to your authorized keys file (…/ssh/authorized_keys) on your FTP server.
- FTP Port - The port over which cWatch should connect to your FTP server
- FTP Directory - The path
of your web root folder. For example '/public_html/
- Test Connection - Click this after completing all fields
cWatch will check your settings and, if successful, show a confirmation message as follows:
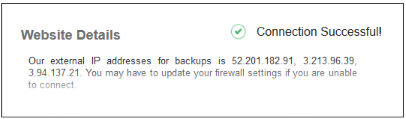
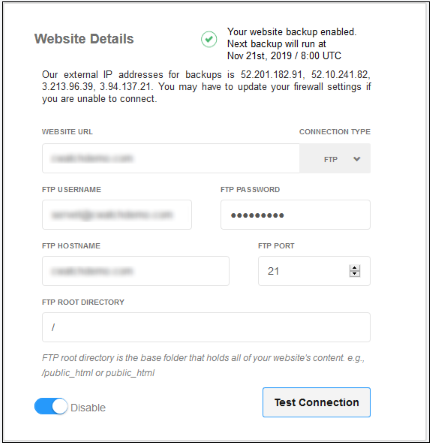
- Click 'Save'
The backup service is activated. You can enable or disable the service using the switch at the bottom.
Note - you will see an error message if you have a backup license, but the file and database backup settings are not configured:
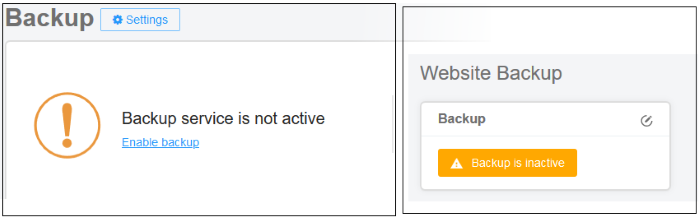
- Click ‘Enable backup’ / ‘Backup is inactive’ to open the settings page.
These settings will connect your website database to the cWatch backup servers.
There are two options for the connection:
- Direct Connect - Establish an Amazon Web Services network connection from your database server to the cWatch server.
- SSH-KEY - cWatch will generate a private key for your account and show it in the interface. Add the key to your authorized keys file (…/ssh/authorized_keys) on your database host
Your site databases are handled separately to the rest of the files on your site. Use this section to tell cWatch of the name, location and connection method of your database.
- Select the target website from the menu at top-left
- Click the 'Backup' tab
- Click 'Settings'
- Locate the 'Database Options' pane
- Configure db backup in the ‘Database Options’ pane:
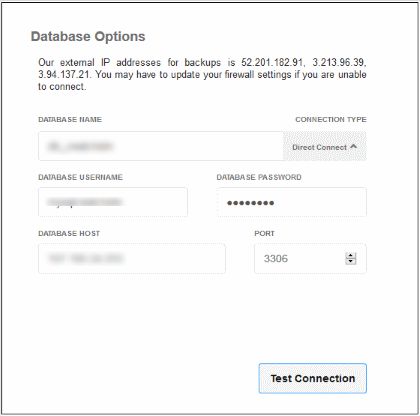
- Database Name - Your database’s label
- Connection Type - Select one of the following:
- Direct Connect - An AWS network connection from your database server to the cWatch server
- SSH-KEY - Add the private key shown in the interface to your authorized keys file (…/ssh/authorized_keys) on your database host
- Database Username / Password - The credentials to access the database
- Database Host - IP address or
host name of the database server
- Port - The port over which cWatch server should connect to the database server
- Test Connection - Click this after completing all fields
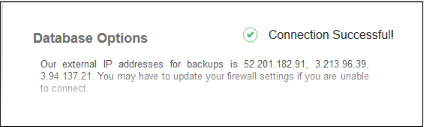
cWatch will check your settings and, if successful, show a confirmation message as follows:
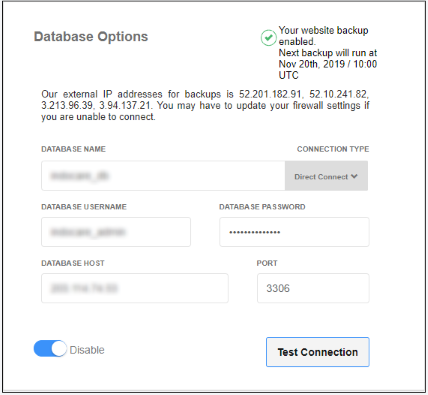
- Click 'Save'
The database backup service is activated and you have the option to enable or disable it using the button at the bottom.
Backup service is not active message is shown in the backup and overview pages if you disable backup here. This message is also shown if you have a backup license but the file and database backup settings are not configured.
This section lets you configure regular, automatic, backups of your site. Scheduled backups are full backups that replace the previous one, whereas on-demand backups are incremental backups.
- Select the target website from the menu at top-left
- Click the 'Backup' tab
- Click 'Settings'
- Locate the 'Schedule' pane:
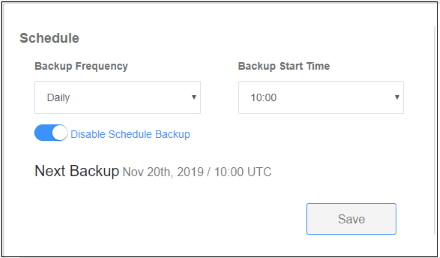
- Backup Frequency - Four options are available:
- Daily - Backups start at the date/time shown in ‘Next Backup’, then run every day at the same time thereafter.
- Every 2 days - Backups start at the date/time shown in ‘Next Backup’, then run every other day thereafter.
- Weekly - Backups start at the date/time shown in ‘Next Backup’, then run once every 7 days thereafter.
- Monthly - Backups start at the date/time shown in ‘Next Backup’, then run date/time of every calendar month thereafter.
- Backup Start Time - Choose when the backup operation should begin
cWatch can send email alerts to admins about the success or failure of each backup operation.
- Select the target website from the menu at top-left
- Click the 'Backup' tab
- Click 'Settings'
- Locate the 'Notification' pane:
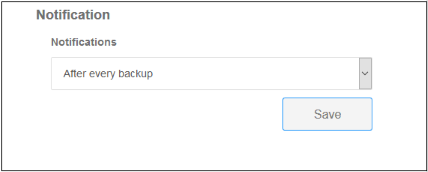
Choose one of the following options:
- After every backup - You receive a notification after each backup. The message states whether the operation was successful or not.
- Only on failure - You only receive a notification when a backup fails.
- Disable notifications - No notification mails are sent.
Exclusions are folders and file extensions that you do not want to backup. This might be because they contain sensitive information, or simply because you don’t want certain files to eat into your storage limit.
- Select the target website from the menu at top-left
- Click the 'Backup' tab
- Click 'Settings'
- Directory Full Path – Exclude entire folders.
- Extension Exclusions – Exclude specific file extensions. For example, *.psd will exclude any Photoshop files.
Directory Path
- Type the location of the folder that you want to exclude. For example, wp-admin/creds
- Click '+'.
- Repeat the procedure to add more paths
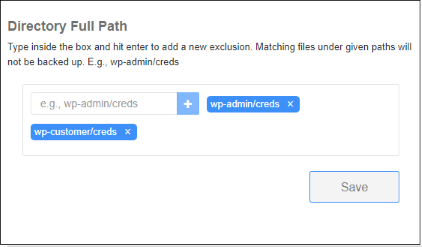
- Click 'Save'
Extensions
Files with matching extensions are not backed up to cWatch servers.
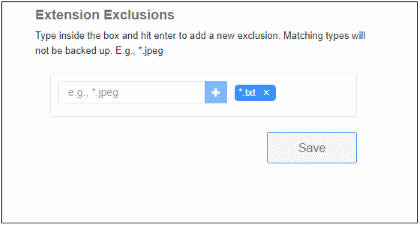
Type the extension of the file that you want to exclude. You must prefix the extension with *. For example, *.txt
- Click '+'
- Repeat the procedure to add more file extensions
- Click 'Save'.