Manage Domain Blacklist and Whitelist
Black and whitelists let you block or allow specific domains. Black/whitelists are often used to create exceptions to security/category rules.
- You can add specific websites to a blacklist or whitelist according to your organization's web security policies.
- Blacklists and whitelists over-rule category and security rules.
- Whitelists over-rule blacklists.
- E.g. - If you block shopping sites in a category rule, but add 'shop.com' to the whitelist, then 'shop.com' is allowed.
- If you enable 'Only B/W Mode' in a policy, then only the black and whitelists are consulted. All security and category rules are ignored.
- Click 'Configure' > 'Policy Settings' > 'B/W Lists' to open the 'B/W Lists' area:
_3.png)
The list of B/W list rules are displayed.
|
Domain B/W Lists - Table of Column Descriptions |
|
|---|---|
|
Column Header |
Description |
|
Rule Name |
The label of the domain B/W list rule. |
|
Remark |
Comments provided for the rule. |
|
Type |
Indicates whether the rule is categorized as Whitelist or Blacklist. |
| Actions | Controls to edit / delete the rule. |
The interface allows you to:
Create a new domain blacklist / whitelist
- Click 'Configure' > 'Policy Settings' > 'B/W Lists'
- Click 'Create B/W List' at the top right
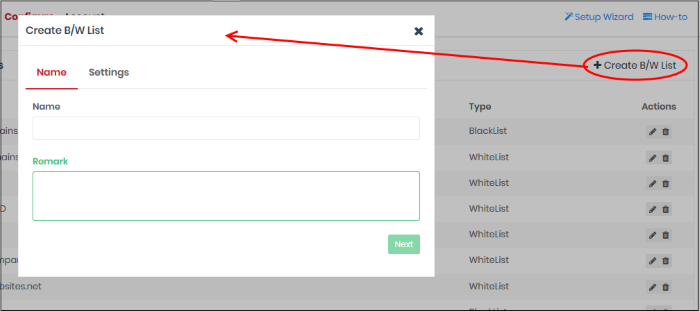
-
Name and remarks - Create a label for the rule and add any comments. Ideally, these should help you and others identify the purpose of the rule.
- Click 'Next' or 'Settings' to add domains you want to blacklist or white-list.
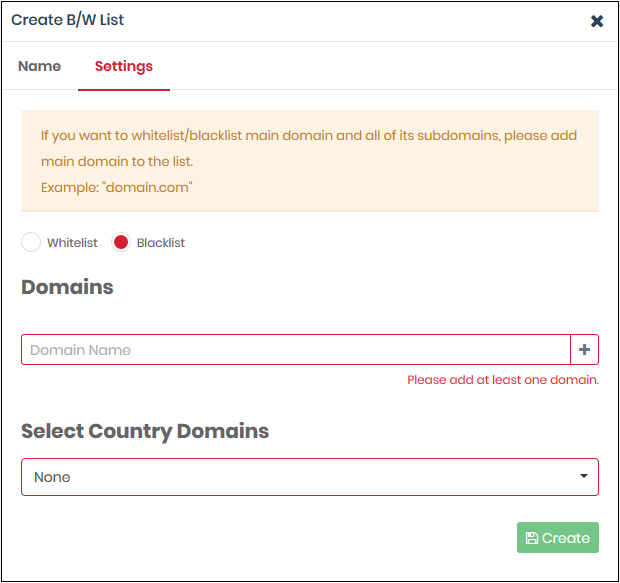
- Select Whitelist' or 'Blacklist'.
- Domains - Enter the URL of the website without the 'http://' or 'https://' prefix. For example - www.example.com. Click '+' to add the domain to the rule. Repeat to add more domains.
- Select Country Domains - Add country code top-level domains (ccTLD) to the rule. The country TLD gets appended to the domain name you entered above. For example, if you enter amazon.com as the domain name and select ‘Turkey’, then XSIG adds amazon.com.tr to the rule. You can add multiple country domains.
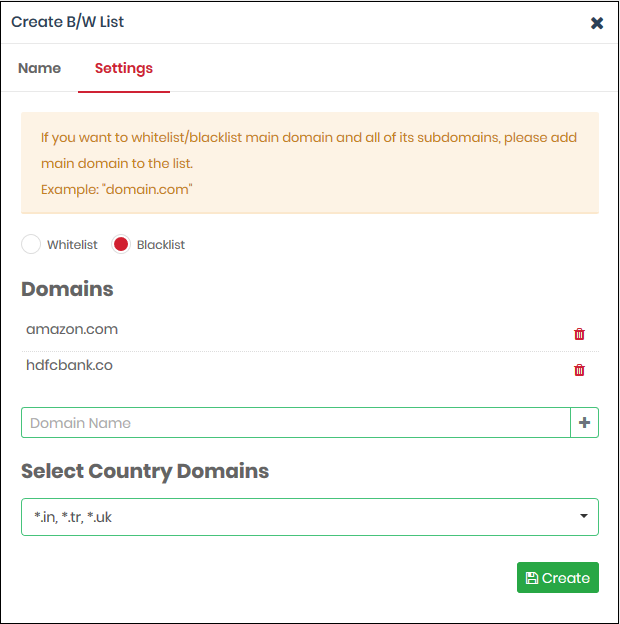
- To remove a domain name, click the trash can
icon

- Click the 'Create' button at the bottom of the dialog when finished
The domains are added to B/W list and the list will be available for selection when creating a policy.
Edit a domain blacklist / whitelist
- To update a B/W list, click the edit
 button
beside the rule
button
beside the rule
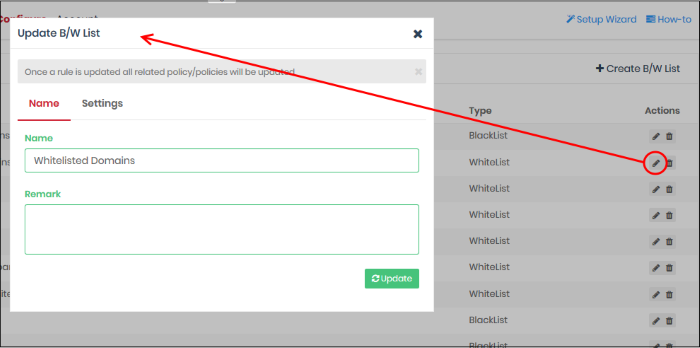
The 'Update B/W List' dialog is similar to the create dialog explained above.
- Modify the name, description and/or domains in the B/W list as per your requirements.
- Click the 'Update' button.
Please note that the
policy/policies containing the B/W list will also be updated
according to the new settings and name.
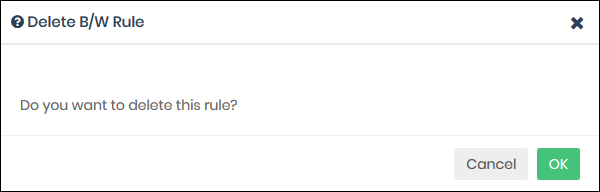
Delete a domain blacklist / whitelist
Please note that you cannot delete
a B/W list that is currently active in a policy. You have to disable the B/W lists in all policies before deleting it.
- Click the trash can icon
 beside a B/W list to
delete it
beside a B/W list to
delete it
- Click ‘Ok’ in the confirmation box to remove the list