Handle Autorun Items
- The autorun manager lets you enable/disable startup items, view the registry key and parent application of an item, and view the item's properties.
- If you remove an item from the list it will no longer be loaded at system start-up.
Manage autorun items:
- Select the item in the main display pane
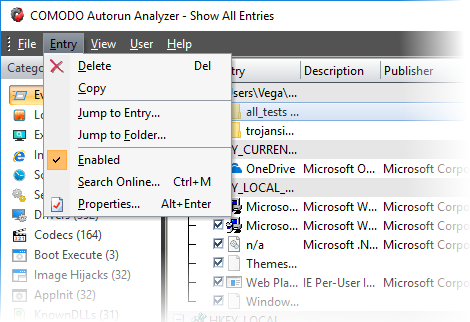
- Click on the 'Entry' menu item
- Select an action from the list
Or
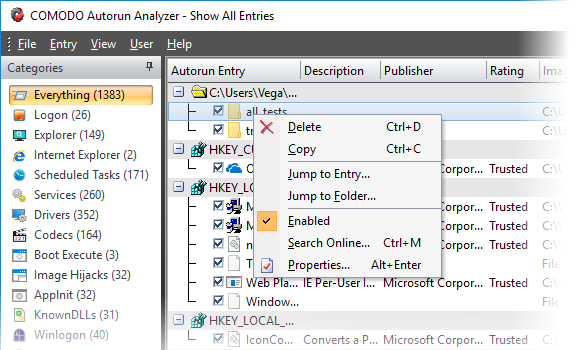
- Right-click on the item and select the option from the context sensitive menu.
- Delete - Remove the autorun item and stop the parent application from loading into your system during start-up. You can still start the application from the windows start menu if required.
- Copy - Adds the selected row to the clip-board of your system.
- Jump to Entry - Opens the selected entry in windows registry editor.
- Jump to Folder - Opens the path containing the parent application or the module that loaded the autorun item in windows explorer with the parent application.
|
Tip: You can directly enable or disable an entry from the main display pane by selecting/deselecting the checkbox beside the entry. |
- Search Online - The default web browser of your system with the search engine specified and searches for information on the autorun item.
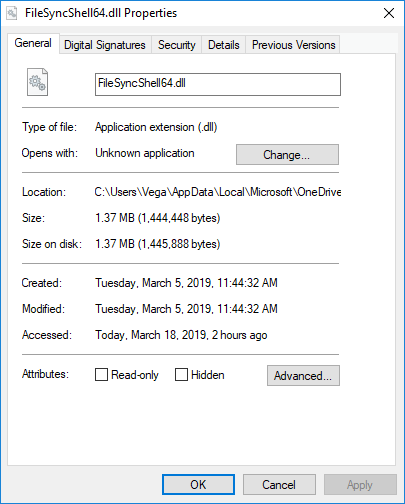
- Properties - The attributes dialog of the selected Module.