


Administrators
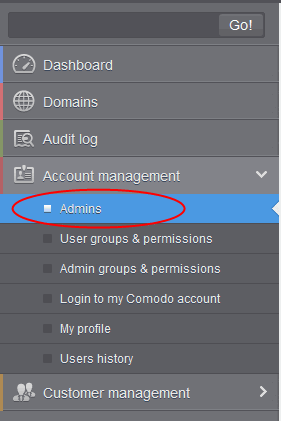
Click ‘Account Management’ > ‘Admins’.
This area lets admins add or remove fellow administrators, specify their permissions and reset their passwords.
Click the following links for more:
- Click the 'Admins' from the 'Account management' drop-down menu on the left
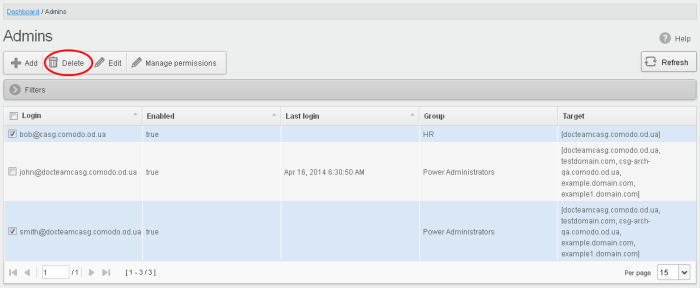
The admins interface shows a list of administrators, their last login time, the group to which they belong, and the domains that they can manage.
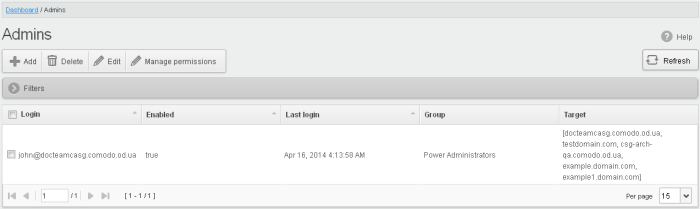
- Click the up/down arrows in the respective column headers to sort the entries in ascending or descending order based on the login, enabled status or last login time
Use the filter option to search administrators
- Click anywhere on the 'Filters' to open the filters area.
-
Choose the filter by which you want to search from the first drop-down, then a condition in the 2nd text box. Some filters have a third box for you to type a search string.
-
Click ‘Apply Filter’.
You can filter results by the following parameters:
- Login: Type an admin login details in the text box (column 3) and select a condition in column 2.
- Enabled: Sorts the results based on administrators' enabled / disabled status.
- Last Login: Select a date in the calendar (column 3) and the condition in column 2.
- Group: Select an admin group in the last drop-down (column 3) and the condition in column 2.
Click anywhere on the 'Filters' tab to close the filters area. Click the 'Refresh' button to remove filters.
You
can add multiple filters to the same search by clicking  .
.
- Click the 'Add' button.
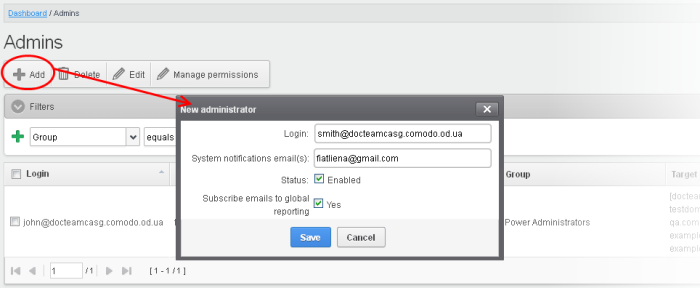
The 'New administrator' dialog will be displayed.
- System notifications email(s) - Enter the email addresses at which the new administrator should receive CSEG notification emails. It can be the same email address as the login name if required. You can add up to five alternative email addresses for the person.Quarantine requests and notifications are sent to the addresses specified in this field. See Email Management for more details.
-
Status - Enables to change the login status of the new administrator. By default, this box is selected, that is, the new administrator can access CSEG interface.
-
Subscribe emails to global reporting - Send domain and quarantine reports to the admin at the email address used for the their username. See CSEG Reports - an Overview for more details.
-
Click the 'Save' button.
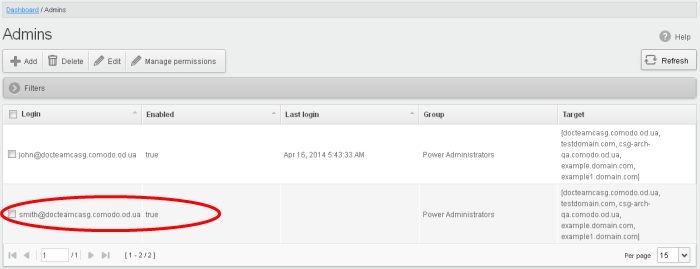
The administrator is added to the list and placed in the default group.You can modify their permissions if required (seeManage Admin Permissionsfor more). CSEG will send the new admin a registration mail containing their login details. The password can be reset in the edit interface.
Delete an administrator
- Select the administrator to delete and click 'Delete' button.
A confirm dialog is shown as follows:
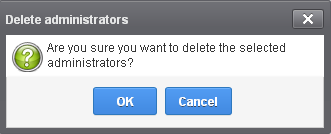
- Click 'OK' to confirm the deletion.
The selected administrator(s) will be deleted from the list.
- Select the administrator you want to edit from the list and click the 'Edit' button.
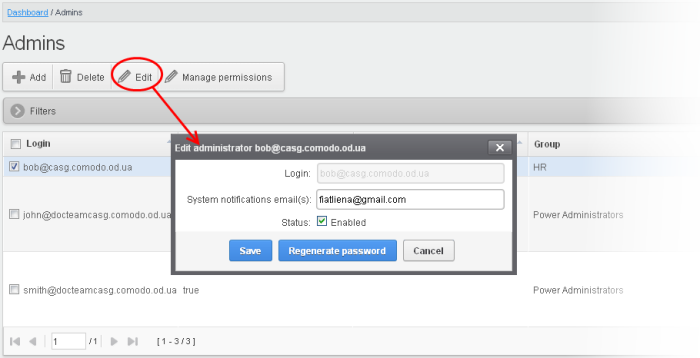
The 'Edit administrator' dialog box will be displayed.
- System notifications email(s) - Enter the email addresses at which the new administrator should receive CSEG notification emails. It can be the same email address as the login name and / or alternative email address(es) of up to a maximum of five. The quarantine requests from users, for blacklisting, whitelisting, or releasing quarantined emails and notifications such as of imports of users, local recipients and users via LDAP from CSV files will be sent to the email addresses specified in this field. See the section Email Management for more details.
|
Tip: The currently logged-in administrator can configure the quarantine notification email address in Dashboard > Account Management > My Profile dialog. |
- Status – Enables or disable the admin
- Regenerate password - Reset the password for the administrator in case it is forgotten. The new password will be sent to the administrator's email automatically. The administrator has to use this new password to access CSEG
- Click the 'Save' button to confirm your changes.
CSEG allow administrators with appropriate privileges to assign permissions for other administrators that will determine what he/she can do and cannot do while logged into their respective CSEG admin interface. The administrators can create policies and assign them to other administrators from this interface. See 'Admin Groups & Permissions' for more details on how to create groups and policies for administrators. A new administrator will be automatically assigned default permission settings.
Assign permissions for an administrator
- Select the administrator or multiple administrators that you want assign permissions and click the 'Manage permissions' button.

The 'Admin Groups & Permissions' interface will be displayed.
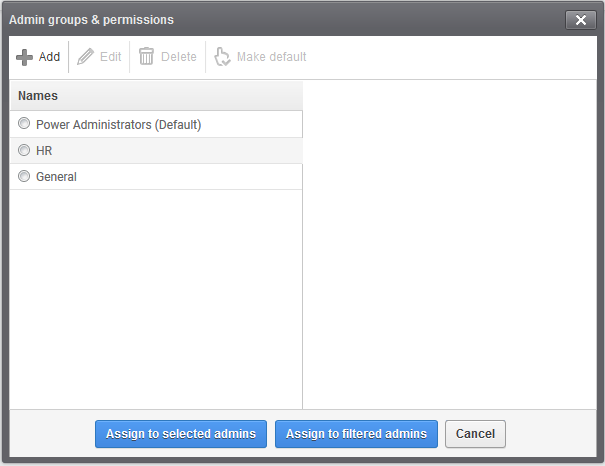
The interface displays the list of groups available with same or different permission levels for each group. By default, 'Power Administrators (Default) group will be available and administrators can add, edit groups and assign permissions to other administrators. See the section 'Admin Groups & Permissions' for more details.
- Select the group from the list.
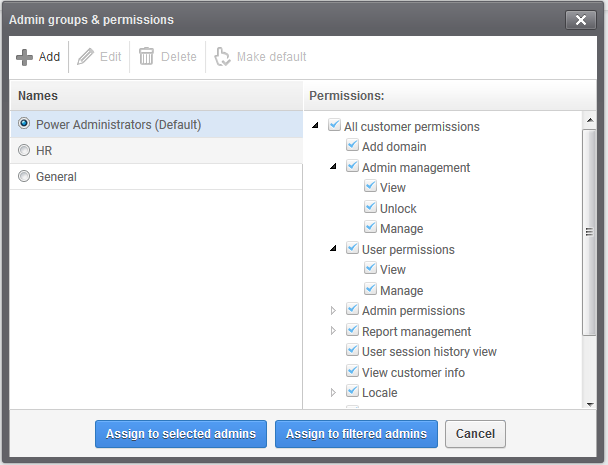
- Click the 'Assign to selected admins' button to set permissions for selected admin(s).
- Click 'Assign to filtered admins' button to set permissions for administrators found by filter.
- Click 'OK' in the confirmation dialog.
The selected admin(s) will be added to the group and a confirmation message will be displayed.
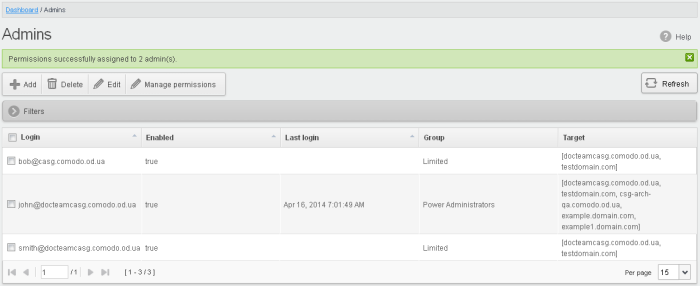
The interface also displays the new group assigned for the selected admin(s) under the 'Group' column.