Whitelist Senders Per User
- Admins can permit certain senders for specific recipients - even if those senders are blacklisted elsewhere for other users.
- Senders can be manually whitelisted for a specific recipient, or can be imported from .csv. They can also be added after a user request.
- All filtering is disabled for whitelisted senders to specific recipients.
- Comodo strongly recommends you only use this option after analyzing the request is genuine and warranted.
Configure
sender whitelist per user
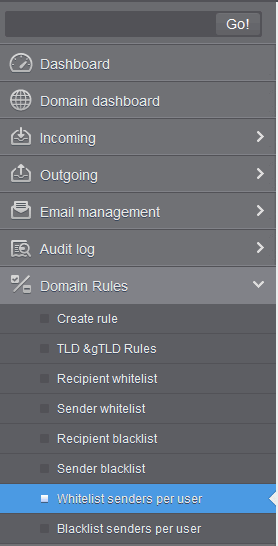
- Click 'Domain Rules' >
'Whitelist senders per user' in the left-hand menu.
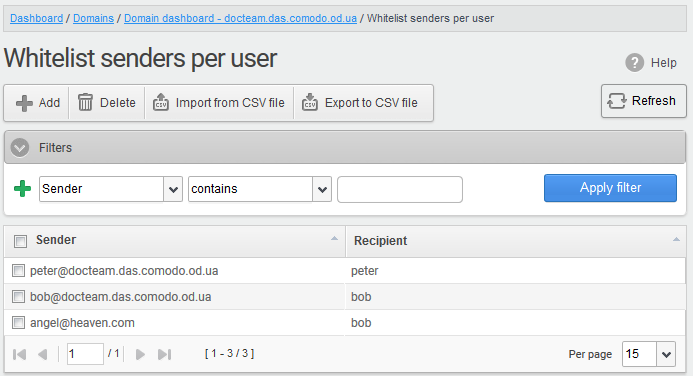
The 'Whitelist senders per user' interface opens:
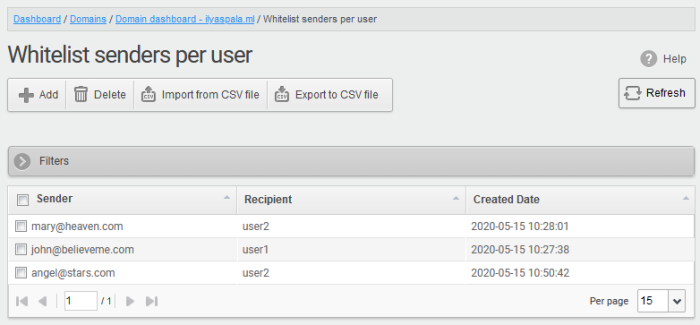
- Sender – Whitelisted sender’s email address
- Recipient – User name of the recipient
- Created date – Date and time the whitelist sender was added
Add Senders to Whiltelist Per User
You can add senders to whitelist in the following ways:
Administrators can manually specify the whitelisted sender and corresponding recipient as follows:
- Click the 'Add' button
The 'Add sender' dialog box opens:
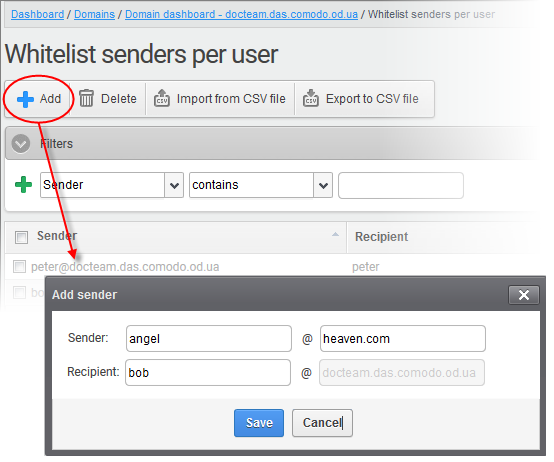
- Sender - Enter the sender's username in the first text box and sender's email domain name after the @ symbol.
- Recipient - Enter the recipient's name in the first text box in the second row. Note: The recipient should be a valid user.
- Click
'Save' button. Repeat the process to add more whitelisted
senders for the user.

Import senders from a CSV file
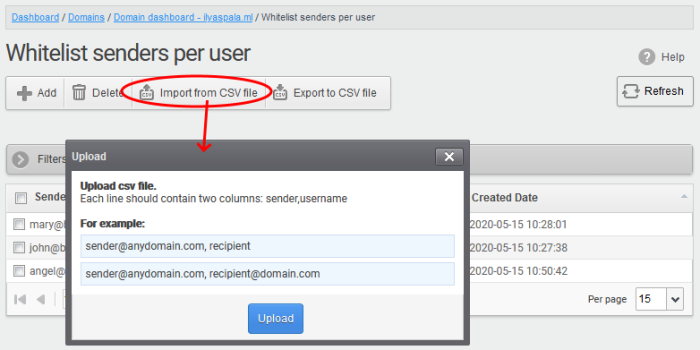
Administrators can import multiple senders at a time from a comma separated value (CSV) file to sender whitelist per user. The list of whitelisted senders and respective recipients are created using notepad or a speadsheet application like MS Excel or OpenOffice Calc and saved in .csv format. Each line in the .csv file should contain the sender's email address and the username of the recipient or sender's email address and the recipient's email address, separated by a comma. An example is shown below:
sender1@anydomain.com, recipient1
sender2@anydomain.com, recipient2@domain.com
sender3@somedomain.com, recipient3
Import senders to whitelist from CSV file
- Click
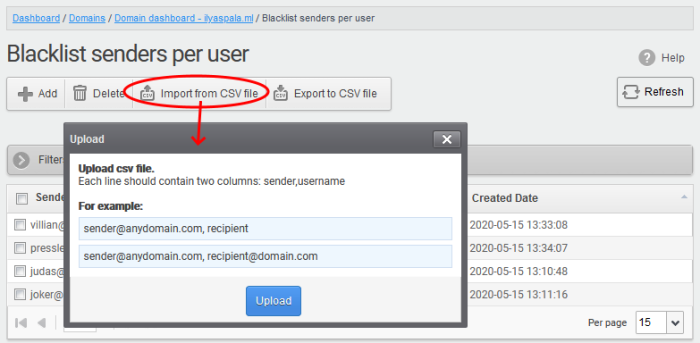
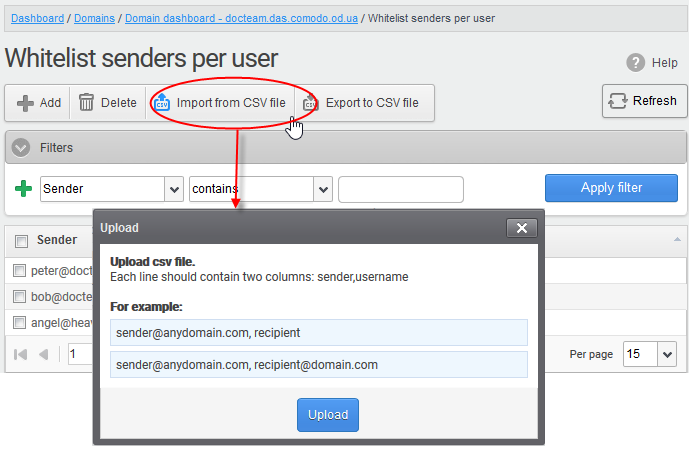
the 'Import from CSV file' from the 'Whitelist senders per user'
interface.
-
Click 'Upload', navigate to the location where the file is saved and click the 'Open' button. The maximum size of the file that can be uploaded is 9 MB.
The upload is
placed in import tasks queue and the progress of the upload is
displayed. If you want to remove the upload from the queue, click the
'Cancel import from the CSV file' button. The 'Cancel import from the
CSV file' deletes only the remaining part of not imported task.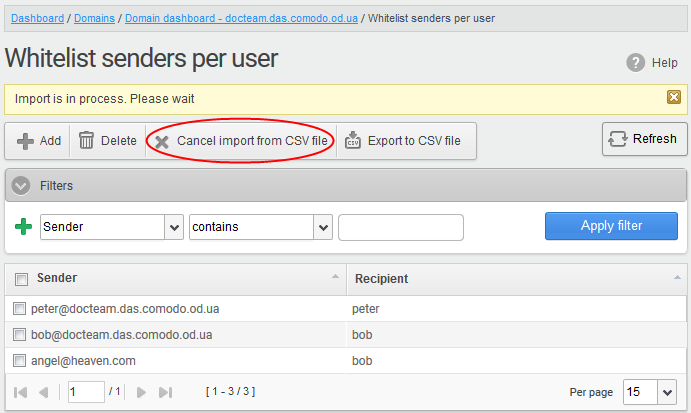
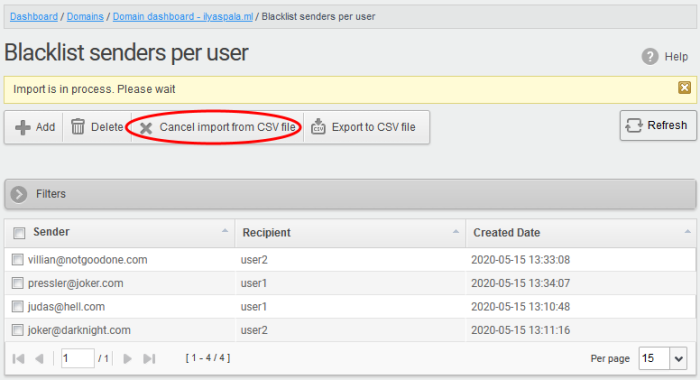
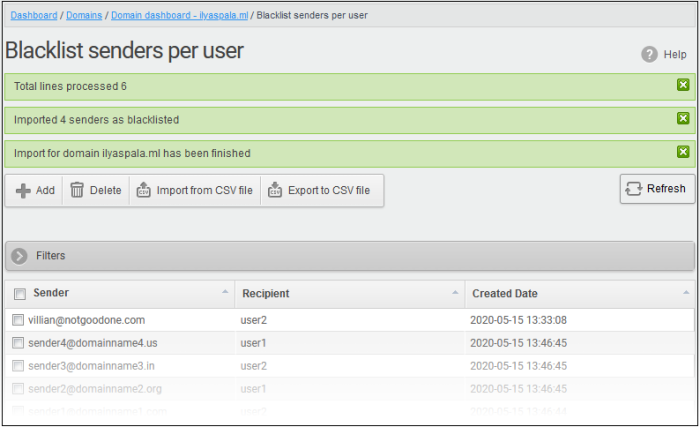
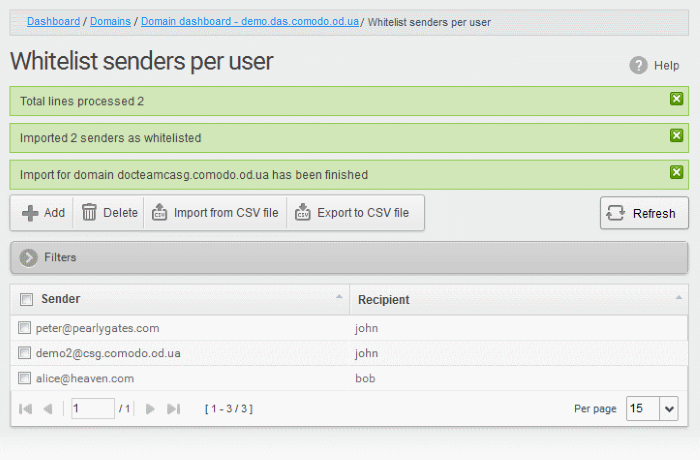
The sender whitelist per user from the CSV file is uploaded and the administrator who carried out the task receives a notification about the import task completion.
Add from Whitelist requests from users
The administrator can add senders to whitelist based on the requests of the users. Refer to the section Email Management > Whitelisted Requests for more details.
Export the Whitelist senders per user list to CSV file
The administrator can save the whitelist senders per user list by exporting it as a CSV file. If required in future, the administrator can import the users from the file, for example for a new account or after a reset.
Export the list
- Click the 'Export to CSV file' button to save the list
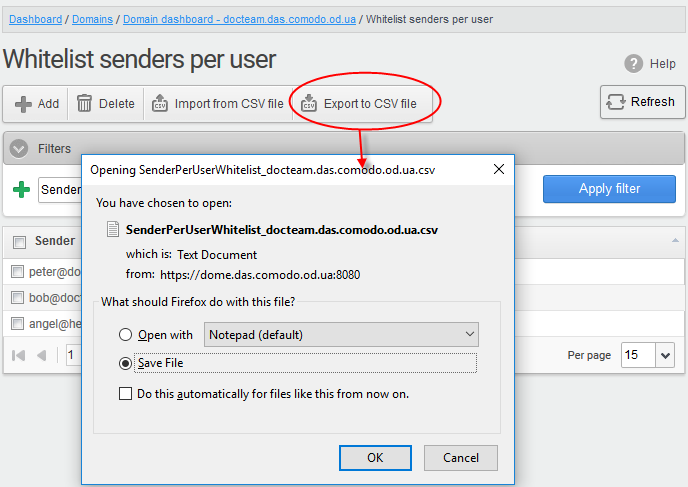
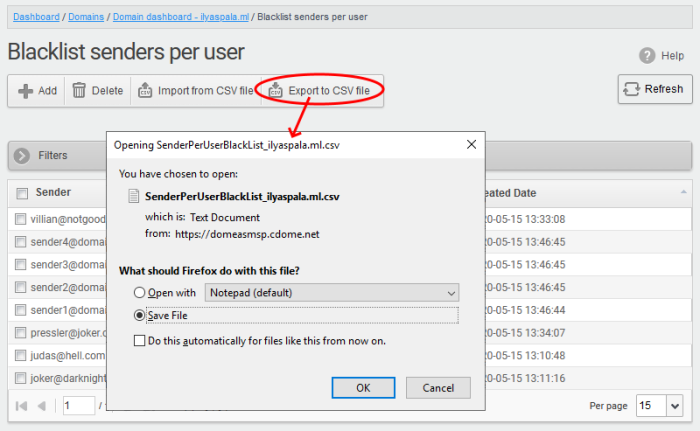
A file download dialog is displayed.
- Click 'OK' to save the file.
- To delete sender(s) from the whitelist, select the sender(s) from the list and click the 'Delete' button.
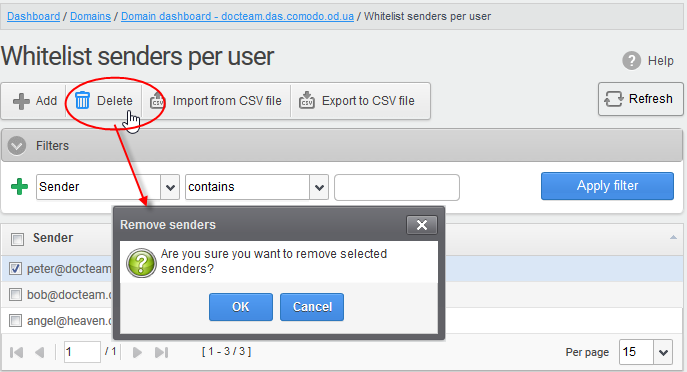
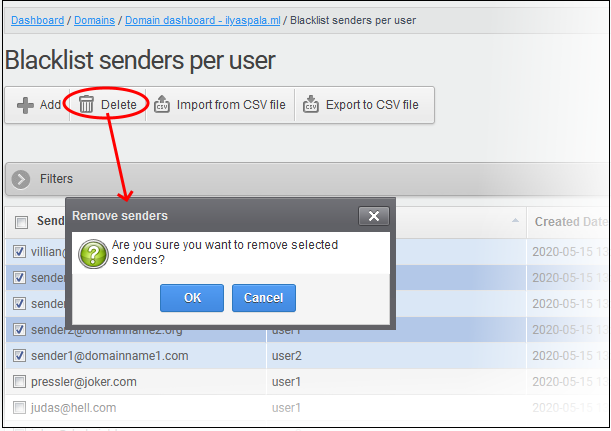
- Click 'OK' in the confirmation dialog.


