


Setup Dome Firewall Central Manager
There are two ways to set up Comodo Dome Firewall Central Manager:
-
The virtual appliance setup file is available in two formats:
- Download the .ova file for Comodo Dome Firewall Central Manager from https://download.comodo.com/dome-repo/dome-fw-image/domefirewallcm.ova or from the final instructions dialog while adding CM to your C1 / Comodo Dragon / ITarian account.
- Import the virtual appliance into VMs such as Virtualbox and Vmware.
- Assign a public IP address to the virtual appliance
- Once installed, you can access the Dome Firewall Central Manager console at the URL https://[IP address of the virtual appliance]
- UN = 'admin', password = 'comodo' (both without quotes). You should change these credentials after first login.
- You will be asked to enter a license key after first login:
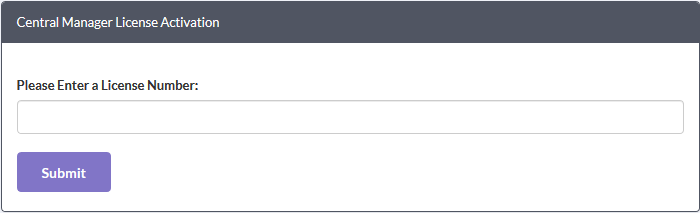
- Enter your license key and click 'Submit'.
|
Tip: Comodo One / Comodo Dragon / ITarian customers can integrate the central manager appliance with their portal accounts. See click here if you want help with this now. |
Installation from ISO File
Central manager is available as an .iso which can be copied to usb and installed on bare-metal appliances.
- Download the .iso file from https://download.comodo.com/dome-repo/dome-fw-image/domefirewallcm.iso.
- Create a Ubuntu virtual machine and start installation of the virtual appliance from the .iso file
- Follow the installation wizard, select your installation language, country and keyboard layout
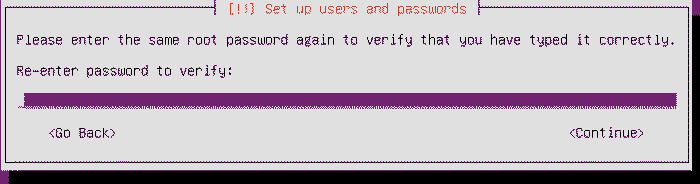
- Enter the root password as 'comodo' (without quotes) when asked and continue.
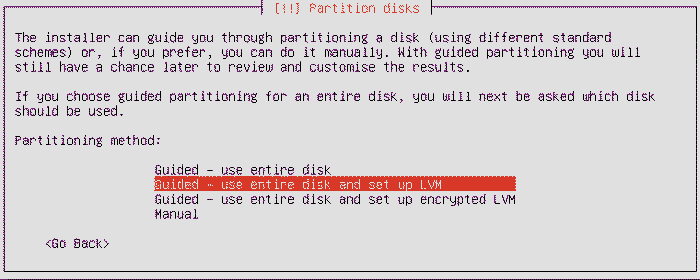
- Choose 'Guided - use entire disk and setup LVM' in the partition step
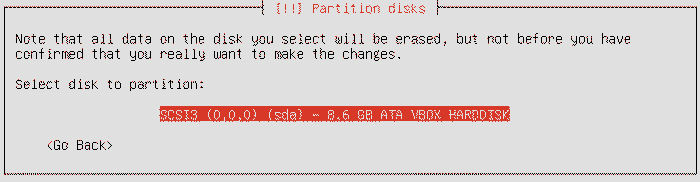
- Select the disk to be partitioned
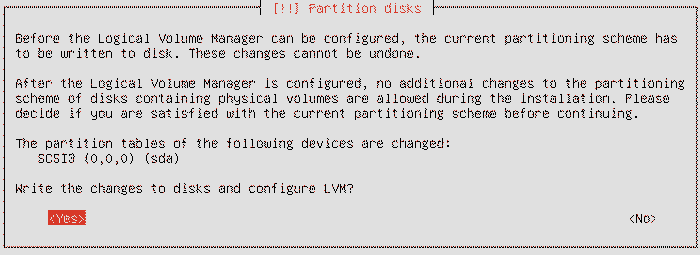
- Select 'Yes' to 'Write the changes to disks and configure LVM'
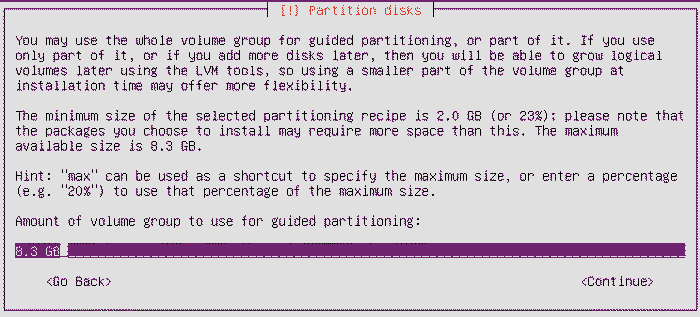
- Select the disk partition size
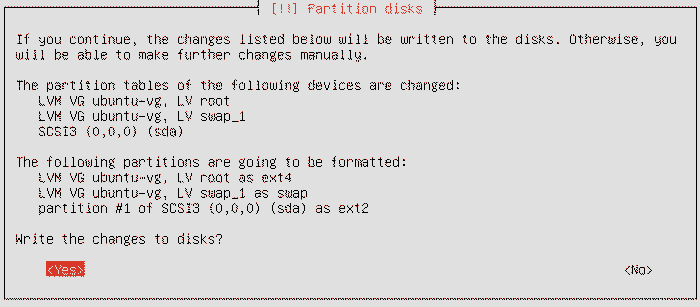
- Select 'Yes' for 'Write the changes to disks?':
- Continue the setup
- Enter the IP address of your proxy server if you are using one on your network. If not, leave the field blank and choose 'Continue':

The installation will begin. Once complete, please choose how you wish to handle updates:
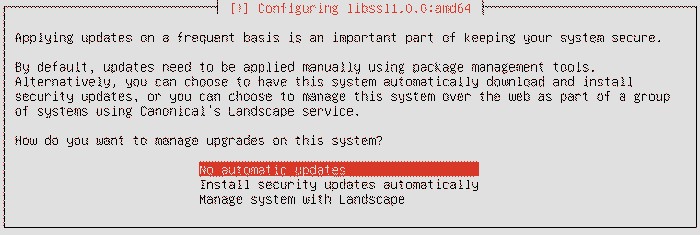
- Select your preferred option and continue onto the package selection screen:
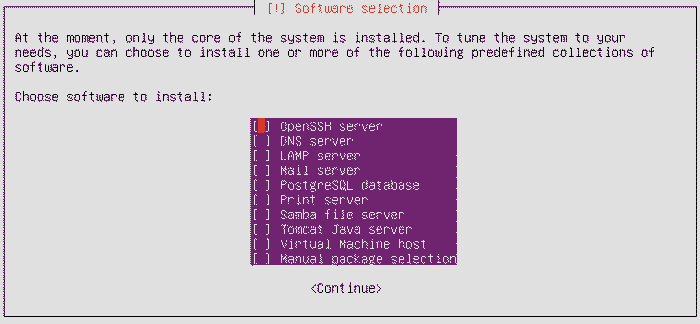
- Select 'OpenSSH Server' then continue. Use the Space bar to select the option.
- The appliance will restart when installation is complete..
- Assign a public IP address to the virtual appliance
- Once installed, you can access the Dome Firewall Central Manager console at the URL https://[IP address of the virtual appliance]
- UN = 'admin', password = 'comodo' (both without quotes). You should change these credentials after first login.
- You will be asked to enter the license key on your first login:
- Enter your license key and click 'Submit'.
|
Tip: Comodo One / Comodo Dragon / ITarian customers can integrate the central manager appliance with their portal accounts. See click here if you want help with this now. |
- Contact Comodo at provisiondome@comodo.com with your license key to setup the service.
- After setup, we will inform you of the IP address or domain on which the service is hosted
- The way you login to the console depends on how you purchased your license:
- Stand-alone Customers - You can access your central manager instance at the address provided to you. For example, https://[given IP address]
- UN = 'admin', password = 'comodo' (both without quotes). You should change these credentials after first login.
Comodo One, Comodo Dragon and ITarian MSP/Enterprise Customers - you can integrate your central manager appliance to your portal account. You can access the central manager administrative console directly from your portal. See Integrate Central Manager with Comodo One / Comodo Dragon / ITarian for more details.