User Groups & Permissions
- The 'User Groups & Permissions' area lets you create email user groups and set group permissions.
- You can create multiple groups, each with different permission levels. When you assign users to a group they will inherit the permissions of the group.
- The user interface will vary according to a user's permission level. See 'Manage Permissions for Users' in 'User Account Management' for help with this.
Create user groups
- Click 'Account management' > 'User groups & permissions':
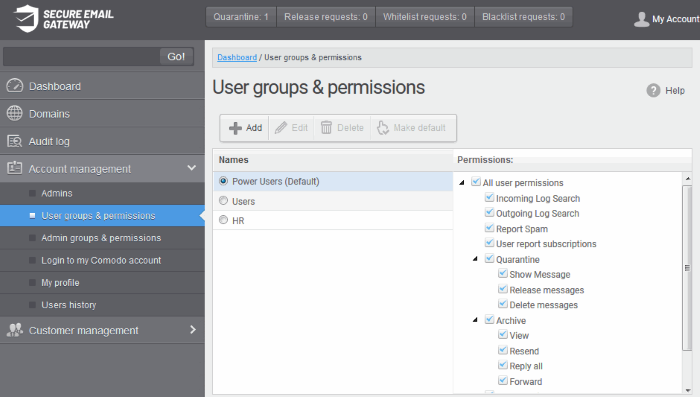
Two user groups, Power User and Users (Default), are available by default. These two groups cannot be edited or deleted.
- Click a group name to view its permissions in the right-hand pane:
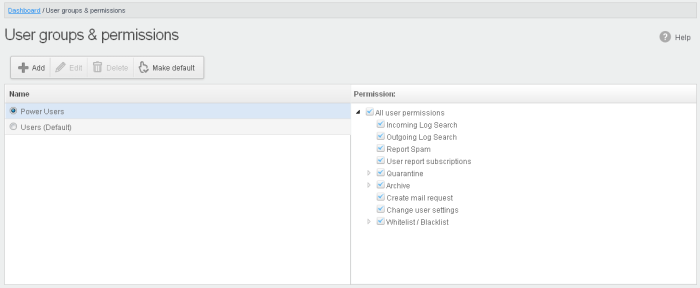
- Click the arrow next to a permission to view sub-permissions:
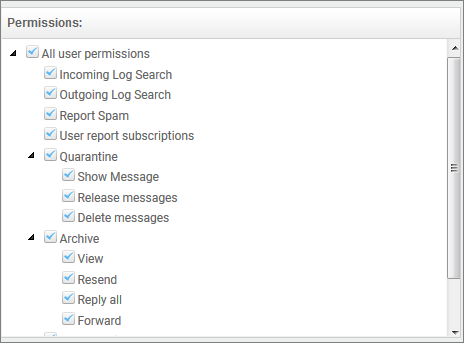
For users in the 'Power User' group, all permission levels are enabled. The 'Release quarantine messages' option is not available to users in the regular 'Users' group. This means that if a user is assigned to the 'Power User' group, he / she can release quarantined messages from the quarantined mails list without approval from an admin. See Released Requests in 'Email Management' for more details.
Permission Levels
- Incoming Log Search - Allows a user to search and view the log of all incoming mails.
- Outgoing Log Search - Allows a user to search and view the log of all outgoing mails.
- Report Spam - Allows a user to report a mail as spam mail.
- User report subscriptions - Allows a user to configure periodical quarantine report generation.
- Quarantine
- Show Message - Allows a user to view quarantined emails in same window or separate window.
- Release message - Allows a user to release a quarantined mail without approval from the administrator.
Delete messages – Allows a user to delete a quarantined mail without approval from the administrator.
- Archive
- View - Allows a user to view archived emails in same window or separate window.
- Resend - Allows a user to resend archived emails to himself / herself.
- Reply all - Allows a user to reply to all archive emails.
- Forward - Allows a user to forward an archive email composed earlier.
- Create mail request - Allows a user to configure email request for CSEG notifications.
- Change user settings - Allows a user to configure himself / herself as recipient whitelist.
- Whitelist / Blacklist
- Manage whitelist senders per user - Allows a user to manage sender whitelist for his / her mail account
- Manage blacklist sender per user – Allows a user to mange sender blacklist for his / her mail account
Click the following links for more details.
-
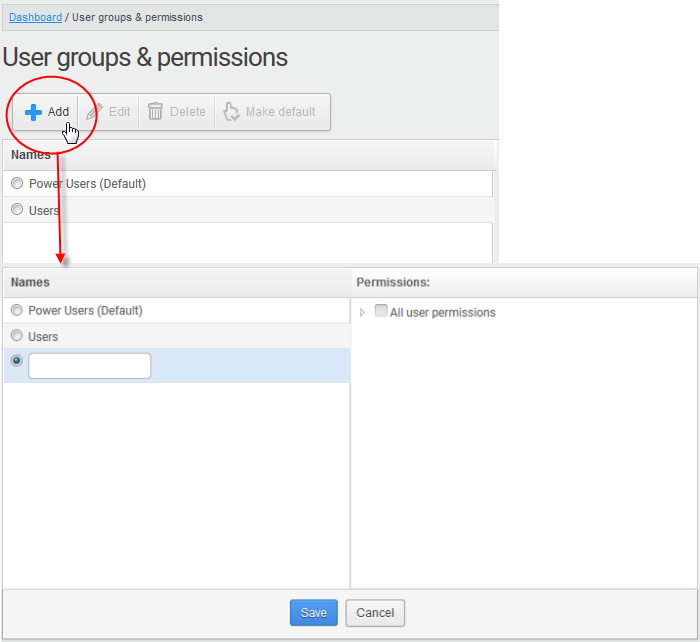
To add a new group and configure permission levels, click the 'Add' button
- A new group creating page will be displayed.
-
Enter the name of the group in the text field under the 'Name' column. Note: To enable the permission levels in the right side for that group, click the 'Edit' button on the top.
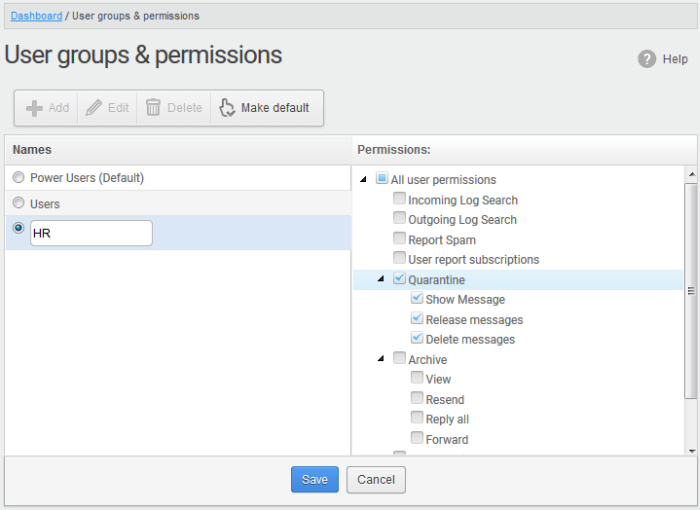
- Click the 'Save' button.
The newly created group will be displayed in the interface.
Now, users of domains belonging to the account can be assigned to this newly created group. See 'Managing Permissions for users' in 'User Account Management' on how to add users to predefined groups.
Edit a group
You can edit the name of an existing group and / or change the permission levels.
-
Select the group from the list and click the 'Edit' button

-
Change the permission levels and / or the name of the group.
-
Click the 'Save' button for the changes to take effect.
The users in the group that is edited will be automatically reassigned to the edited group.
-
Select the group from the list and click the 'Delete' button.
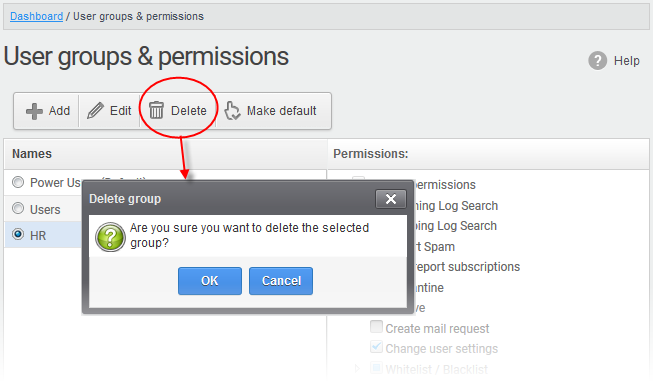
- Click 'OK' in the confirmation dialog.
|
Note 1: If you delete a group, users assigned to that group will be automatically moved to default group. You have to reassign the users if required. Note 2: If you delete a user group created by the administrator and marked as default, then the 'Users' group that was shipped with the product will be set as default. All the users from the deleted group will be automatically migrated to the 'Users' group. |
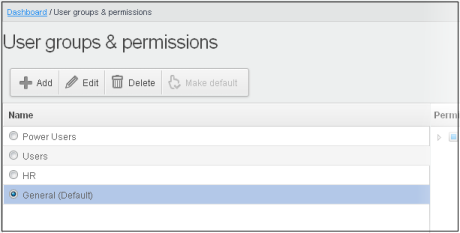
CSEG allows administrators to make an existing group as default group. Newly added users and users belonging to an existing group whose name was deleted will be automatically moved to this default group.
-
Select a group from the list and click the 'Make default' button.
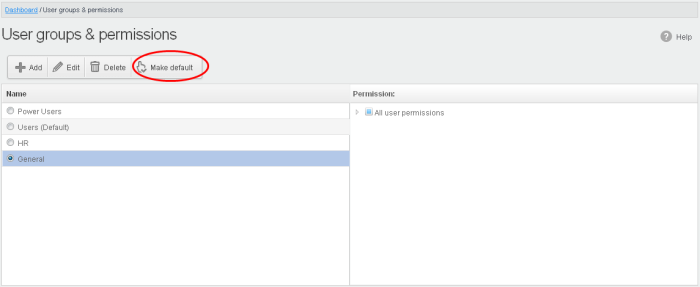
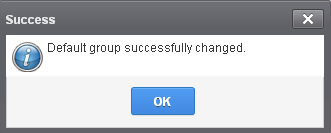
A success dialog will be displayed.
-
Click 'OK'.
The selected group will be displayed as default group.
|
Note: If you delete a user group created by the administrator and marked as default, then the 'Users' group that was shipped with the product will be set as default. All the users from the deleted group will be automatically migrated to the 'Users' group. |


