


Sign up for a C1 Account
Note. To use C1 Mobile you must have a Comodo C1 account. If you already have an account then you can skip this step and go straight to Get the App and log in
Getting a Comodo One account is very easy and can be completed in a few steps.
-
Visit https://one.comodo.com/
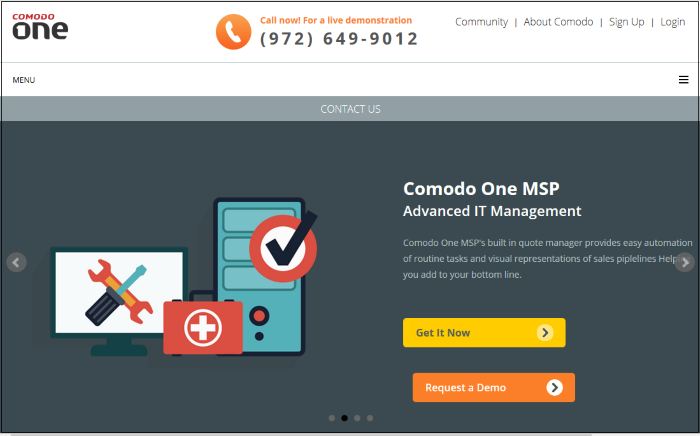
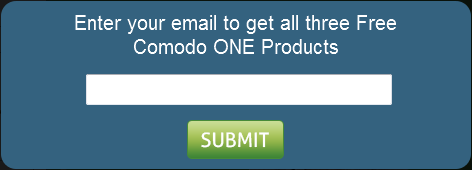
- Click 'Get Instant Access Now', enter your email address and click submit:
- You can also enroll by clicking the 'Sign Up' link at the top-right of the C1 website (or even 'Login' > 'I don't have an account > Sign Up').
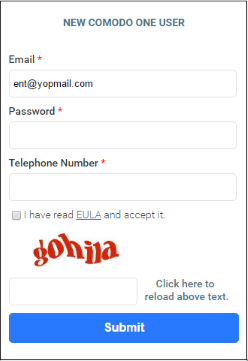
- After submitting your email address, complete the short enrollment form:
 |
|
A verification email will be sent to the email address registered at the time of your Comodo account creation. If the verification mail is not delivered, you can login to your C1 account and click the 'Resend Verification Email' link in the 'Verification Email Request' dialog.
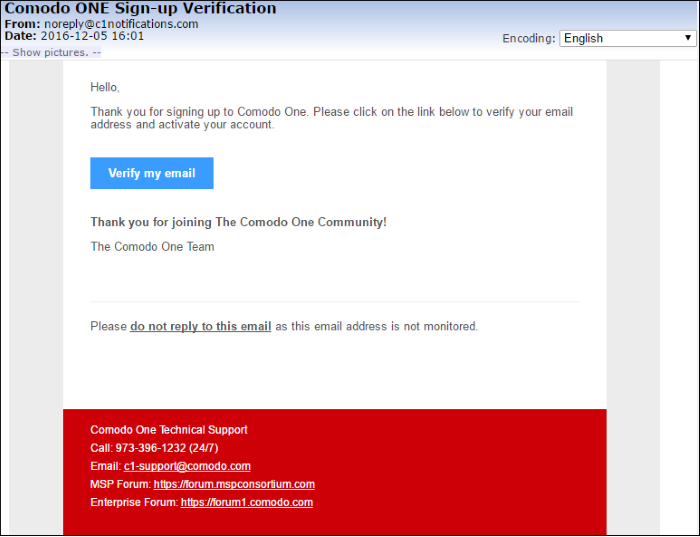
- Click the 'Verify my email' link
Upon successful verification, you will be taken to the C1 login page.
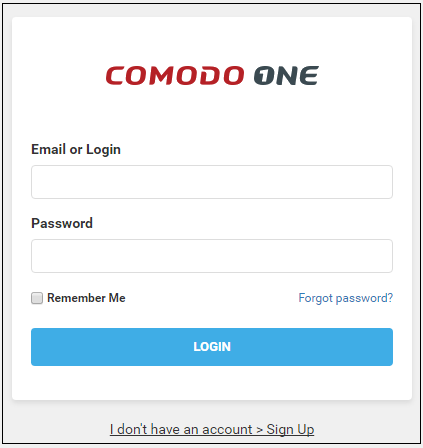
- Enter your email address and password to login to C1. The 'Setup Account Details' form will be displayed after logging in for the first time:
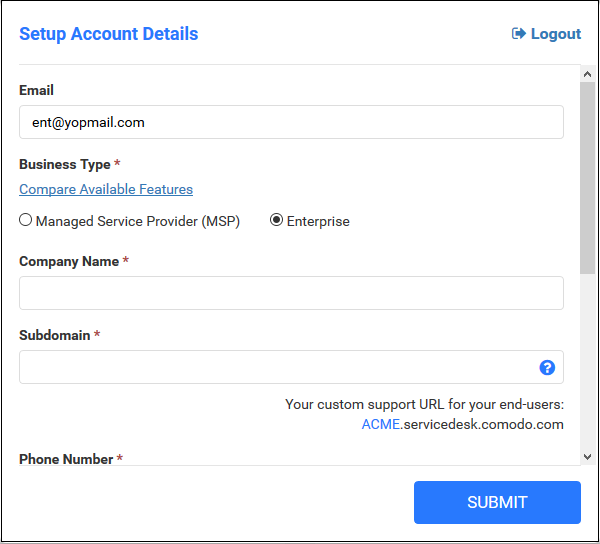
- Fill-in the form with the details for your C1 account
- Email - This field will be pre-populated with the email address entered during account creation. You cannot edit this field.
- Business Type - Choose whether you want to register as an MSP or an enterprise. The default and licensed products depend on the business type. Click the 'Compare Available Features' link to see the products and features available with each type. See Appendix for more details about available products for each business type.
- Company Name - Enter the name of the company that you want to enroll for Comodo One.
- Subdomain - Enter the sub-domain which will be used to access Comodo One modules such as 'Service Desk'. For example, if you enter the sub-domain 'milkyway', you will access the service desk module at 'https://milkyway.servicedesk.comodo.com'
- Phone Number - Enter the phone number of your company
- Country - Choose your country from the drop-down
- State - Choose your state/province country from the drop-down
- Postal Code - Enter the postal code/zip code of your city.
- Time Zone – Select your preferred time zone.
- Daylight Saving Time – Select if daylight saving time is applicable.
- Click 'Submit'
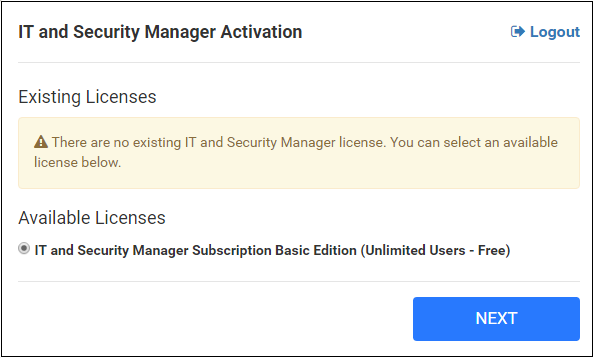
- Click 'Next'
Your free modules will be activated.
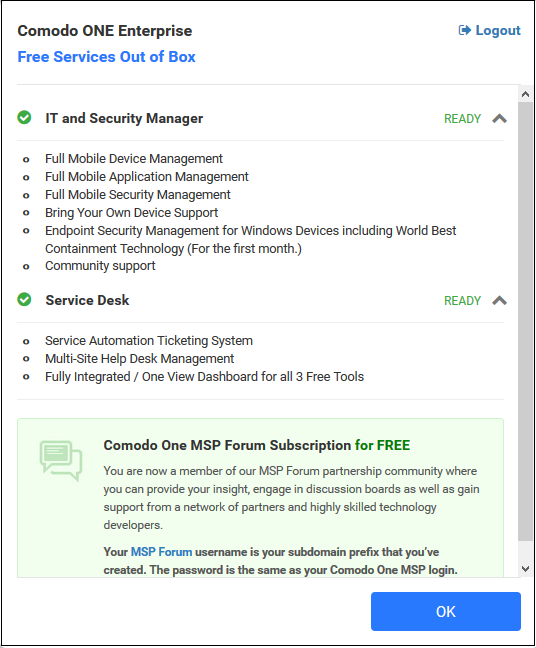
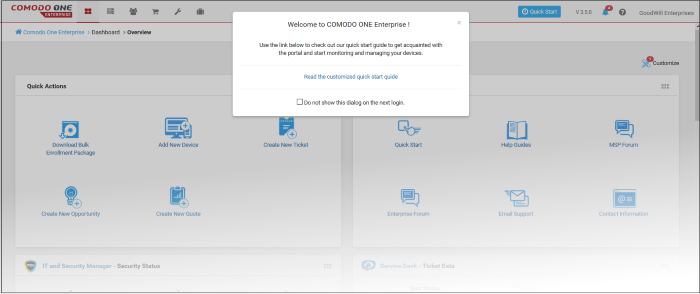
- Click 'OK' when finished. You will be taken to the Comodo One Dashboard. You will first see a 'Quick Start' pop-up which links to short tutorials on how to setup and start using C1.
That's it. You have successfully created a Comodo One account. Please note that this account will be automatically granted 'Account Admin' privileges and cannot be deleted. This is effectively the 'Master Admin'. You will be able to create 'Admins' and 'Technicians' under this account. See 'Manage Administrators' for more details. You can login to your account at anytime at https://one.comodo.com/app/login.
After successful C1 sign up, a Comodo Account also will be created for you. You can login at https://accounts.comodo.com/ using your C1 credentials and to manage licenses, account details and subscribe for other Comodo products.