New Ticket
Staff members and users can create tickets by clicking the hamburger menu at top right then selecting 'New Ticket'.
- To
create a ticket click, the 'New Ticket'
 icon at the top left corner of the app.
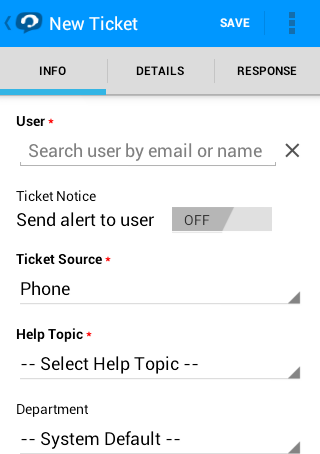
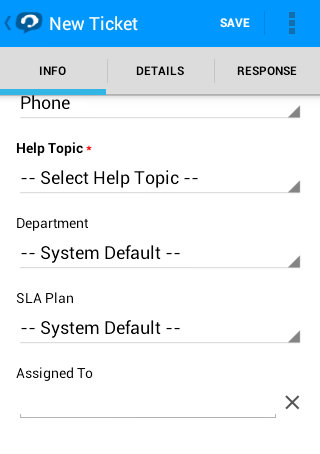
The
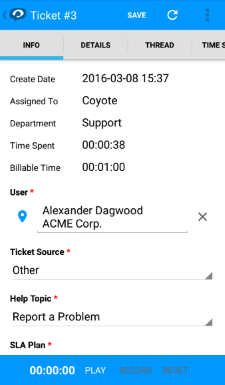
new ticket with the Info tab is displayed. Enter the following
details to create a ticket:
- User: Enter the email address of the user. This will be auto-filled if 'Lookup or create a user' form is used.
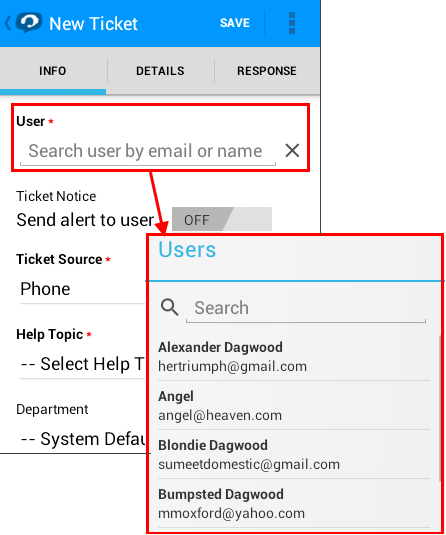
- Ticket notice: If enabled, an alert will be sent to the user regarding the ticket created on his/her behalf.
- Ticket Source: The source via which the ticket was raised.
- Help Topic: The topic or category of the ticket.
- Department: Select the department to which the new ticket should be assigned. The option chosen here will prevail even if the 'Department' for the selected 'Help Topic' is different.
- SLA Plan: The SLA plan assigned for the ticket depending on the settings in default SLA settings. The option chosen here will prevail even if the 'SLA Plan' for the selected 'Help Topic' and 'Department' is different.
- Assign To: Select the staff member to whom the ticket should be assigned. The option chosen here will prevail even if the 'Agent' for the selected 'Help Topic' is different.
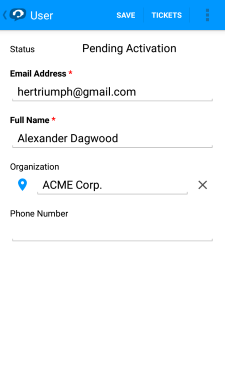
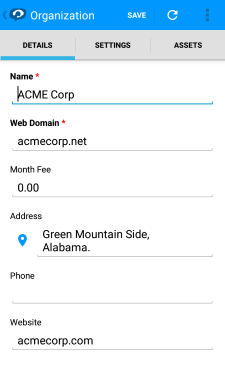
- Maps/Navigation per customer address: Allows staff to see the address of a user or organization on a map. You can access this feature when creating/editing a ticket and in the users and organizations tabs.
- To select the address tap the
button.
Ticket Details
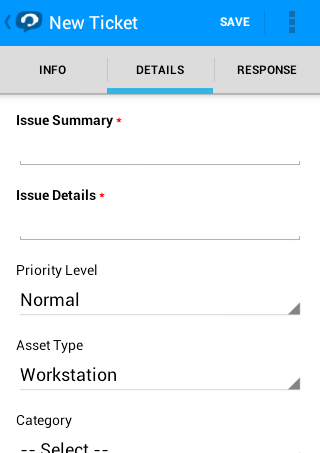
- Issue Summary: Enter details in brief about the issue.
- Issue
Details: Enter the details about the issue in the text field. To clear the field, click the trash can icon at the top right.
- Priority Level: Select the priority level for the new ticket. The option chosen here will prevail even if the 'Priority' for the selected 'Help Topic' is different.
- Asset Type: Select the category of asset for the ticket.
- Category: Select the type of category for the ticket. The options available are 'Alert', 'Order' and 'Problem'.
- Sub Category: Enter the category information for the ticket.
Response
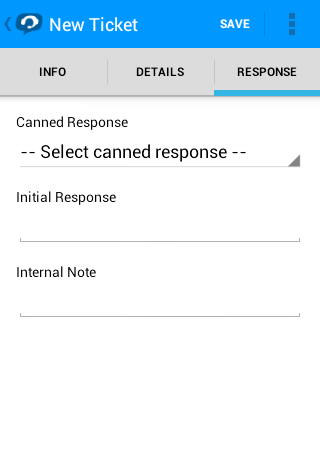
- Canned Response: Select a pre-prepared answer that will be sent to the user
- Initial Response: Enter an email response to be sent to the user
- Internal Note:
- Add notes for the ticket that are for internal purpose only.
- Click the Open button to create the ticket on behalf of a user.
- Click the Reset button to clear all selections and entries.
- Click 'Save' for the changes to take effect. Refer
to Internal
notes to find out more.


