


CIS Premium – Installation
Note - Before beginning installation, please ensure you have uninstalled any other antivirus and firewall products that are on your computer. Click here to read the full note.
In order to install Comodo Internet Security - Premium, you need to download the setup file from http://www.comodo.com/home/download/download.php?prod=cis.
-
Choose whether you want the 32 or 64 bit version of CIS then click 'download'
-
If you are unsure which version you need, select the 32/64-bit Windows Installer. This executable contains BOTH 32 and 64 bit installers. The setup routine will automatically detect which version of Windows you have and install the appropriate version. Please note, the Universal Windows Installer is a much larger download than the individual 32 or 64 bit setup files.
After downloading the required Comodo Internet Security setup file to your local hard drive, double click on it ![]() to start the installation wizard.
to start the installation wizard.
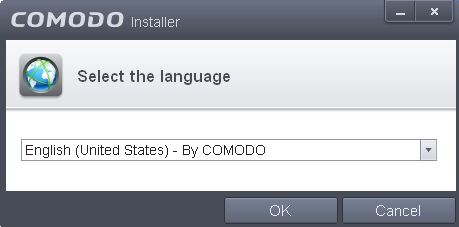
Step 1 - Choosing the Interface Language
The installation wizard starts automatically and the 'Select the language' dialog is displayed. Comodo Internet Security is available in several languages.
-
Select the language in which you want Comodo Internet Security to be installed from the drop-down menu and click 'OK'.
Step 2 - Installation Configuration
The installation configuration screen will be displayed.
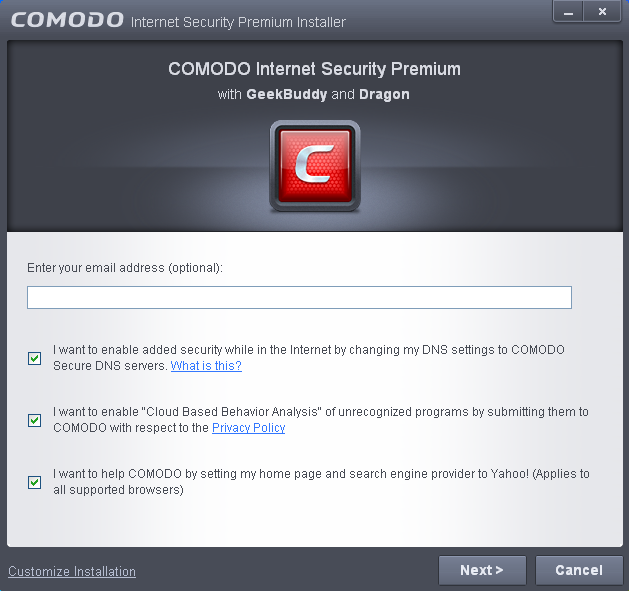
- Please review and/or modify the settings in the dialog.
- If you click ‘Customize Installer’ then you can choose advanced options. These include which CIS components you wish to install, the ability to choose CIS installation path and other advanced CIS configuration settings.
Receive Comodo News and Notifications
Comodo Internet Security Premium is activated free of cost for lifetime usage. If you wish to sign up for news about Comodo products then enter your email address in the space provided. This is optional.
DNS Settings
Comodo Secure DNS service replaces your existing Recursive DNS Servers and resolves all your DNS requests exclusively through Comodo's proprietary Directory Services Platform. Comodo's worldwide network of redundant DNS servers provide fast and secure Internet browsing experience without any hardware or software installation.
In addition, Comodo's Secure DNS ensures safety against attacks in the form of malware, spyware, phishing etc., by blocking access to malware-hosting sites, by any program running in your system.
In this step of installation of Comodo Internet Security, the DNS settings of your computer can be changed automatically to direct to our DNS servers. You can disable the service at anytime and revert to your previous settings.
For more details on Comodo Secure DNS Service and to know how to enable or disable the service, refer to Appendix 2 Comodo Secure DNS Service.
To enable Comodo Secure DNS, select ‘I want to enable added security while in the internet by change my DNS Servers to COMODO SecureDNS Servers'. Click the 'What is this' link to know more about Comodo Secure DNS servers.
Cloud Based Behavior Analysis
Any file that is identified as unrecognized is sent to the Comodo Instant Malware Analysis (CIMA) server for behavior analysis. Each file is executed in a virtual environment on Comodo servers and tested to determine whether it contains any malicious code. The results will be sent back to your computer in around 15 minutes. Comodo recommends users leave this setting enabled. Read the privacy policy by clicking the 'Privacy Policy' link.
Browser Homepage
Your default home page and search engine will be set to Yahoo!
- Click
the 'Next' button.
In the next screen, you can choose to install PrivDog and read the license agreements for CIS and PrivDog.
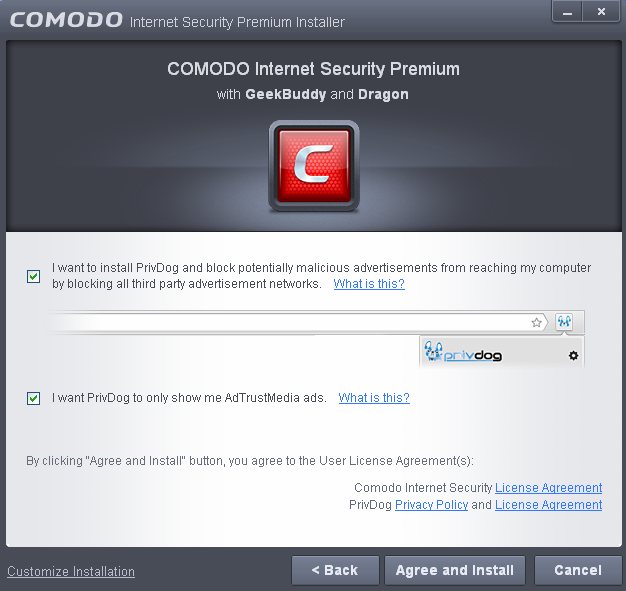
PrivDog
PrivDog is a browser extension that improves the transparency, privacy and speed of your online experience by automatically detecting and blocking processes that are attempting to track your online activity. Whenever you visit a website, PrivDog will display the number of privacy threats it has blocked in the top-right corner of your browser. Clicking the PrivDog icon will reveal a more detailed breakdown of the types of threats it has stopped, which can include advertising networks, 3rd party trackers, cookies, widgets and other data collection processes. The extension can also block all current banner ads in a webpage and replace them with safe and trusted ads. If you elect to install PrivDog, the extension will be automatically installed in any supported browsers detected on your system (Comodo Dragon, Comodo IceDragon, Google Chrome and Mozilla Firefox). You can remove the extension at any time from within the browser itself.
- Select the first option if you want to install PrivDog.
- If you select the first option, the second
option allows you to choose to view only ads from AdTrustMedia in
your browser.
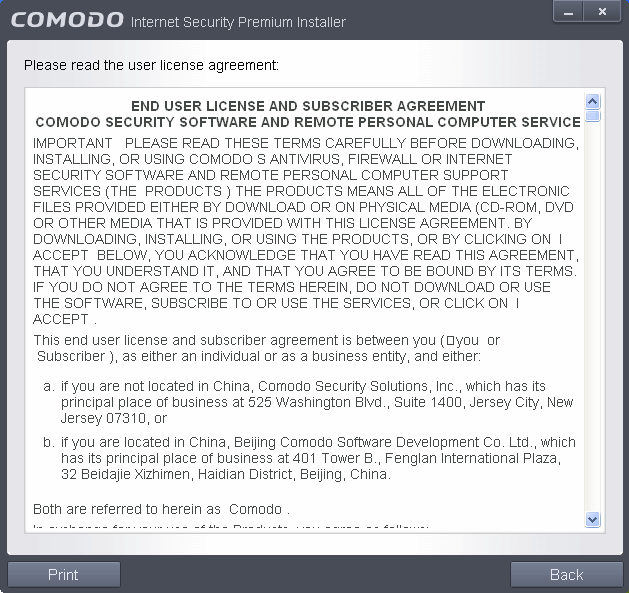
End User License Agreements
Read the complete User License Agreements by clicking the 'License Agreement' links of Comodo and PrivDog respectively before proceeding with the installation. To read the PrivDog privacy policy link, click the Privacy Policy link next to it.
After reading the agreements, click the 'Back' button to return to the installation configuration screen.
Once back at the main installer screen, if you wish to configure advanced options, click ‘Customize Installer’. Otherwise, click 'Agree and Install' tobegin installation.
Clicking the 'Customize Installer' link opens an advanced options interface that enables you to choose which elements you would like to install, configure security popup alerts and choose the installation path. In order to obtain maximum protection, Comodo recommends that you uninstall any third party personal Firewall and Antivirus in your system and select all the components to get the full benefit of the product.
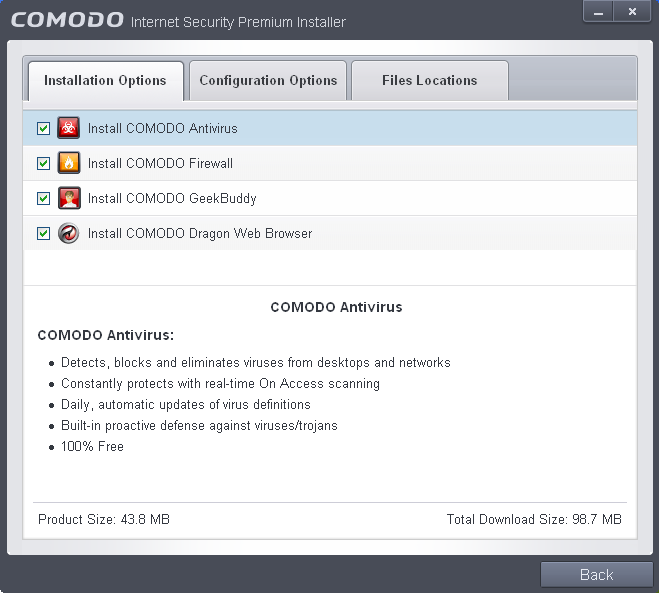
Select Components to Install (Click to go back to Step 2)
Click the 'Installation Options' tab to select the components to be installed.
-
Install COMODO Firewall - Selecting this option installs Comodo Firewall and Defense+ components.Deselect this option, if you already have third party Firewall protection activated in your computer system.
-
Install COMODO Antivirus - Selecting this option installs Comodo Antivirus and Defense+ components. Deselect this option, if you already have a third party virus protection activated in your computer system.
-
Install COMODO GeekBuddy - Selecting this option installs GeekBuddy, a 24 x 7 remote support service in which Comodo experts can help you solve any computer related problems you may encounter. Refer to the section Comodo GeekBuddy for more details.
-
Install COMODO Dragon Web Browser - Selecting this option installs Comodo Dragon, a fast and versatile Internet browser based on Chromium technology and infused with Comodo's unparalleled level of security. Refer to the section Comodo Dragon for more details.
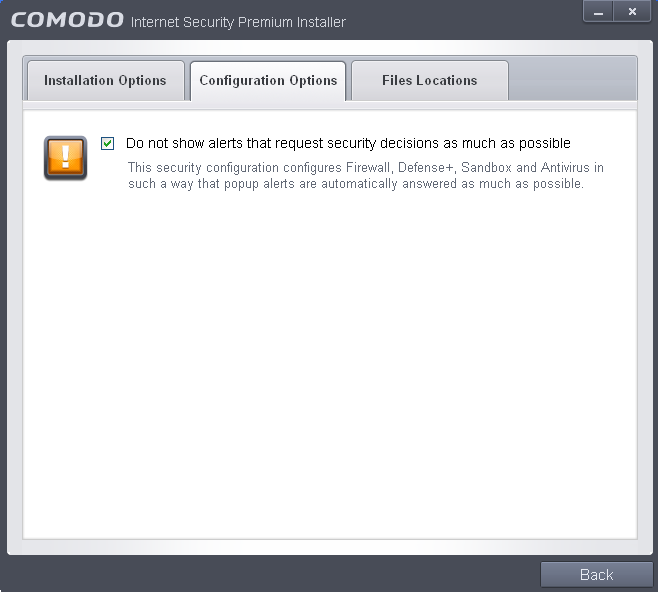
Configuration Options
Click the ‘Configuration Options’ tab to configure pop-up alert options.
-
Do Not show alerts that request security decisions as much as possible - When this option is selected, CIS is configured to automatically deal with most issues in a secure manner without raising a popup alert - thus minimizing user intervention. Most users should leave this option at the default state of enabled. Advanced users wishing to gain greater insight into CIS actions and/or to have more control over security decisions may wish to disable this option.
Choosing Installation Location
Click the 'Files Locations' tab to choose the installation path.
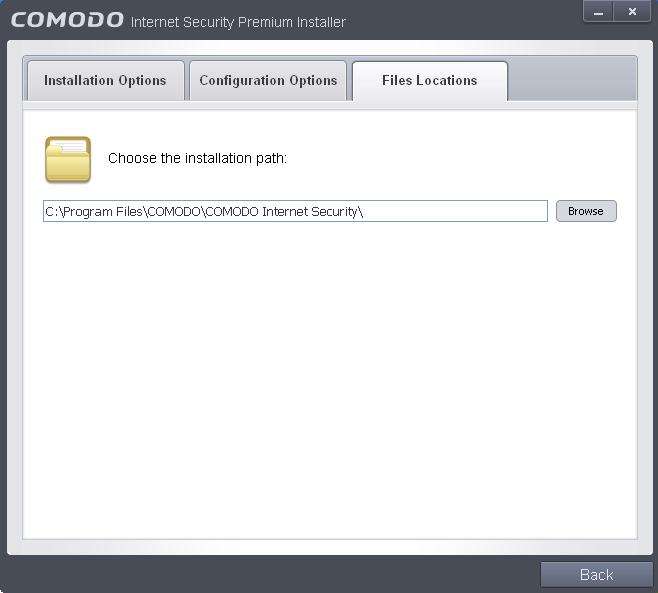
This screen allows you to select the folder in your hard drive for installing Comodo Internet Security. The default path is C:\Program Files\COMODO\COMODO Internet Security. If you want to install the application in a location other than the default location, click 'Browse' to choose a different location.
After customizing your installation, click the 'Back' button to return to the installation configuration screen.
- Once you are satisfied with your settings, click 'Agree and Install' to begin installation.
Step 3 - Installation Progress (Click to go back to Step 2)
The installation progress will be displayed...
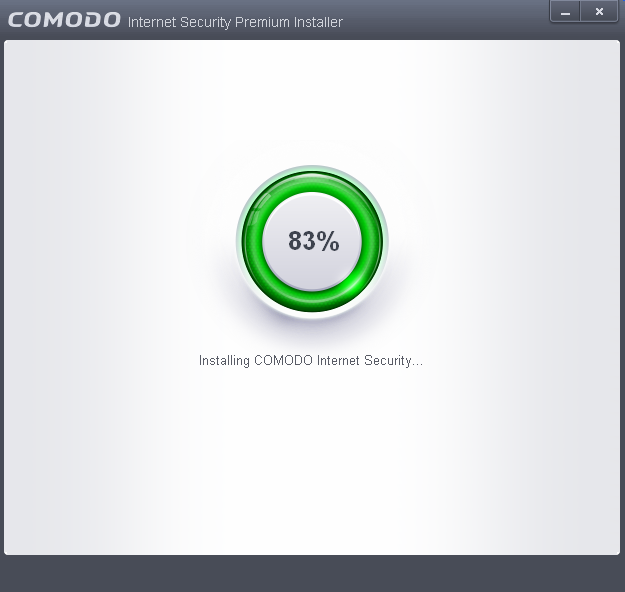
...and on completion, the successfully completed dialog will be displayed.
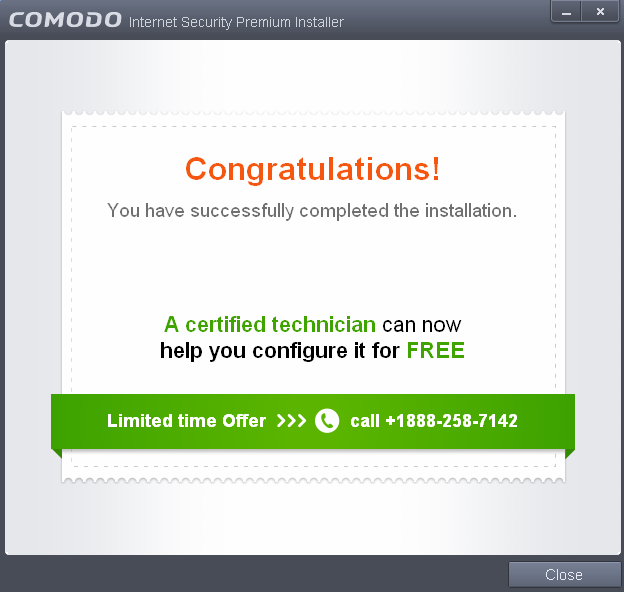
- Click the 'Close' button.
Step 4 - Restarting Your System
In order for the installation to take effect, your computer needs to be restarted.
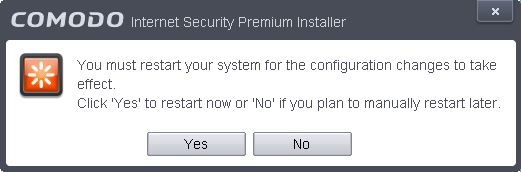
Please save any unsaved data and click 'Yes' to restart the system. If you want to restart the system at a later time, click 'No'.
|
Note: The installation will take effect only on the next restart of the computer. |
Step 5 - After Restarting Your System
After restarting, a ‘thankyou’ screen will appear. This contains a summary of the components you chose to install as well as some friendly advice.

This screen will appear every time you start your system. If you do not want the screen to be displayed on every start up, select the check box 'Do not show this window again' before closing the window.
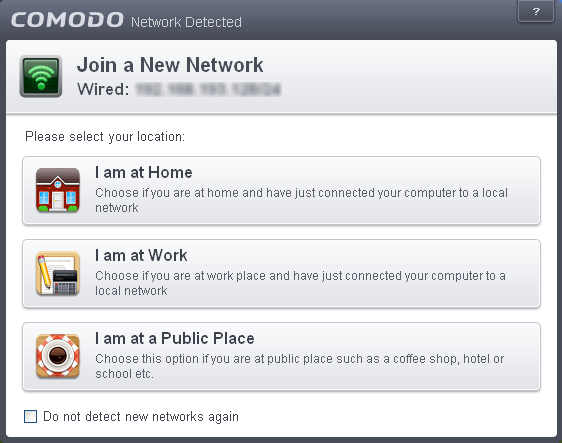
If your computer is connected to a home or work network, then you are prompted to configure it at the 'Network Detected!' dialog. At the top of the dialog, the connectivity mode will be displayed, whether wired or wireless.
-
Select your location from the three options above
-
Select 'Do not automatically detect new networks' If you are an experienced user that wishes to manually set-up their own trusted networks (this can be done in 'Network Zones' and through the 'Stealth Ports Wizard')
The virus database will be updated automatically for the first time after installation.

The screen will display details such as download speed, how much has been downloaded and the progress of the process. You can also send this task to the background by pressing the 'Send to Background' button and retrieve it in the 'Task Manager' interface. Refer to the section 'Manage CIS Tasks' for more details. When the virus database has been downloaded, the 'Completed' dialog will be displayed.

CIS will commence a Quick Scan of system memory, autorun entries, hidden services, boot sectors and other critical areas automatically after the virus database has been updated.

If you do not want the scan to continue at this time, click the 'Stop' button.
After the scanning is complete, the results screen will be displayed.

If any threats are detected, they will be displayed and you can choose to take appropriate action from any of the drop-down fields in the screen and click 'Apply Selected Actions' button. Refer to the section 'Processing Infected Files' for more details.