Sender Whitelist
- All filtering is disabled on mail sent by white-listed senders to recipients at the selected domain.
- The only exception is that mail from a white-listed sender which contains a suspicious attachment will still be blocked UNLESS the 'Suspicious attachment rule' is enabled. This may seem counter-intuitive on first reading.
- The following table shows how the 'Suspicious Attachment' option affects a sender white-list rule:
|
|
Suspicious Attachment option |
Suspicious file detected? |
White-listing applied? |
|---|---|---|---|
|
Rule Type 1 |
Enabled |
Yes |
Yes |
|
No |
Yes |
||
|
Rule Type 2 |
Disabled |
Yes |
No |
|
No |
Yes |
- Use Type 1 if you want all mails from a sender to be whitelisted and received, including those that contain suspicious attachments.
- Use Type 2 if you want to white-list all mails from a sender except those that contain suspicious attachments.
Comodo strongly recommends white-listing a sender only when the system wrongly blocks emails from a trusted sender. White-listing a sender over-rules 'Blacklist senders per user'. See Blacklist Senders Per User for more details.
-
Reset the list - Delete all whitelisted senders and make the list empty by clicking the 'Reset to default' button
Configure sender whitelist
- Click 'Domain Rules' > 'Sender Whitelist' in the left-hand menu.
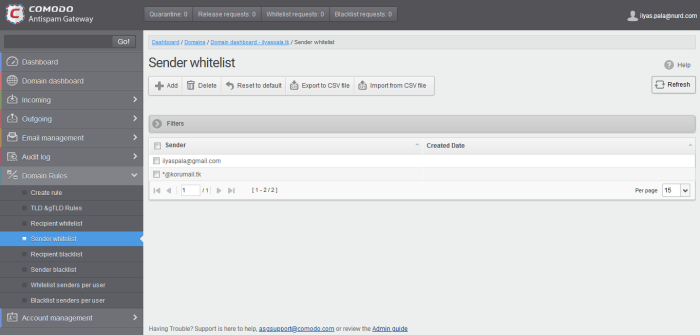
- Sender - Whitelisted sender email address
- Created
date - Date and time the sender was added
You can add recipients to the white list in two ways:
- Click
'Add' to open the add whitelisted sender dialog:

- Enter the sender name in the 'E-mail' textbox and sender's email domain name after the @ symbol and click the 'Save' button. Repeat the process to add more whitelisted senders.
-
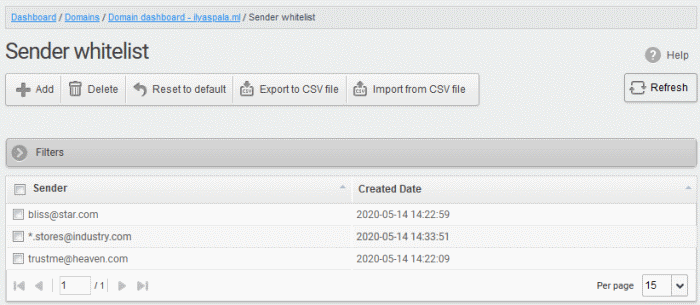
To add a particular set of senders to whitelist, prefix or suffix the wildcard character * in the 'E-mail' text field and senders' email domain name after the @ symbol. For example, enter *.stores@domainname.com for all the senders in stores to be whitelisted.
- To add a specific username from any mail domain to the whitelist, enter the username in the mail text field and the wildcard character * after the @ symbol. For example, enter john@* for whitelisting the username 'john' with any email domain name.
- To add a set of users or specific username from any email domain with a specific top level domain (TLD) name like .com, .org, enter the wildcard character * or username in the Email text field and enter * followed by the TLD after the @ symbol. For example, '*@*.com' will whitelist all the senders from all the email domains ending with '.com'
- To add a whole domain to whitelist, enter the
wildcard character * in the E-mail text field and email domain after
the @ symbol and click the 'Save' button. Now all the senders with
the entered domain name are whitelisted.
The senders are added to the whitelist:
Import senders to whitelist from CSV file
Administrators can import multiple senders from a .csv file. The senders' addresses should be saved in the following format:
sender1@domainname1.com
sender2@domainname2.com
sender3@domainname3.com
- Click the 'Import from CSV file' to import senders to whitelist from a CSV file.
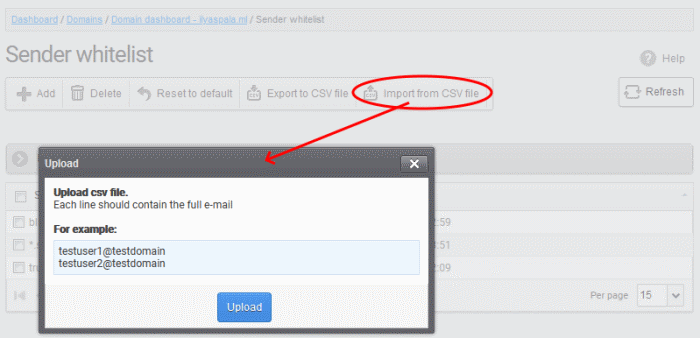
- Click
'Upload', navigate to the location where the file is saved and click
the 'Open' button. The maximum size of the file that can be uploaded
is 9 MB.
Remove the upload from the queue
- Click the 'Remove import task' button. The 'Remove import task' deletes only a remaining part of not imported task.
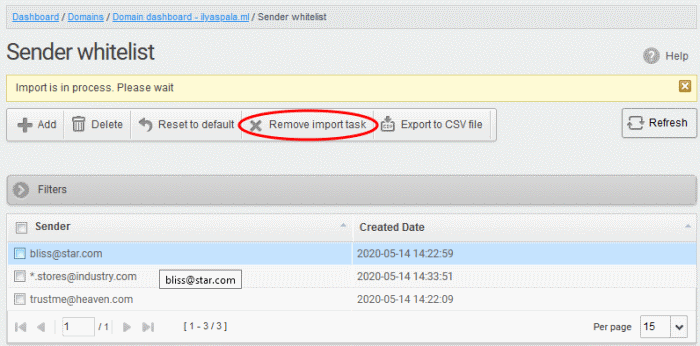
On completion
of the upload process, the result is displayed.
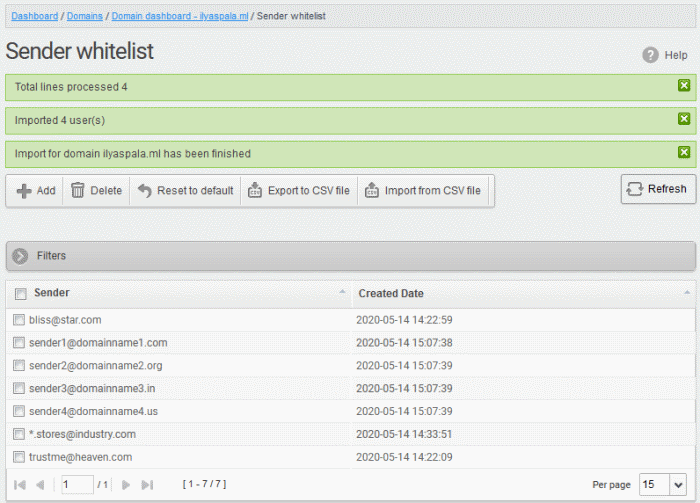
The sender whietlist from .csv file is uploaded and the administrator who carried out the task receives a notification about the import task completion.
Export the Sender Whitelist to CSV file
- Click 'Export to CSV file' to save the list of whitelisted senders as a CSV file
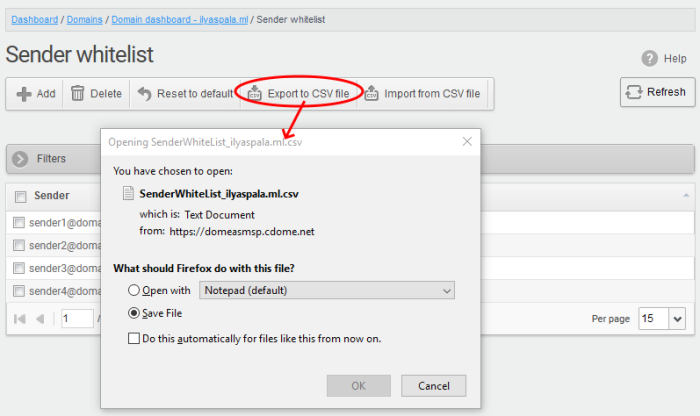
A file download dialog is displayed.
- Click 'OK' to save the file in your system.
Delete Users from the Sender Whitelist
- Click ‘Reset to default’ to remove all whitelisted senders
- To remove particular sender(s) from the whitelist, select them from the list and click the 'Delete' button.
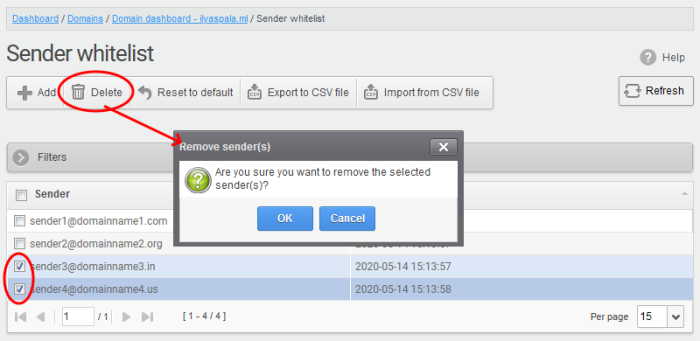
- Click 'OK' to confirm your changes.


