


Quarantine
- CASG scans all messages received by your mail server to identify spam and malicious email.
- If enabled by your administrator or by yourself, you will receive notifications when a mail sent to you or your aliases is quarantined.
- The
notification mail contains a link to view the message.
The link will expire after 24 hours. See 'Manage
Profile Settings' for more details about
enabling/disabling quarantine mail alerts.
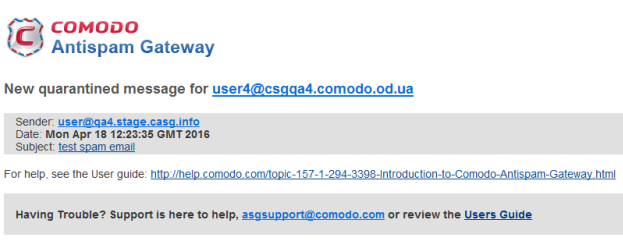
- The notification mail contains links to request the mail is released from quarantine, to whitelist/blacklist the sender or to delete the mail from quarantine.
- If you want to release the mail from quarantine or blacklist/whitelist the sender, you need to login to the CASG user interface and open the quarantine interface.
- The 'Quarantine' interface shows mails addressed to you but quarantined by CASG. You can view the mails and even download attachments from them if you are sure they are safe. You may also send requests to your administrator to release quarantined emails or add senders to the whitelist or blacklist.
|
Note: Please contact your administrator if you are not able to view your quarantined mails. |
|
Tip: You can configure CASG to send you regular quarantine reports. The report lists all your quarantined messages. See CASG
Reports for more details. |
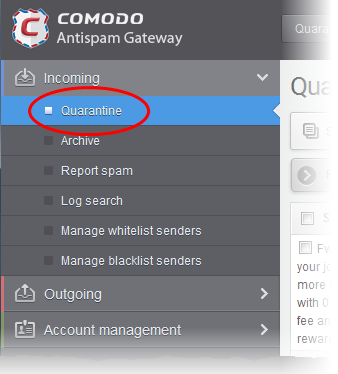
Open the quarantined interface
- Click 'Incoming' on the left then select 'Quarantine'
- Alternatively, click the 'Quarantine' button at the top.
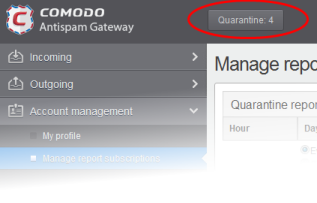
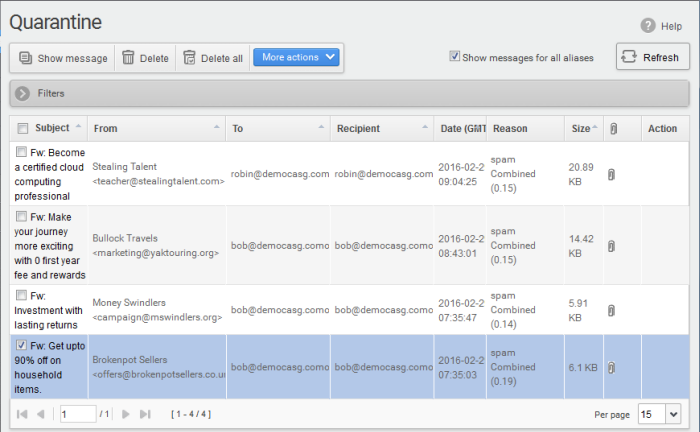
The quarantined area opens:
|
Note: Depending on the permission level configured for your email account by your administrator, the buttons in the interface may vary. For example, 'Show message' button may not be available in the interface. The 'Request release' button may appear as 'Release' button in the 'More actions' drop-down button enabling you to release quarantined mail without approval from the administrator. |
- More Actions - Request that the mail is released from quarantine, or that the sender is added to the blacklist or whitelist.
- Show messages for all aliases - By default, the list only shows mails sent to your primary email address. Select this option to view messages sent to all your mailboxes.
|
Note: The option 'Show messages for all aliases' will not be available if you have have switched to an alias account. |
From this interface you can:
Use filters to search quarantined emails
- Click
anywhere on the 'Filters' stripe to open
(or close) the filters area.
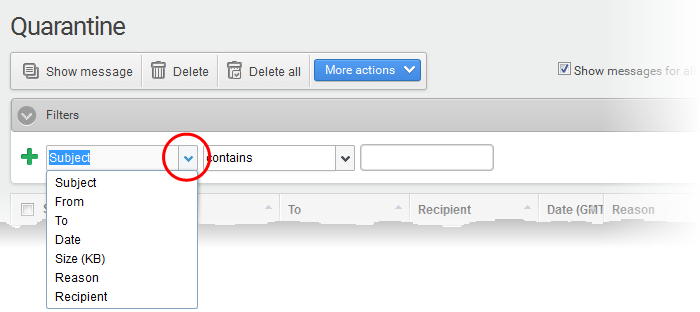
- Choose the filter by which you want to search from the first drop-down, then a condition in the 2nd text box. Some filters have a third box for you to type a search string.
- Click ‘Apply Filter’.
You can filter results by the following parameters:
- Subject: Type the mail subject in the text box (column 3) and select a condition in column 2.
- From: Enter the sender name or address in the text box (column 3) and select a condition in column 2.
- To:Enter the recipient name or address in the text box (column 3) and select a condition in column 2.
- Date: Search by date and time mails quarantined. Select the date (column 3) and select a condition in column 2.
- Size (KB): Search quarantined mails by their size. Select or enter the mail size in column 3 and select a condition in column 2.
- Reason: Enter the quarantined reason in the text box (column 3) and select a condition 2.
- Recipient: Enter the recipient name or address in the text box (column 3) and select a condition in column 2.
Click anywhere on the 'Filters' tab to close the filters area. Click the 'Refresh' button to remove filters.
You
can add multiple filters to the same search by clicking  .
.
| Note: The administrator of your email account should have enabled this feature for you. If this is enabled, the 'Show message' button will be available in the interface. |
You can view the quarantined mails in two ways:
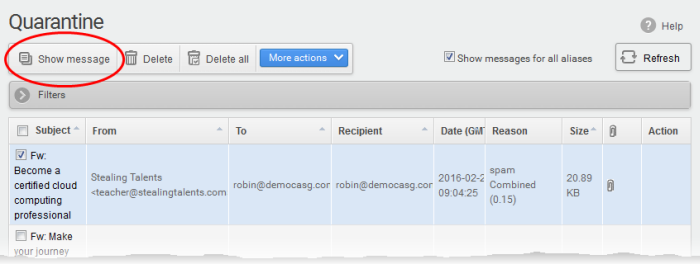
View quarantined mails in the same CASG window
- Select the mail that you want to view and click the 'Show Message' button
OR
- Click on the email link in the subject column that you want to view its details
The selected email opens:
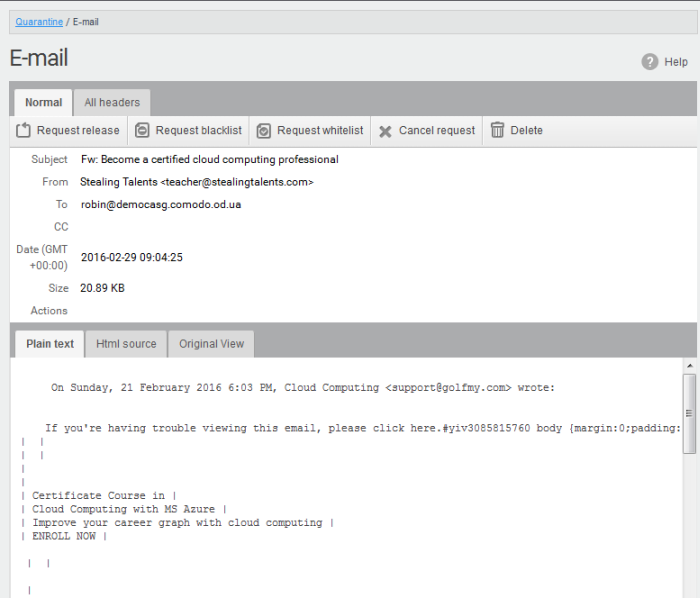
By default, the email opens in normal view and shown in plain text, where the images, banners and links are not be displayed.
- Click 'Html source' to view the source code of the mail.
- Click the 'Original View' tab to view images and links. A warning message is displayed as follows:
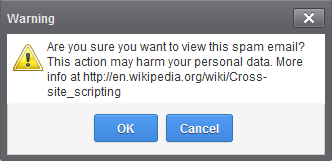
- Click 'OK' to view the email.
Check the details
of the mail and ascertain whether it is a spam mail or not. You can
choose to either release the email or to add the sender to whitelist or blacklist.
If there is
an attachment, you can download it from this dialog.
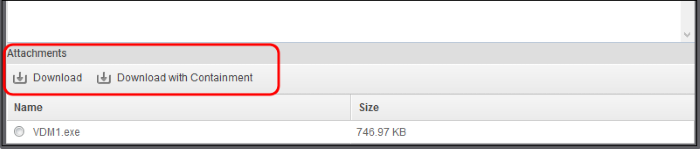
Select the attachment and click 'Download' or 'Download with Containment'.
- Download - You can save the file / attachment as original
- Download with Containment - Containment is a technology whereby attachments with an 'unknown' trust rating are run inside a secure, sandbox environment. You can open and run the file as normal, but it is prevented from making potentially damaging changes to your computer
'Download with containment' is only available if enabled by your administrator
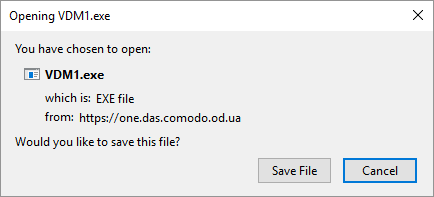
You can open the attachment with an appropriate application or save to a desired location in your computer.
- Click 'All headers' to view the email headers, which contain information about the route taken by the mail before it reached your mailbox. The headers give full details of the sender, route, recipient, sent date, mail type and so on and enable you to check the authenticity of the mail
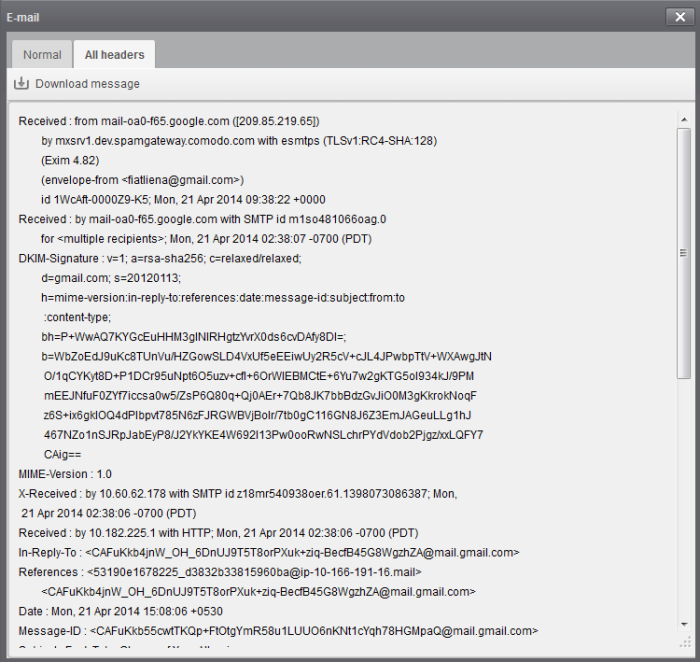
- To download the email as a HTML file, click 'Download' message
View a quarantined mail in a new window
- Right-click on the subject line of the mail you want to view and choose to open in a new tab or new window from the context sensitive menu.
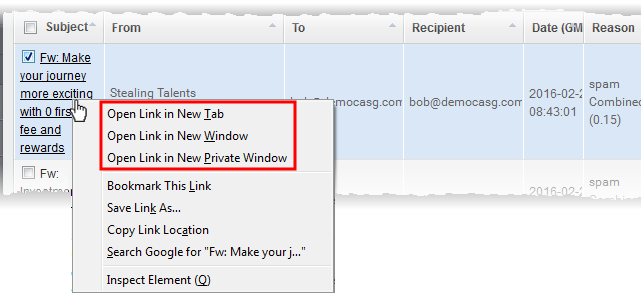
Your browser may display a warning pop-up window notification. Click 'Options'> then select 'Allow pop-ups for...' to allow the message to open in a new window. Click 'Show message in new window' again.

-
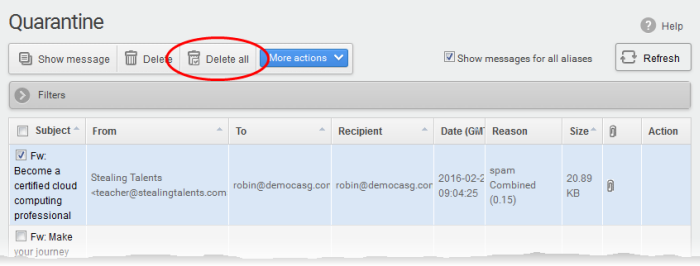
Select the mail that you want to delete and click the 'Delete' button

An alert is shown to confirm the deletion. Click 'OK' to delete the selection email.
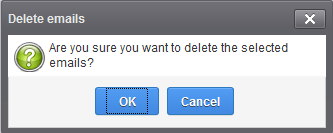
The selected mail is deleted and will no longer be in the quarantined mail list.
-
To delete all the quarantined mails click the 'Delete All' button.
An alert is shown to confirm the deletion.
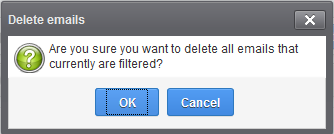
- Click 'OK' to delete all quarantined emails
All
the quarantined emails for the selected domain are deleted.
After viewing and ensuring that the
selected email is not a spam you can request your email account
administrator to release the email.
| Note: Depending on the permission level configured for your email account by your administrator, the button for releasing quarantined email is either 'Release' or 'Request release' in the 'More actions' drop-down button. If the interface displays 'Release' button, you can release the selected email from the list without approval from your administrator. |
- Select the mail that you want to release and click 'More actions' > 'Request Release'

An email notification is sent to your administrator for your request and you will also receive the request email. This request is also displayed in the 'Action' column of the users' quarantined interface. If the administrator accepts the request, the user receives the email and if it is rejected, 'Release' icon in the 'Action' column are no longer shown.
- Click 'More actions' then 'Cancel request' to call off the request before the administrator accepts the request
Request a sender to be added to the blacklist
To avoid receiving spam emails, you
can request the administrator to add the senders of these emails to
blacklist.
|
Note: Depending on the permission level configured for your email account by your administrator, the button for adding senders to blacklist is either 'Blacklist this Sender' or 'Request blacklist' in the 'More actions' drop-down button. If the interface displays 'Blacklist this Sender' button, you can add the sender to blacklist without approval from your administrator. |
- Select the mail whose sender you want to add to the blacklist and click 'More actions' > 'Request Blacklist'
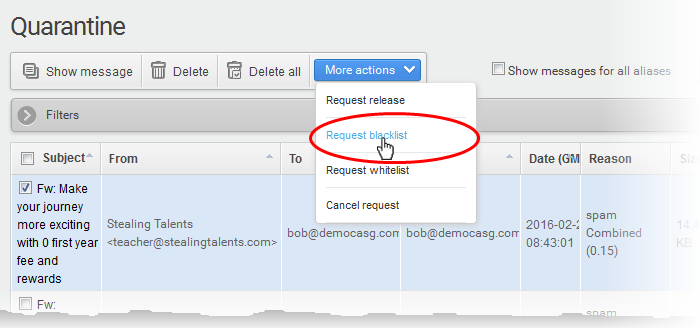
A notification is sent to your administrator for your request and you also will receive the request email. This request is also shown in the 'Action' column of the users' quarantined interface.
- If the administrator accepts the request, the sender is added to blacklist and the user will no longer receive any mail from that sender.
- If the request is rejected, 'Blacklist this Sender' icon in the Action column will no be longer be displayed.
- Senders added to blacklist are displayed in the 'Manage blacklist senders' interface. See Manage Blacklisted Senders for more details.
- To cal off the request before the administrator accepts the request, choose the mail > click 'More actions' then 'Cancel request'.
Request a sender to be added to the whitelist
If
mail from a sender that you trust gets quarantined, you can request
your administrator to add the sender to the whitelist.
|
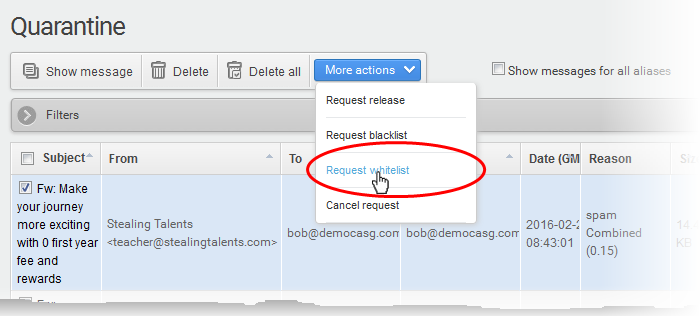
Note: Depending on permissions set by your administrator, the link in the 'More Actions' drop-down is either be 'Whitelist this Sender' or 'Request whitelist'. If the interface displays 'Whitelist this Sender' button, you can add the sender to whitelist without approval from your administrator. |
- Select the mail that you want its sender to be added to whitelist and click 'More actions' > 'Request Whitelist'
An email notification is sent to your administrator with your request. You also will also receive the request email.
This request is also shown in the 'Action' column of the users' quarantined interface.
- If the administrator accepts the request, the sender is added to whitelist and the mails from them are no longer quarantined.
- If the request is rejected, 'Whitelist this Sender' icon in the 'Action' column is no longer shown.
Senders added to whitelist are displayed in the 'Manage whitelist senders' interface. See Manage Whitelisted Senders for more details.
-
Click 'More actions' then 'Cancel request' to call off the request.