


Defining or Modifying Website Categories
The Categories pane displays a list of user defined Website categories that can be applied in the Website Filtering Rules. A Category can contain a full URL and/or part of URL with wildcard character of the each of the websites to be included in it.
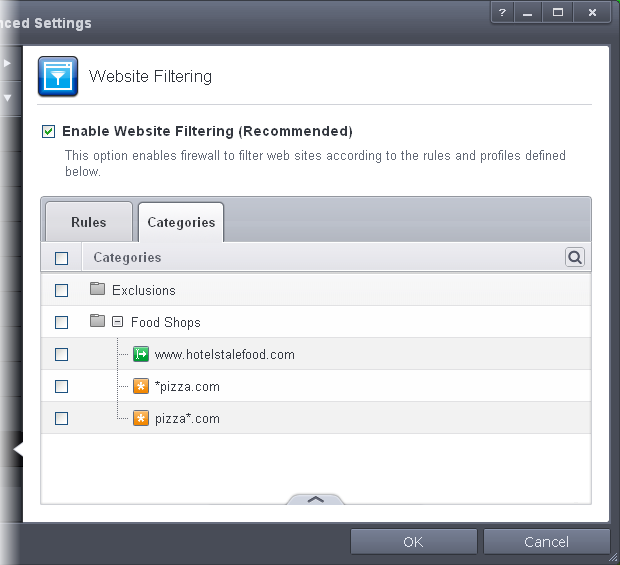
The 'Categories' pane allows you to:
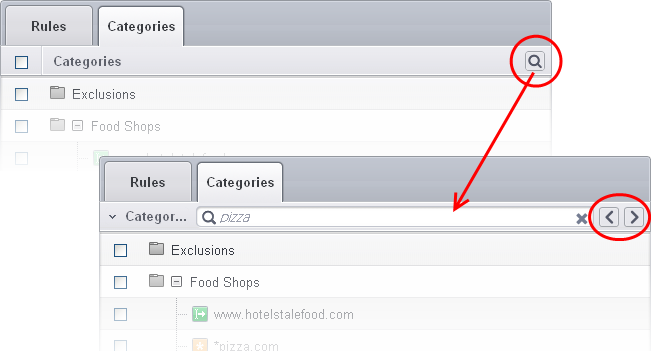
You can search for a specific category by clicking the search icon ![]() at the far right in the column header.
at the far right in the column header.
-
Enter full or part of the name of the category in the search field.
-
Click the right or left arrow at the far right of the column header to begin the search.
-
Click the
 icon in the search field to close the search option.
Adding a New Category of Website
Adding a new category involves two steps:
Step 1 - Define a name for the category
1. Open the 'Website Filtering' Panel by clicking 'Security Settings' > 'Firewall' > ' Website Filtering' tab from the 'Advanced Settings' interface
2. Click the 'Categories' tab to open the 'Categories' pane.
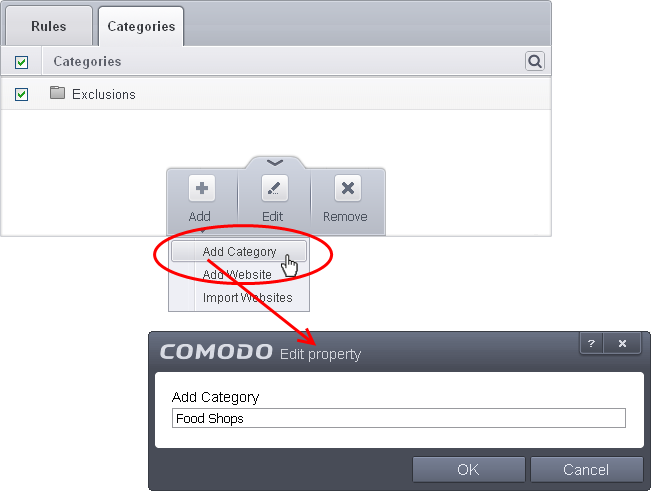
3. Click the handle from the bottom center of the 'Categories' pane, click 'Add' from the options and choose 'Add Category' from the drop-down. The 'Edit Property' dialog will open.
-
Enter a name for the category and click OK
The new category will be created and added under the 'Categories' tab.
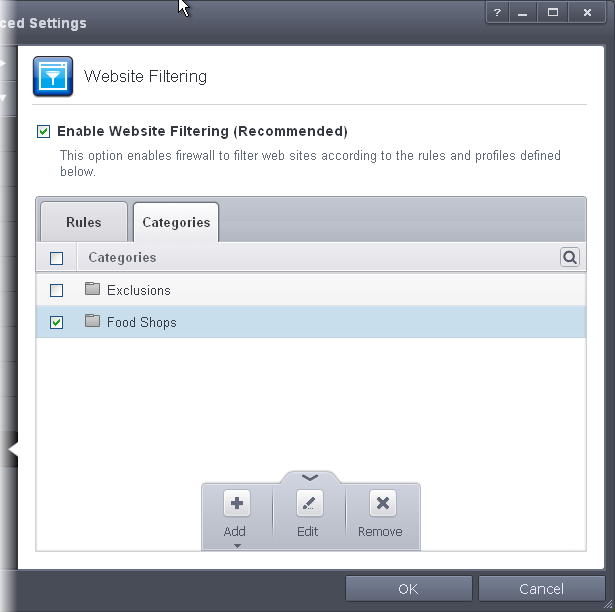
You can add URLs of websites to be included in the category.
Step 2 - Add URLs to be included to the category
You can add websites to a category in two ways:
-
Select the Category under the 'Categories' tab.
-
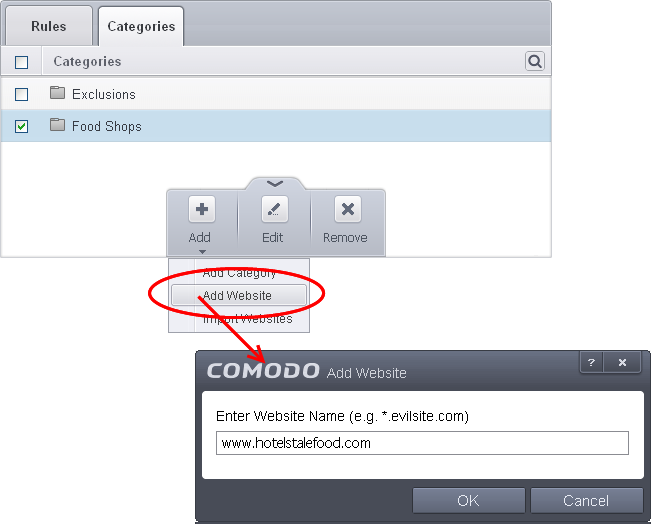
Click the handle from the bottom center of the 'Categories' pane, click 'Add' from the options and choose 'Add Website' from the drop-down. The 'Add Website' dialog will open.
-
Enter the full URL or a part of URL with a wildcard character '*' of the website(s) to be included in the category.
- To add a specific website/webpage, enter the full URL of the website/webpage
- To include all sub-domains of website, add a wildcard character and a period in front of the URL. For example, *.friskywenches.com will cover friskywenches.com, login.friskywenches.com, pictures.friskywenches.com, videos.friskywenches.com and so on.
- To include all the websites with URLs that start with a specific string, add a wildcard character after the string. For example, “pizza*” will cover 'pizzahut.com', pizzacorner.com, and so on.
- To include all the websites with URLs that contain a specific string, add the wildcard character befor and after the string. For example, “*pizza*” will cover hotpizza.com, spicypizza.com and so on.
The website will be added to the category.
-
Repeat the process to add more websites.
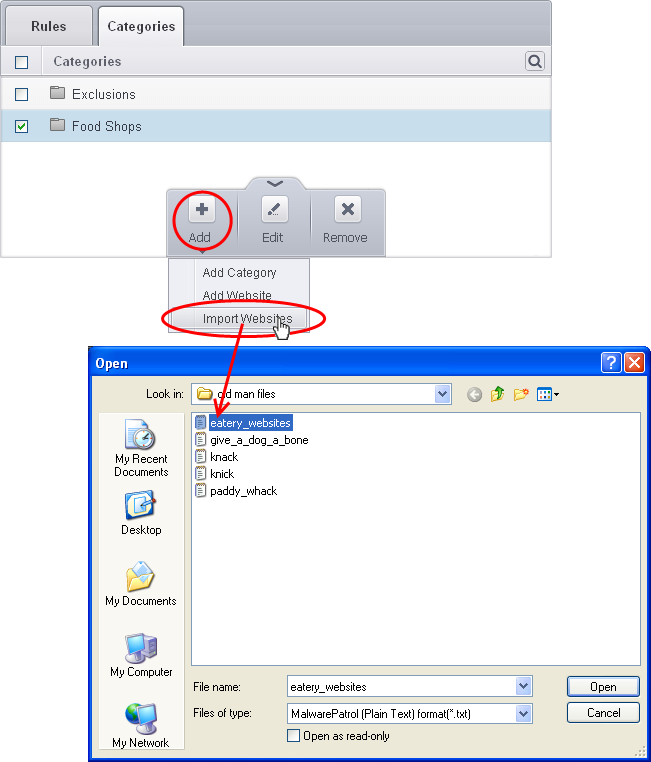
To upload the list of websites from a text file
2. Click the handle from the bottom center of the 'Categories' pane, click 'Add' from the options and choose 'Import Websites' from the drop-down.
3. Navigate to the file containing the list of URLs of the Websites to be added to the category.
|
Note: The text file should contain only the list of full URLs or URLs with wildcard character (*) of the websites. The file should be of the '.txt' format. |
4. Click 'Open'.
CIS will automatically add the websites specified in the text file into the selected category.
-
Open the 'Website Filtering' Panel by clicking 'Security Settings' > 'Firewall' > ' Website Filtering' tab from the 'Advanced Settings' interface
-
Click the 'Categories' tab to open the 'Categories' pane.
-
Select the category to be renamed.
-
Click the handle from the bottom center of the 'Categories' pane and choose 'Edit' from the options. The 'Edit Property' dialog will open.
-
Enter the new name for the category and click OK
The category will be renamed immediately both under the Categories tab and in the Website Filtering Rules to which it is applied.
To remove a Website from a category
1. Open the 'Website Filtering' Panel by clicking 'Security Settings' > 'Firewall' > ' Website Filtering' tab from the 'Advanced Settings' interface
2. Click the 'Categories' tab to open the 'Categories' pane.
3. Click the + button beside the category to be edited to expand the website list
4. Select the Website(s) to be removed
5. Click the handle from the bottom center of the 'Categories' pane and choose 'Remove' from the options.
To remove a Category
1. Open the 'Website Filtering' Panel by clicking 'Security Settings' > 'Firewall' > ' Website Filtering' tab from the 'Advanced Settings' interface
2. Click the 'Categories' tab to open the 'Categories' pane.
3. Select the Category to be removed
4. Click the handle from the bottom center of the 'Categories' pane and choose 'Remove' from the options.
|
Note: You cannot remove a category which is currently applied in a Website Filtering Rule. Before removing a category, make sure you remove the category from the rules to which it is applied. |