Downloading and Burning Comodo Rescue Disk
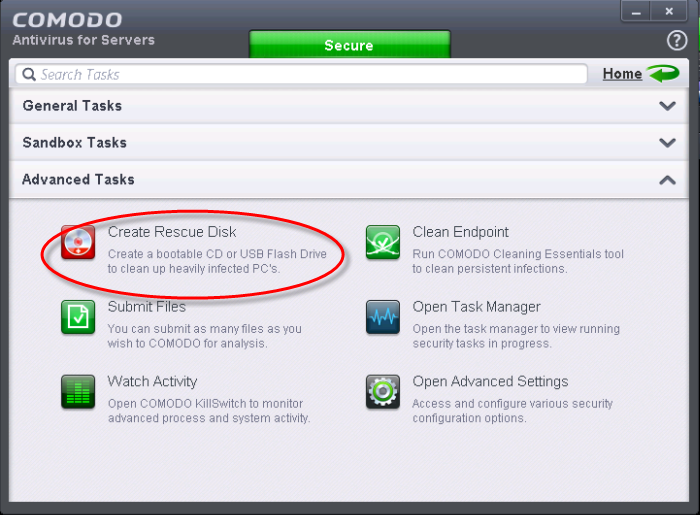
To create a Comodo Rescue Disk, Click 'Create Rescue Disk' button from the Advanced Tasks interface.
The Comodo Rescue Disk interface will open.
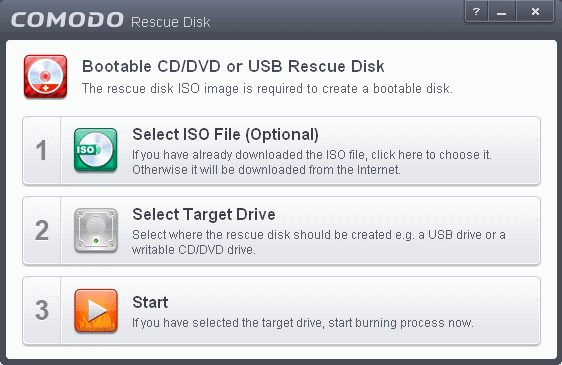
The Comodo Rescue Disk interface displays the steps involved in creation of a new Rescue Disk on a CD/DVD or in a USB drive.
Step 1- Select the ISO file
This step allows you to select the Comodo Rescue Disk image file in .iso format stored in your hard drive, if you have already downloaded the same from Comodo servers or copied from another computer. Pre-storing the .iso file and burning the rescue disk from it conserves your Internet connection bandwidth usage. This step is optional. If you haven't downloaded the iso file, it will be automatically downloaded from Comodo Servers prior to execution of Step 3 - Burning the Rescue Disk.
- Click Select ISO File (Optional) and navigate to the comodo_rescue_disk.iso file
Step 2 Select target drive
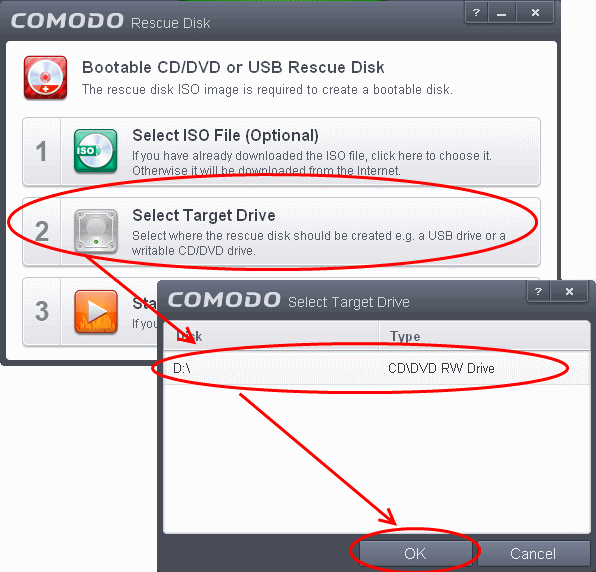
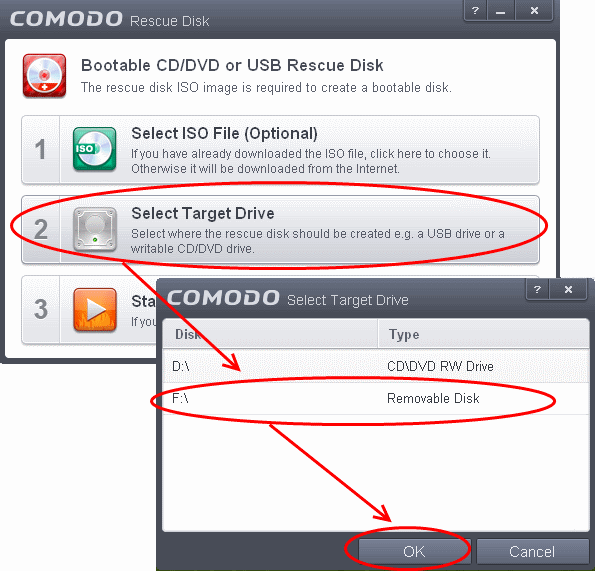
This step allows you to select the CD/DVD drive or the USB drive to burn the Rescue Disk.
To burn the Rescue disk on a CD or a DVD
- Label a blank CD or DVD as "Comodo Rescue Disk - Bootable" and load it to the CD/DVD drive in your system
- Click 'Select Target Drive' from the 'Comodo Rescue Disk' interface and select the drive from the Select Diskdialog
To burn the Rescue disk on a USB Drive
- Insert a formatted USB memory to a free USB port on your computer
- Click 'Select Target Drive' from the 'Comodo Rescue Disk' interface and select the drive from the Select Disk dialog
Step
3 - Burn the Rescue Disk
- After you selected the target drive, click 'Start'. If you have selected an .iso file from your hard disk, the burning of the disk will start immediately. Else, the .iso file will be downloaded from Comodo Servers.
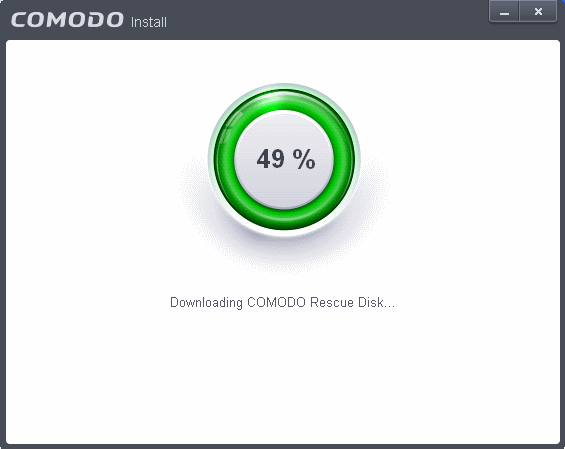
On completion, the files will be written on to the CD/DVD or the USB Drive.
- Wait till the completion of the process. Do not eject the CD/DVD or the USB drive. On completion of the process, the CD/DVD will be ejected automatically.
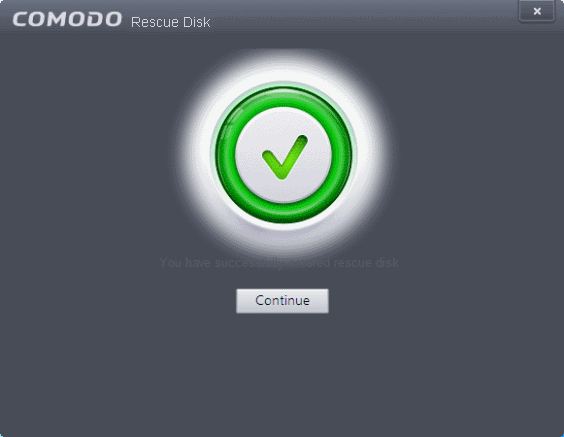
Your Bootable Comodo Rescue Disk is created. Click 'Continue' to go back to CAVS interface.


