Install RMM Administrative Console
Download the RMM Console setup file
You can download the RMM console setup file from the ITSM console interface.
-
Log into the Comodo One at https://one.comodo.com/app/login with your user name and password
-
Click the 'Licensed Applications' icon from the top and select 'IT and Security Manager', to open the ITSM console
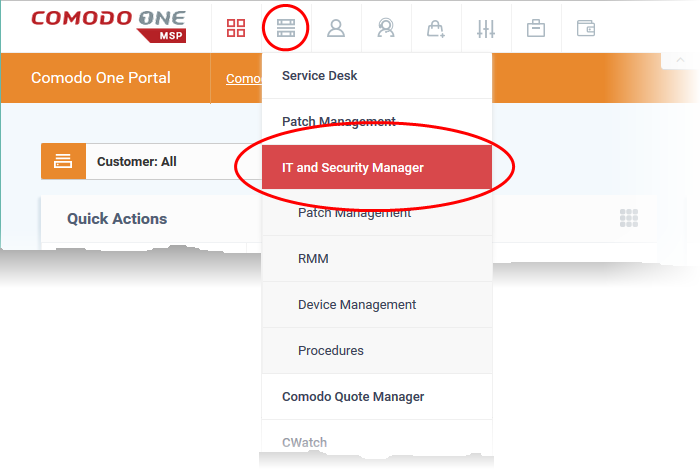
-
Click the 'Devices' link on the left and choose 'Device List'
-
Click the 'Device Management' tab at the top of the main configuration pane
A list of all devices enrolled to ITSM will be displayed by default.
-
Choose a 'Windows' device, click 'Takeover' from the top then 'With RMM Plugin'
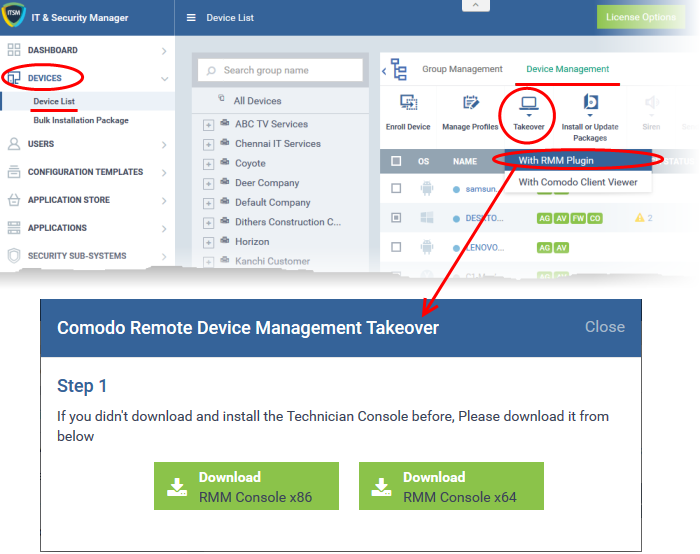
- Choose the operating system of the computer on which you have planned to install the console and download the file.
Install the Console
- Double
click on the RMM console setup icon
Step 1: Welcome Screen
The set up program will start automatically and the 'Welcome screen' of the installation wizard will be displayed.
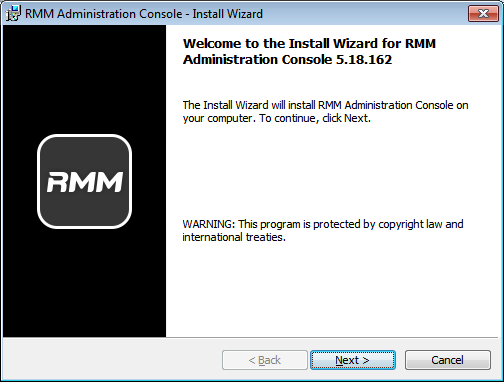
- Click
'Next' to continue.
Step 2: End User License Agreement
Complete
the initialization phase by reading and accepting the End User
License Agreement (EULA).
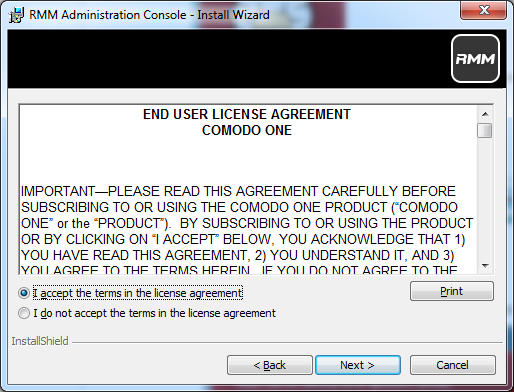
- Click
'I Agree' to continue
installation. If you want to cancel the installation, click
'Cancel'.
Step 3: Ready to Install
The next stage is confirmation of the installation settings.
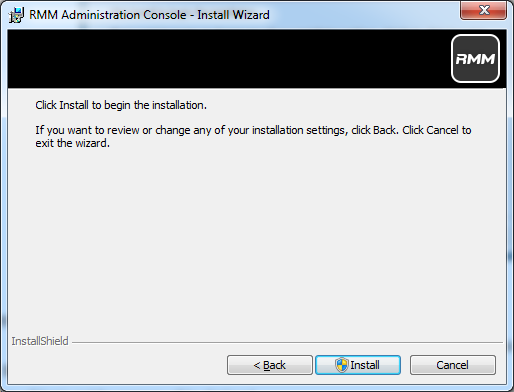
The program will be installed in the default location C:/Program Files/Comodo/RMM Administration Console
- If you want to review the installation settings, click 'Back'. To continue with the installation, click 'Install'.
Step 4: Setup Progress
Installation will begin and the progress will be displayed.
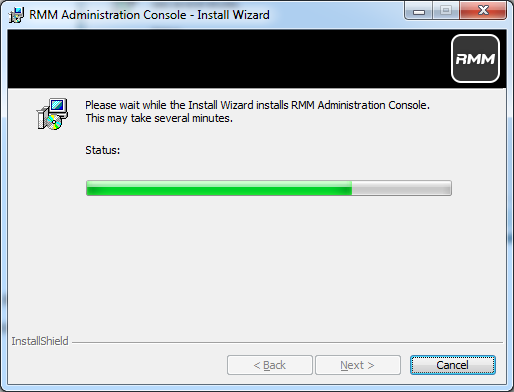
Step 5: Finalizing the
Installation
On completion, the 'Install Wizard Completed' dialog will be displayed.
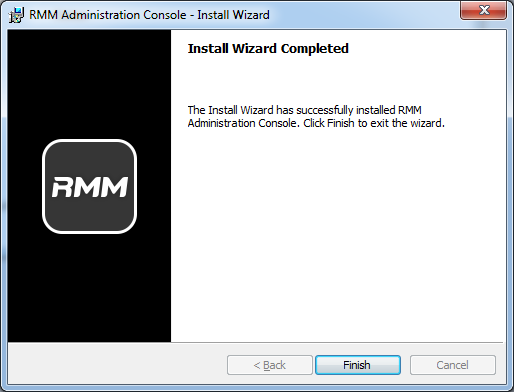
- Click 'Finish' to complete installation and exit the wizard.
On completion, the login dialog will open. Refer to the next section 'Logging-in to the RMM Administrative Console' for more details.


