About Software
The 'About' section in the 'Dashboard' area displays hardware, software and virus update details.
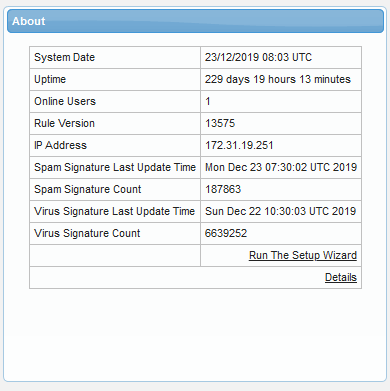
Clicking the 'Details' link at the bottom opens another 'About' screen that provides more details:

By default, the 'About' tab will be displayed.
- Click the 'System Admin' tab to view or update administrator details:

- When the SMTP IPS module blocks IP addresses, a list of the blocked IP's will be sent to the e-mail address shown in this interface.
- If the field 'System Admin E-mail' is left blank then an error message will be displayed in 'System Messages' in the dashboard.
- Click 'Save' after completing all fields.
Run Setup Wizard
Allows you to quickly configure protection on a mail server.
Run a setup wizard:
- Click the 'Run the setup wizard' link.
- The setup wizard screen will be displayed. This allows you to choose the SSL certificate you wish to use on your console, as well as system admin details, LDAP profiles, 'Managed Domains', 'Routes' and 'Relay' details.
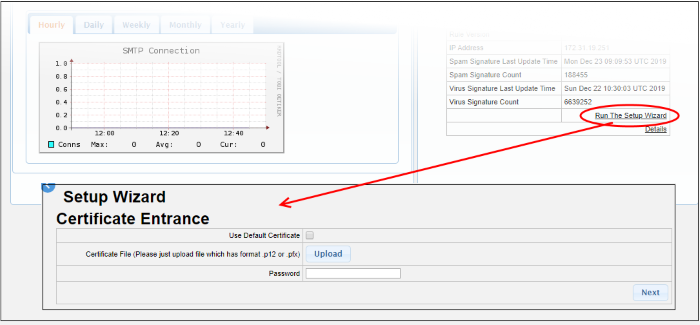
- Upload a certificate you have on file. Ideally, this will be a certificate which you have obtained from a trusted certificate authority. Using such a certificate means you will not see browser error messages when you access the admin console. Note: The certificate should be for the domain that Comodo has setup for your Secure Email Gateway console on the AWS instance. Details of your Secure Email Gateway domain will have been sent to your registered email after you signed up for the account.
- Use the default, self-signed certificate. Secure Email Gateway will automatically install a self-signed certificate on your console. Your connection to the console will be just as secure as above, but your browser will show error messages as the certificate is not signed by a trusted certificate authority. You can bypass these errors and create an exception in your browser to avoid these messages in future.
You can also upload SSL certificate from the setting interface. Click here for details.
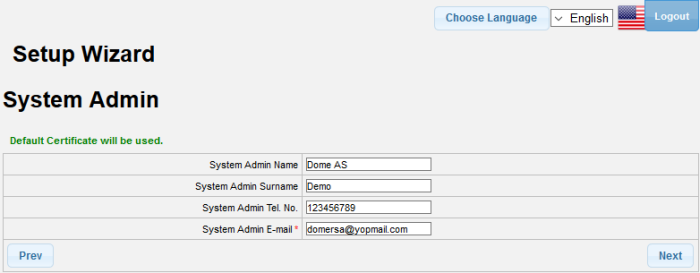
- Click next to enter admin details such as 'System Admin Name', 'System Admin Surname', 'System Admin Tel. No' and 'System Admin E-mail'.
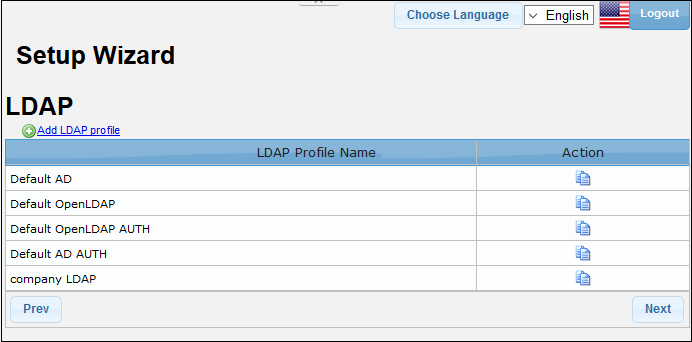
- Click 'Next', to enter 'LDAP' information:
- Click 'Next', to enter details of 'Managed
Domains'.
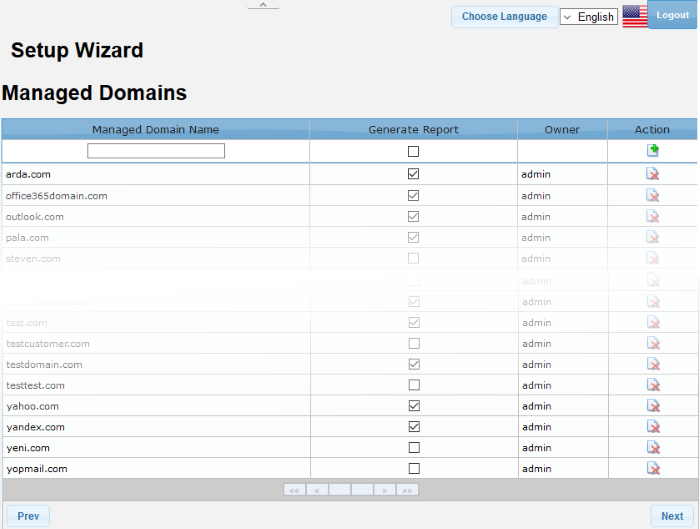
See the Managed Domains section for more details.
- Click 'Next', to enter details of 'Routes'.
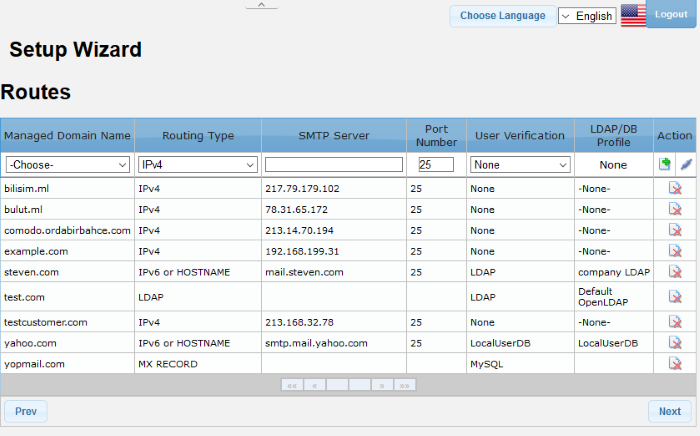
See the Routes section for more details.
- Click 'Next', to enter details of 'Relay'.
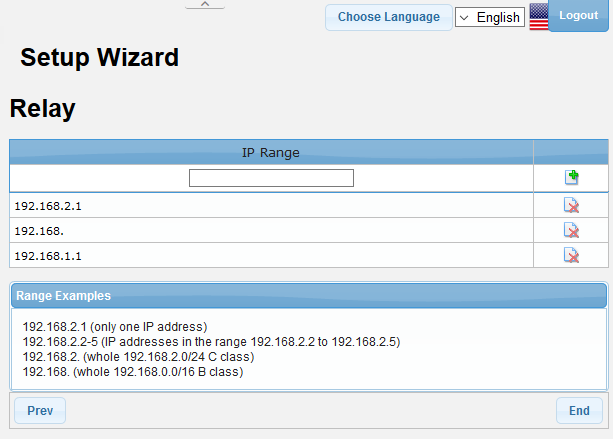
See the Relay section for more details.


