Mail Logs Report
- Click 'Reports' and then click 'Mail Logs'
- The 'Mail Logs' report provides complete details of incoming and outgoing mails for all domains that have been added to Secure Email Gateway.
- The logs show the subject of the mail, date and time received by Secure Email Gateway, the result of the filtering process and more.

|
Mail Logs Report - Table of Column Descriptions |
|
|---|---|
|
Column Header |
Description |
|
Delivery |
Indicates the status of mail delivery. The statuses are:
|
|
Icon |
The arrow icon indicates whether the mail is incoming or outgoing. |
|
Subject |
The content of the email subject line. |
|
Result |
The verdict on an email after filtering. For example, 'CSPAM' means Secure Email Gateway found the mail was 'Certainly Spam'. |
|
Received |
Date and time Secure Email Gateway received the email. |
|
Sender |
Email address information of the originator. |
|
Recipient(s) |
Domain name of the receiver. |
|
IP |
The network address of the system from where the mail was sent. The next column displays the flag of the originating country. |
|
Action |
Status of the mail after filtering. Place your mouse over an icon to view a description of the action. |
|
Details |
Reason why a particular action was taken on a mail. For example, why it was rejected, delayed etc. |
At the top and bottom of the screen, you have the option to set the number of records to be displayed per page and export the report in CSV format.
Configure the number of records to be displayed per page
- Click the 'Records per page' drop-down
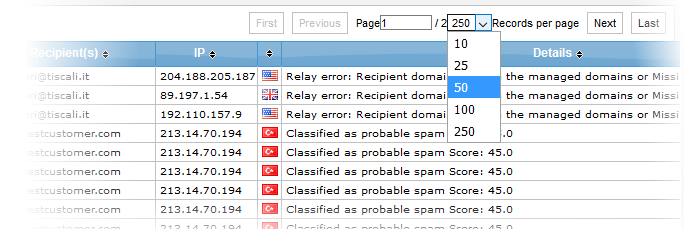
- Select the number of records per page to be displayed from the options.
- Click the 'First', 'Previous', 'Next' and 'Last' buttons to navigate to the respective pages.
Export the report to a CSV file
- Click the 'Actions' drop-down.
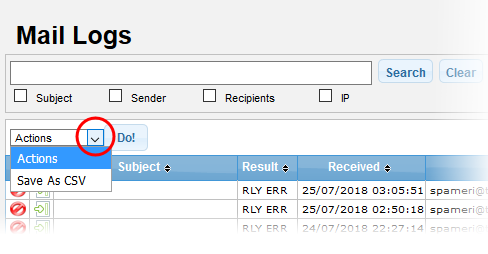
- Select 'Save As CSV' and click the 'Do!' button
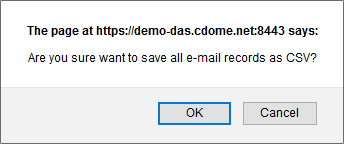
- Download and save the report to your system.
You can search for a particular record or records in the report by using simple or advanced search feature.
The simple search options allows you to search for a particular record or records based on 'Subject', 'Sender', 'Recipients' and / or 'IP' details only.
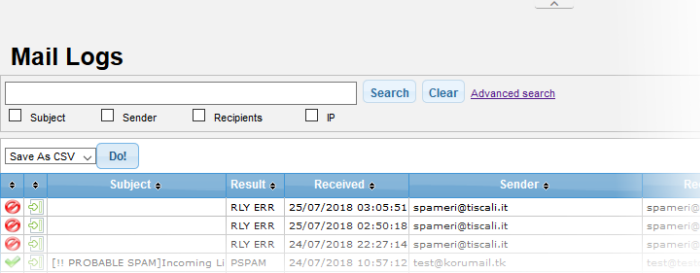
- To search for records based on the entries under 'Subject', 'Sender', 'Recipients' and / or 'IP' columns, enter the text or number fully or partially in the field and click the 'Search' button
- To search for records based on the entries under a particular column
or columns, select the respective check boxes, enter the text or
number fully or partially in the field and click the 'Search'
button. For example, if you want to search for a particular record
for sender and recipients, select the 'Sender' and 'Recipients'
check boxes, enter the text fully or partially in the field and
click the 'Search' button.
The 'Advanced Search' option allows
you a more granular search by including rules and filters.
- Click the 'Advanced Search' link at the top of the screen.
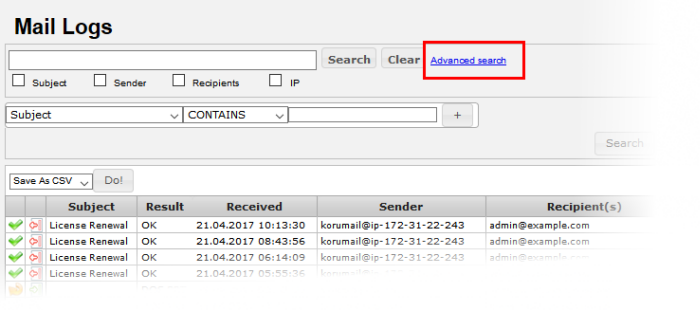
The 'Advanced Search' option will
be displayed.

The first drop-down contains the column headers that can be selected for an advanced search.
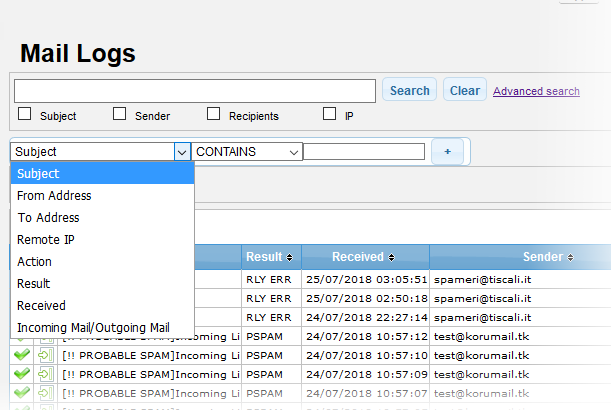
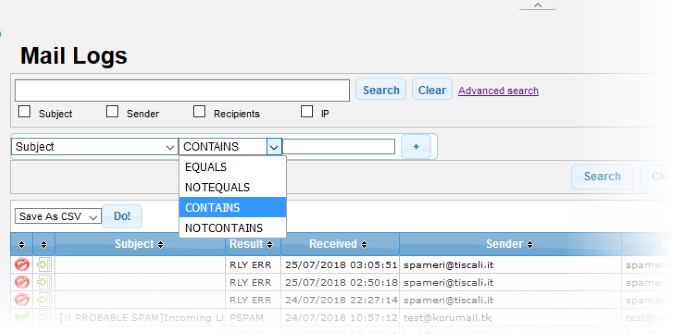
The second column contains the
condition for a search, which depends on the item selected in the
first column and text/number entered or options selected in the third
column.
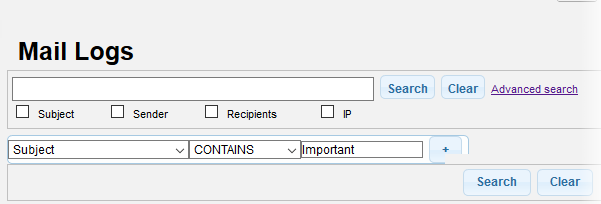
The third column allows you to
enter the text/number or select from the options depending on the
selection in the first column. For example, choosing 'Subject', 'From
Address' or 'Remote IP' allows you to enter the text in the third
column
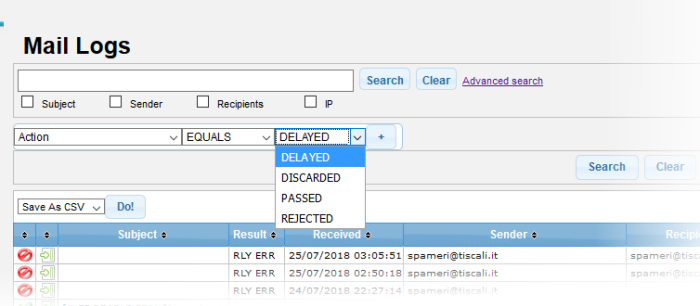
If you select 'Action' or 'Result'
in the first column, then further options can be selected from the
third column.
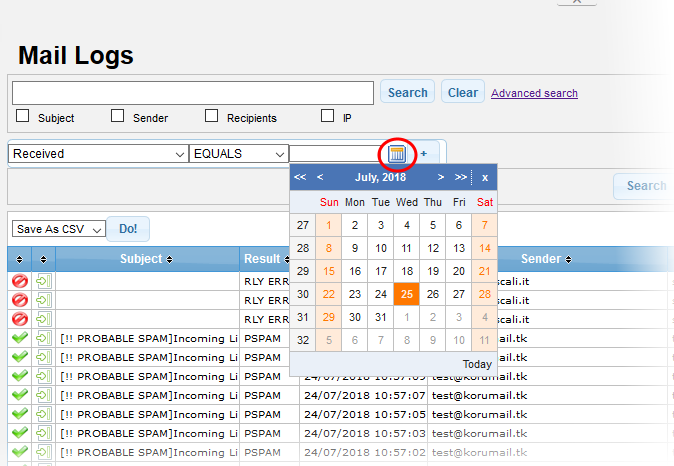
If you select 'Received' in the first column, then you can enter a date or select from the calendar.
You can add more filters by
clicking  for narrowing down your search.
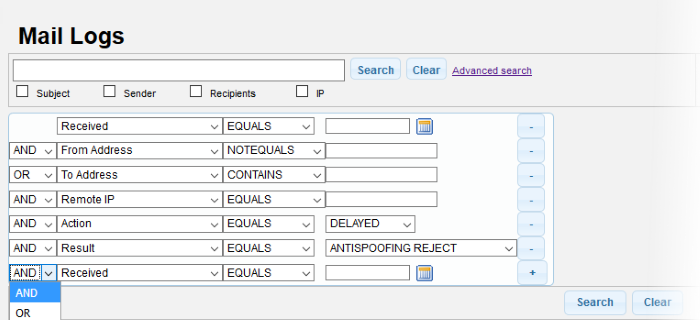
You can remove a filter by clicking
the  button beside it.
You can create a filter rule by selecting 'AND' or 'OR' option beside each of the added filter.
- Click 'Clear' to remove the advanced search rules.
- Click 'Search' to start the search per the filter rule.
The items will be searched for in the ascending order and results displayed.
- To remove the advanced search field, click the 'Advanced search' link again.


Details of a Log Entry
- Clicking anywhere on the row of a log record will display the details of the mail log.
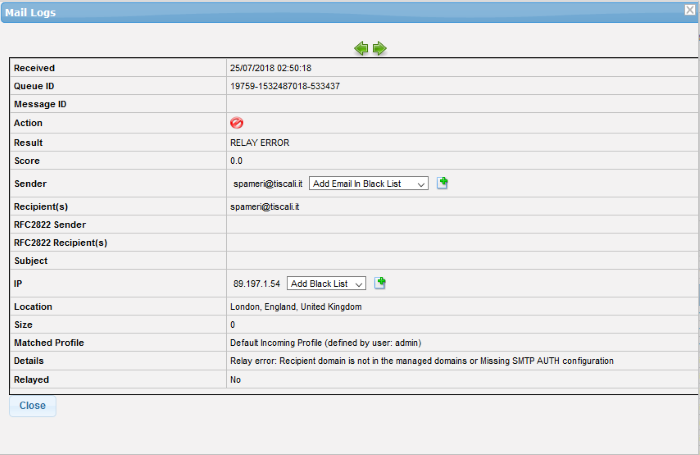
The details screen allows you to mark the mail log as 'Spam' or 'Not spam' depending the mail category. You can also add the sender, sending domain and IP to blacklist or whitelist.
- To mark an email as 'Spam' or 'Not spam', click the relevant button
at the bottom of the screen.
The changes will be saved and mails from the sender will be applied the new settings by Secure Email Gateway.
- To add the sender or domain to blacklist/whitelist, click the drop-down in the 'Sender' row.

-
Select the category from the options that you want to add the email and click the
 button beside it.
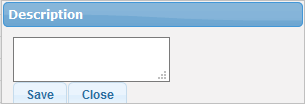
- Enter the reason for changing the category and click the 'Save' button.
The changes will be saved and mails
from the sender will be applied the new settings by Secure Email Gateway.
- To add the originating IP to blacklist/whitelist, click the drop-down in the 'IP' row.

- Select the category from the options that you want to add the IP and
click the
 button beside it.
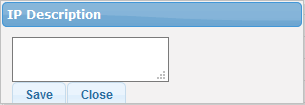
-
Enter the reason for changing the category and click the 'Save' button.
The changes will be saved and mails from the IP will be applied the new settings by Secure Email Gateway.
You can view the previous or next
record by click the  buttons at the top of a details screen.


 - Relayed: The mail
successfully passed the filtering process and was passed onto the
target mail server.
 - Rejected: The mail was
not accepted by Secure Email Gateway. A rejection message was sent
to the sender.
 - Discarded: Quarantined
mail.
 - Delayed: Indicates the
source is