Block Users
- The 'Block Users' area lets you block outgoing mail that is routed through Secure Email Gateway. You can block individual users or entire domains.
- The interface lets you view existing blocks, add new block rules, and search users by name and domain.
- Click 'SMTP' > 'SMTP-AUTH' > 'Block Users' to open the interface.
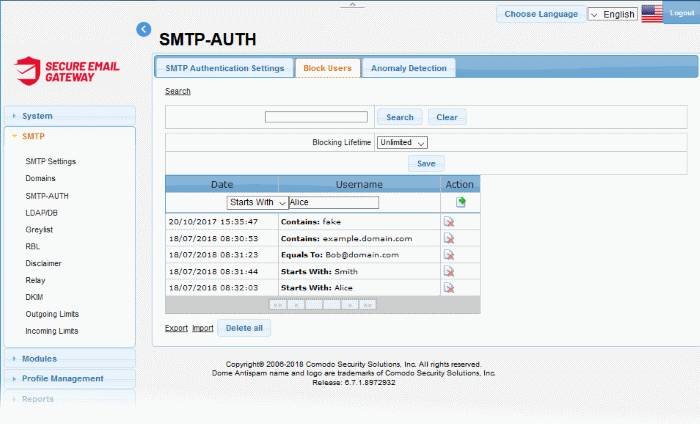
The interface allow administrators to:
Add a Blocked User
- Starts With – Blocks users whose names begin with the entered text
- Equals To – Blocks users whose names exactly match the entered text
- Contains – Blocks users whose names contain the entered text somewhere in their name. Will also block exact matches
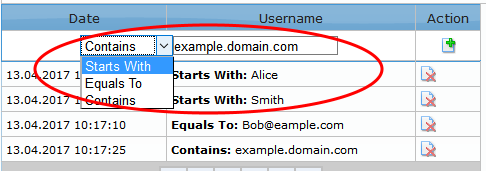
- Click the 'Add' button
 to apply your choice. The item will be added to the list
with the category type displaying on the left side.
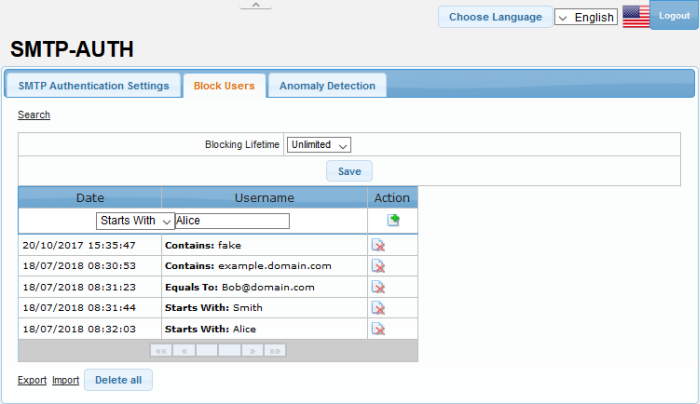
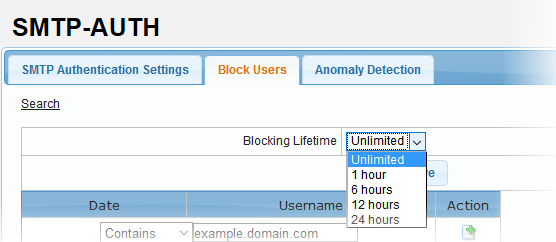
The 'Blocking lifetime' refers to the number of hours the email address will remain blocked at the SMTP Server. The available intervals are 'Unlimited', '1 hour', '6 hours', '12 hours' and '24 hours'.
Remove
users from the blocked list
- To remove users one at a time, click the
 button under the 'Action' column header and confirm the deletion in
the 'Confirmation' dialog.
- To delete all the blocked users in the list, click the 'Delete all' button at the bottom.
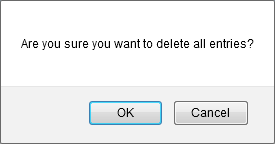
- Click 'OK' to confirm the deletion of all blocked users.
- Click the 'Search' link at the top of the interface
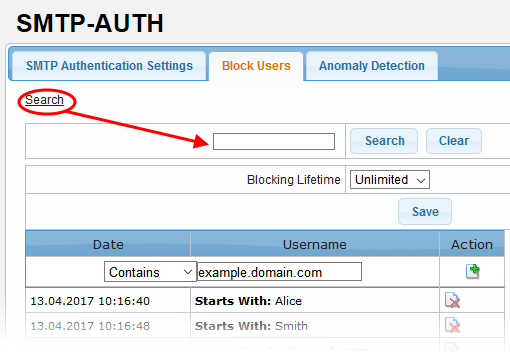
- In the search field, enter a full or partial name and click 'Search'.
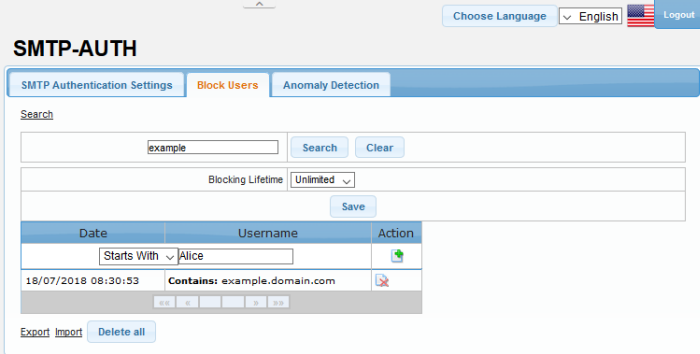
- To display all the items again, click 'Clear'.
- To remove the search field, click the 'Search' link again.
Export blocked users to file
- Click the 'Export' link at the bottom of the screen
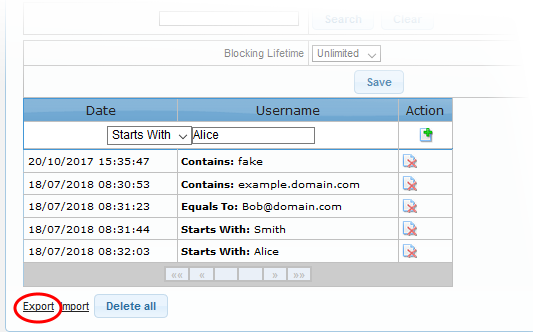
- Download the blocked user list as a text file to your system.
Import blocked users from file
- Click the 'Import' link at the bottom of the screen
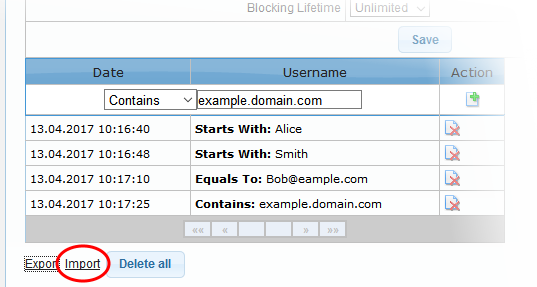
The 'Import' dialog will be displayed.
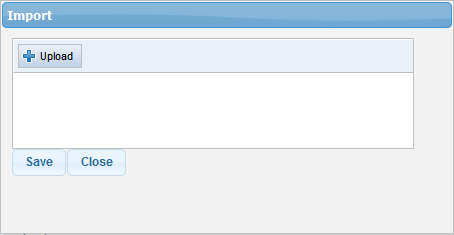
- Click the 'Upload' button, navigate to the location where the file is saved, select it and click 'Open'.
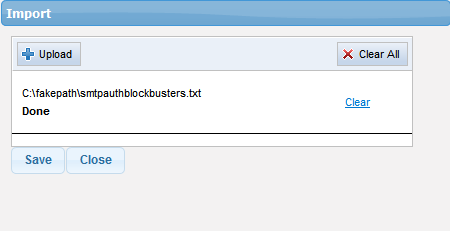
- Repeat the process to add more files.
- To remove a file, click the 'Clear' link beside it.
- To remove all added files, click 'Clear All' at top right.
- To finalize the import, click 'Save'.


