Configure Office 365 to use a Smarthost
- Note – Make sure you have activated Office 365 in CASG. Go to 'Outgoing' > 'Office 365 Activation' then complete the activation procedure. Click here for more information.
Set up outbound mail in Office 365:
- Login to your Microsoft Office 365 administrator center account
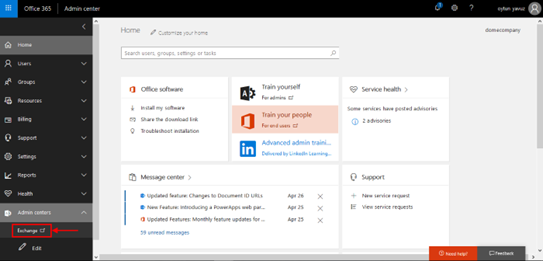
- Click 'Admin' from the left-menu
- Click 'Exchange':
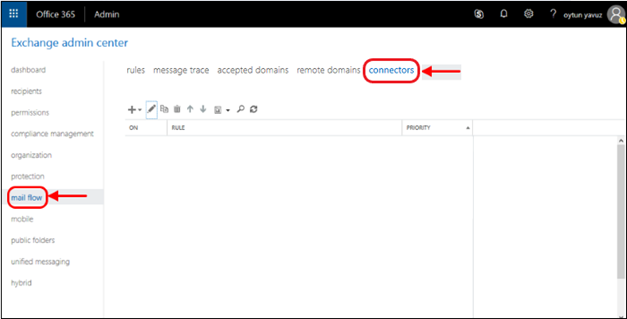
- Click 'mail flow' on the left
- Click 'connectors' in the top navigation:
- Add an 'Outbound Connector':
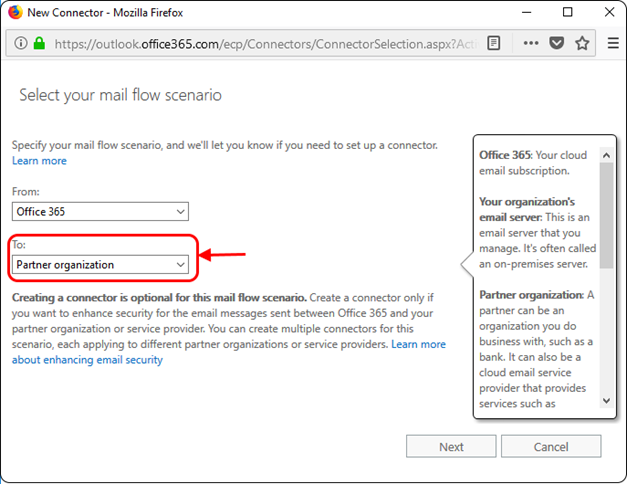
- Select 'Office 365' in the 'From' drop-down menu
- Select 'Partner Organization' in the 'To' drop-down menu:
- Click 'Next'
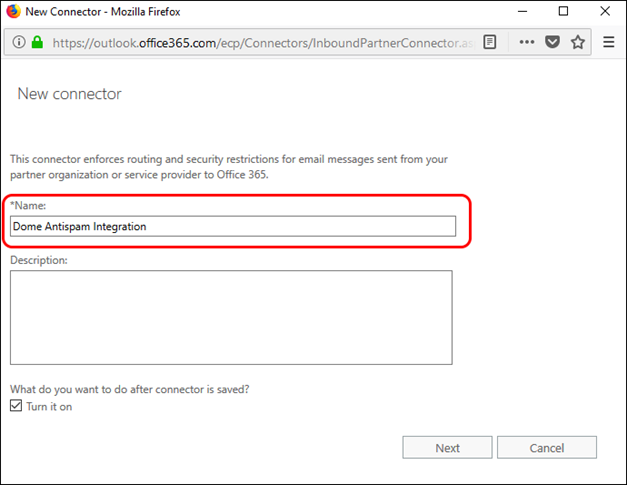
- Enter a descriptive name for the outbound connector in the 'Name' field
- Click 'Next'
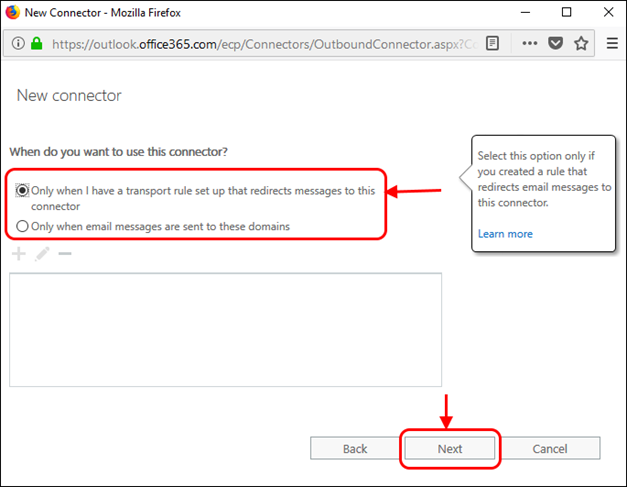
- 'When do you want to use this connector?' - Select 'Only when I have a transport rule set up that redirects messages to this connector'
- Click 'Next'
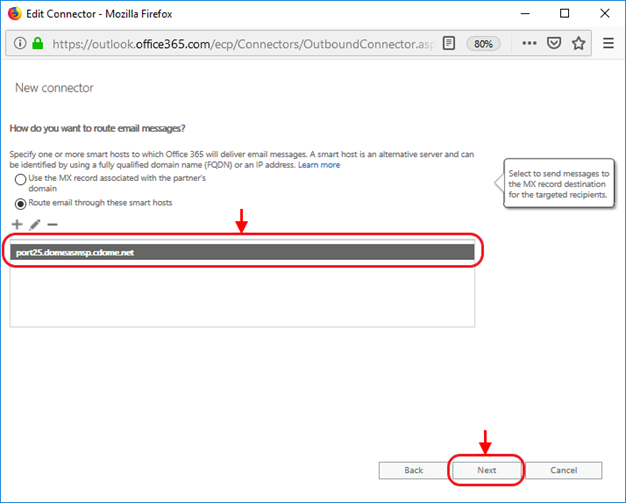
- 'How do you want to route email messages'
- Select 'Route email through these smart hosts'
- Click + sign to add smart host as port25.domeasmsp.cdome.net in the opening page and click Save.
- Page will be updated as below.
- Click ‘Next’.
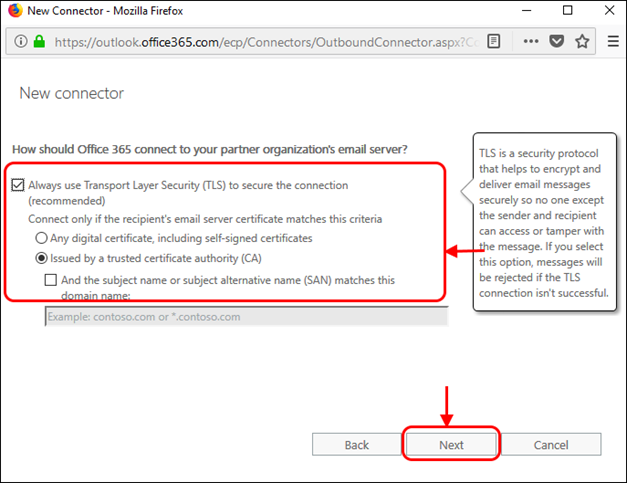
- 'How should Office 365 connect to your partner organization's email server?' - Select:
- 'Always use Transport Layer Security (TLS) to secure the connection'
AND
- 'Issued by a trusted certificate authority'.
- This will make sure the connection to the mail server is securely encrypted and authentic.
- Click 'Next'
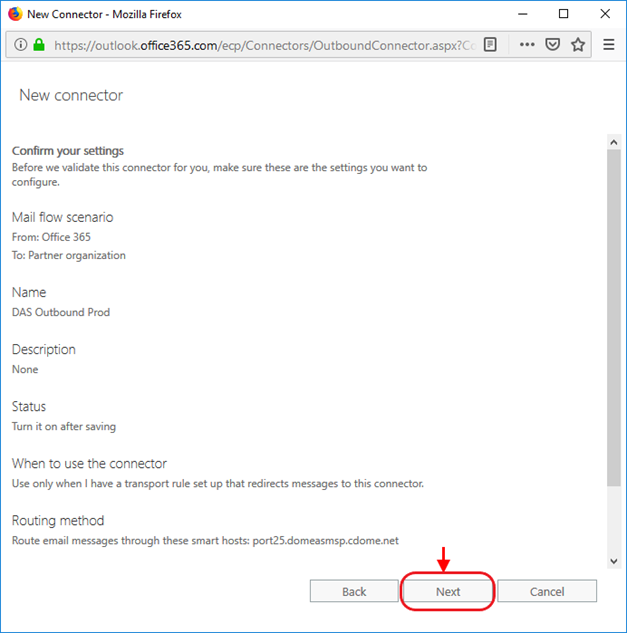
- Review your settings. Check all information in the confirmation screen is as it should be, then click 'Next':
- 'Validate this connector' - Add an email address at which you can receive mail in the field provided, then click 'Validate'.
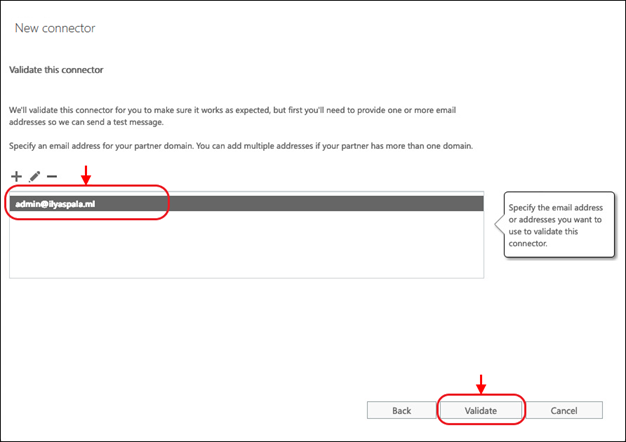
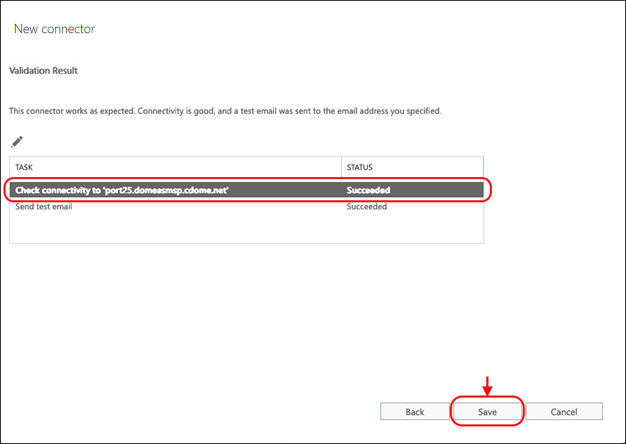
- If you receive the validation email to the specified email address, then the STATUS will change to “Succeeded”. This means that Office 365 connector can connect to your smart host.
- Click 'Save' to complete connector configuration.
