


User Account Management
The 'Users' area lets you manage users for a selected domain. You can add/import users, delete users, edit user accounts, reset passwords and configure user permissions. You can also configure mail aliases in this interface.
Click the following links for more details:
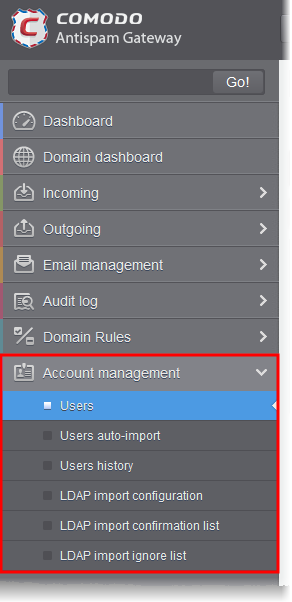
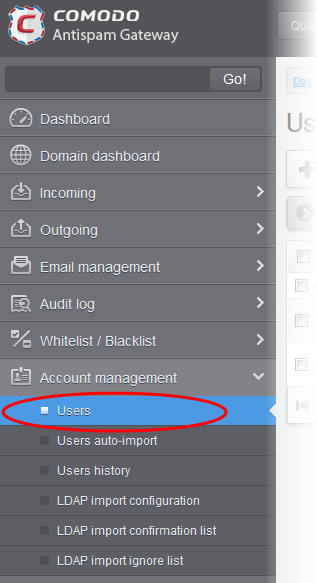
- Click 'Account management' on the left then click 'Users':
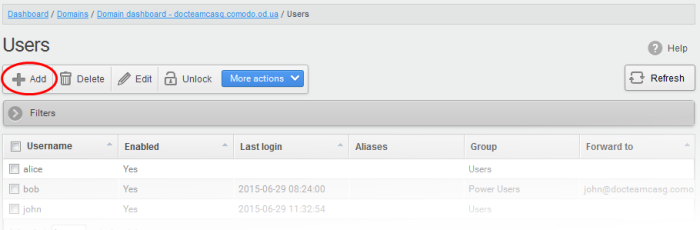
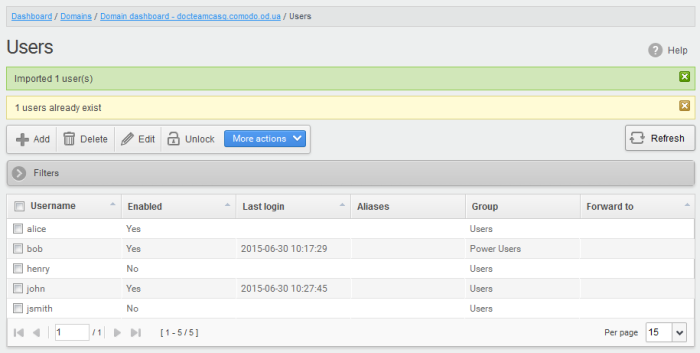
This opens the 'Users' interface of the selected domain:
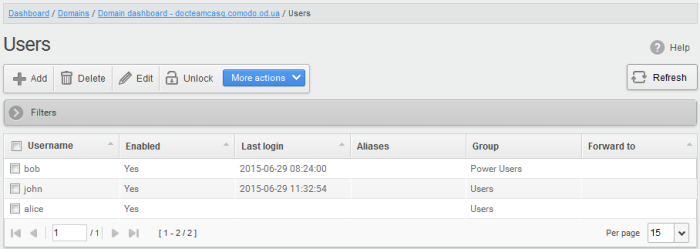
- Click
any column header to sort items in
ascending/descending order of the entries in that column.
Sorting is not available for the 'Aliases' and 'Group' columns.
Use filters to search for users
- Click anywhere on the 'Filters' stripe to open the filters area.
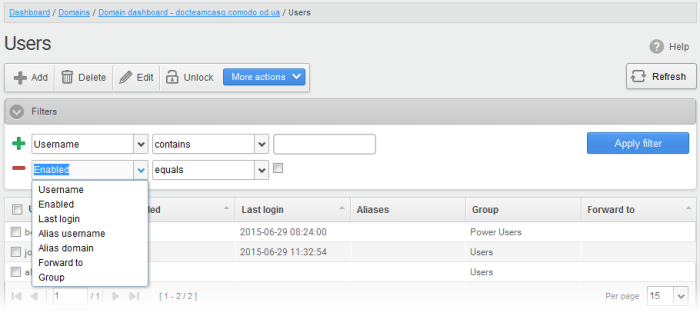
- Choose the filter by which you want to search from the first drop-down, then a condition in the 2nd text box. Some filters have a third box for you to type a search string.
- Click ‘Apply Filter’.
You can filter results by the following parameters:
- Username: Type a user name in the text box (column 3) and select a condition in column 2.
- Enabled: Sort users by whether or not their account has been activated.
- Last Login: Sort users according to a specific login time. Choose the date ranges from the boxes provided.
- Alias username: Search users by their email alias.
- Alias Domain: Search users by their domain alias.
- Forward to: Search users by the address to which their mail is forwarded
Click anywhere on the 'Filters' tab to close the filters area. Click the 'Refresh' button to remove filters.
You
can add multiple filters to the same search by clicking  .
.
-
Click the 'Add' button.
This
opens the new user configuration screen:
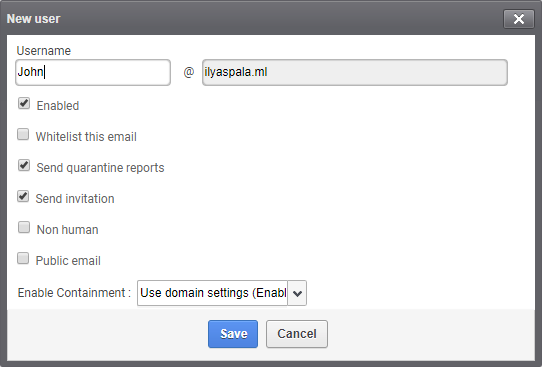
- Username - Type the name of the new user. This forms the first part of their email address. For example, if you type 'alice', the email address of the user will be 'alice@domainname.com'.
- Enabled - Clear this box to deny the new user access to CASG. The email address will still work, they just can’t login to the CASG interface to, for example, check their quarantined mail. You can enable the user later if required.
You can choose to add the new user to Recipient Whitelist from this interface itself.
- Select the checkbox beside the 'Whitelist email' to add the user to Recipient Whitelist.
Admins can also determine whether users get the reports or not. By default, it is enabled.
- Deselect the 'Send quarantine reports' box to disable this option.
- Select the 'Send invitation' box to send an invitation mail to the email recipient address entered in the 'Username' text box.
The non-human and public email settings are simply markers which help Comodo to improve antispam rules and the service in general. They let us see the volume and type of spam that these types of addresses attract. These settings do not affect any technical operations, or the protection that is applied to the addresses.
Please help Comodo by telling us if the address is one, or both, of the following:
- Non-human – A mailing list, or other non-personal email address. For example, info@yourdomain.com or sales@yourdomain.com.
- Public email – A contact address that you make freely available for people to contact you. You might put this address on your website, twitter feed or Facebook page.
You can choose whether containment feature should be enabled / disabled for the user. This setting overrides the containment settings configured for the domain.
- Enable Containment – The options available are:
- Enable
- Disable
- Use domain settings (Enable) – Applies the domain settings for containment to the user. Default value is 'Enabled' for a domain.
- Click the 'Save' button.
|
Note: If the user is disabled and subscribed for periodical Quarantine Reports, the subscription will also be canceled. |
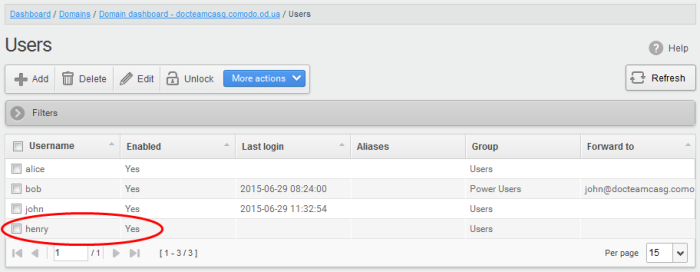
An email to the added user will be sent automatically containing password to access CASG. The password can be reset in the edit interface. The added user will be displayed in the list.
|
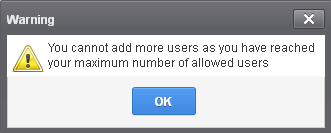
Note: The number of users that can be added depends on the plan subscribed by you and the maximum number of users limit configured for the domain in the Add Domains / Edit Domains / Domain Settings interface. When you exceed the limit of users, the following will be displayed while adding a new user.
|
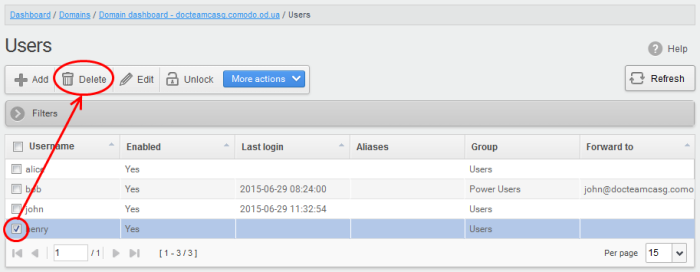
Delete an existing user
-
Select the user you want to delete from the list and click the 'Delete' button.
- Click 'OK' to confirm your changes.
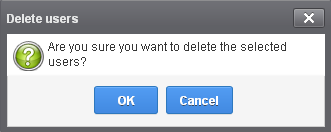
The user(s) will be removed from the list.
You can select to allow or deny permission for the users to access their CASG account in the edit interface as well as enable or disable quarantine report generation for the user.
- Select the user you want to edit from the list and click the 'Edit' button.
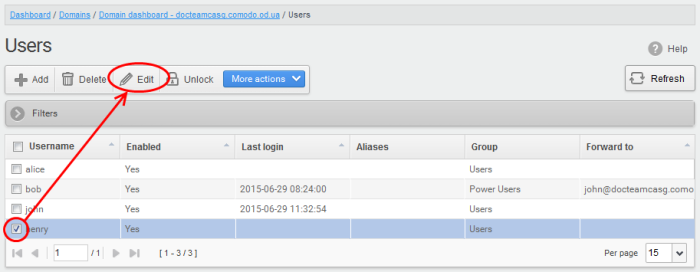
The 'Edit user' dialog will appear.
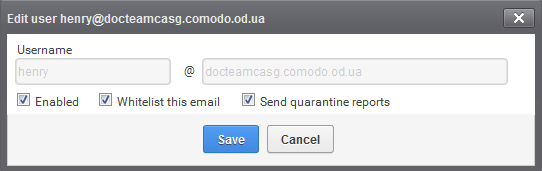
- Enabled - Allows the user to access the CASG interface.
- Whitelist email - Add the user to the Recipient Whitelist.
- Disable 'Send quarantine reports' checkbox, if you do not want the user to get quarantine reports. By default it is enabled. .
- Click the 'Save' button to confirm your changes.
|
Note: Any active subscriptions or scheduled reports for the user will be automatically canceled if access to CASG is disabled. |
After 3 unsuccessful login attempts, CASG will lock a user out of their account for 30 minutes. If required, you can unlock these users immediately without waiting for the timeout to end.
Locked out users have a lock icon next to their names:
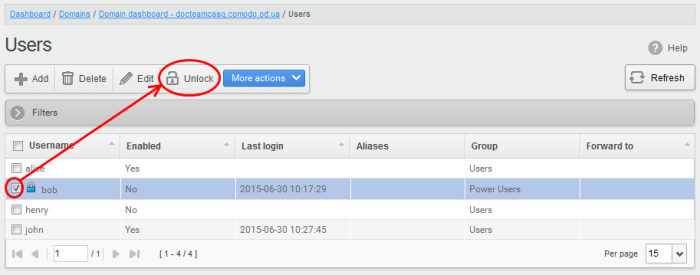
- Select the locked user from the list and click the 'Unlock' button.
- Click ‘OK’ in the confirmation dialog:

The user is now free to try to login again.
You can add many new users at a time by importing from a file. The users should be saved in 'comma separated value' (CSV) as shown below:
username1,domainname,true
username2,domainname,false
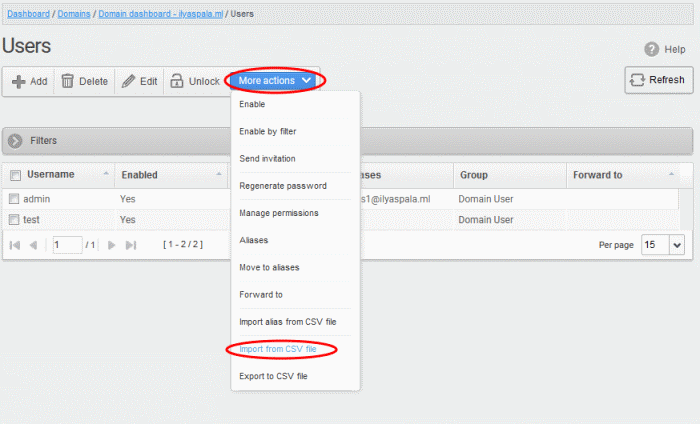
- To import new users from a CSV file click 'More actions' > 'Import from CSV file'
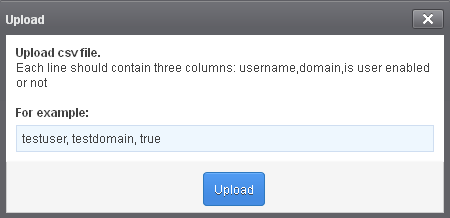
- Click the 'Upload' button and navigate to the location where the file is saved and click the 'Open' button.
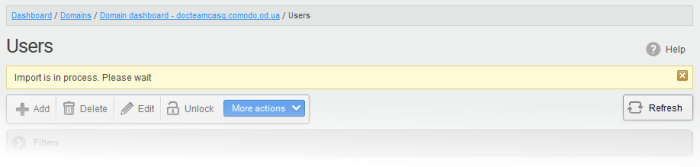
..and when completed, the results will be displayed.
The administrator who carried out the task will receive a notification about the import task completion.
Note: The number of users that can be added depends on the plan subscribed by you and the maximum number of users limit configured for the domain in the Add Domains / Edit Domains / Domain Settings interface. CASG will stop importing users after the number of users allowed for the account is reached and a warning will be displayed. 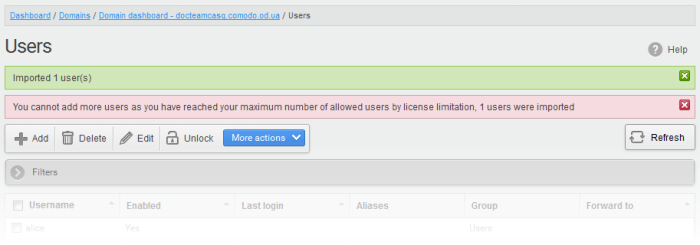 |
Export Users to CSV file
You can save the user list as a CSV file.
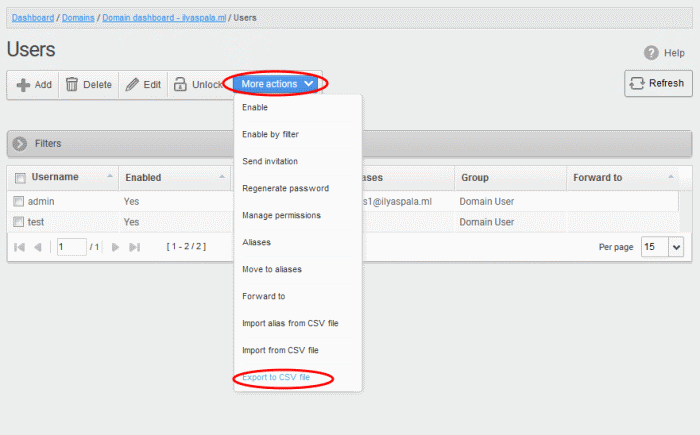
- Click ‘More actions’ > ‘Export to CSV file’
The file download dialog is displayed.
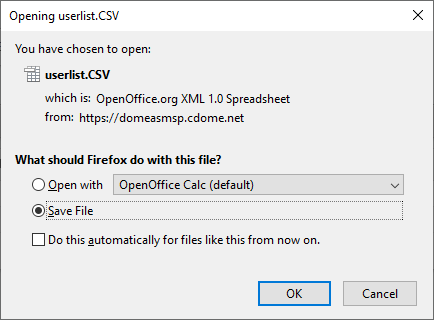
- Click 'Open' to view the file with an appropriate application
- Click 'OK' to save the file to your computer.
This file can be opened with Excel or Openoffice Calc.
- Permissions determine what a user can and cannot do in the CASG interface.
- You can create policies which consist of a broad set of permissions, and assign them to users from this interface. See 'User Groups & Permissions for help to create groups and policies.
- New users automatically receive default permission settings.
Assign permissions for a user
- Select the user(s) and click 'More actions' > 'Manage permissions'
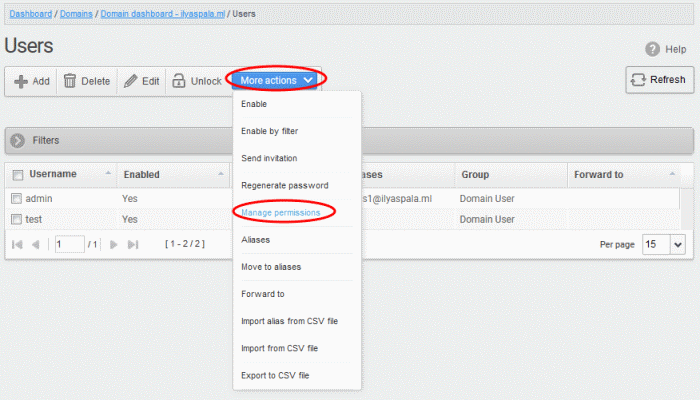
The 'User Groups & permissions' interface will appear.
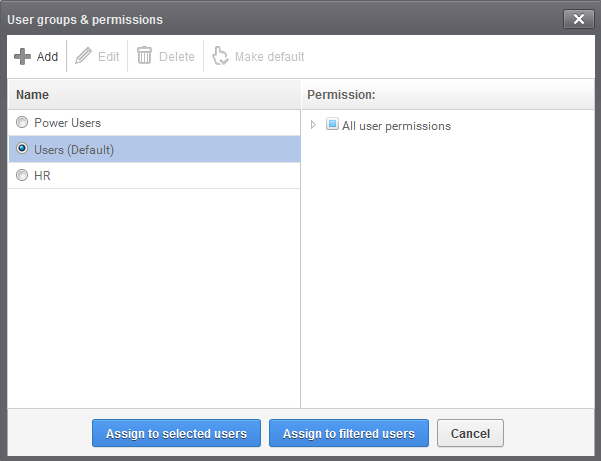
The interface displays the list of groups available with same or different permission levels for each group. By default, 'User (Default) and 'Power User' groups will be available and administrators can add, edit groups and assign permissions to users. See the section User Groups & Permissions for more details.
-
Select the group from the list.
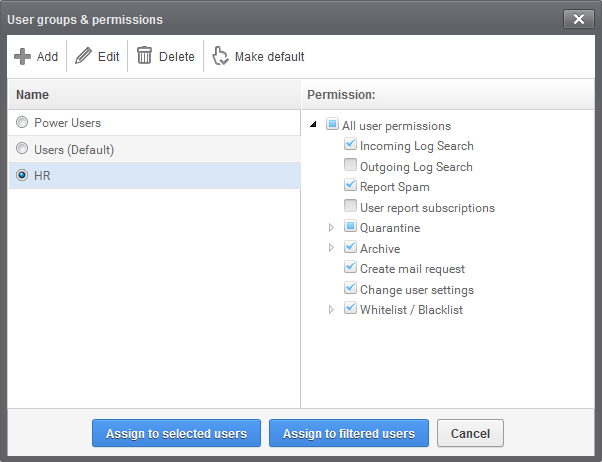
The permissions set for this group will be displayed on the right.
-
Click the 'Assign to selected users' button to set permissions for selected user or multiple users.
- Click 'Assign to filtered users' button to set permissions for selected group to all users or to all users found by filter.
- Click 'OK' in the confirmation window.
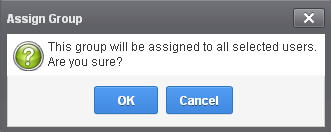
The selected user(s) will be assigned to the group and successfully assigned message will be displayed.
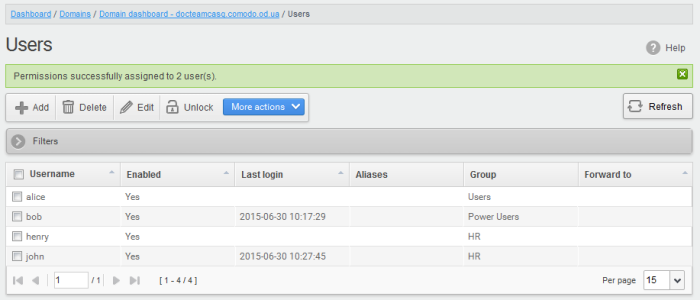
The interface also displays the new group assigned for the selected user under the 'Group' column.
CASG allows admins to add a user alias name to organize emails related to different groups or functions into a single email inbox automatically. The users can protect their real email address.
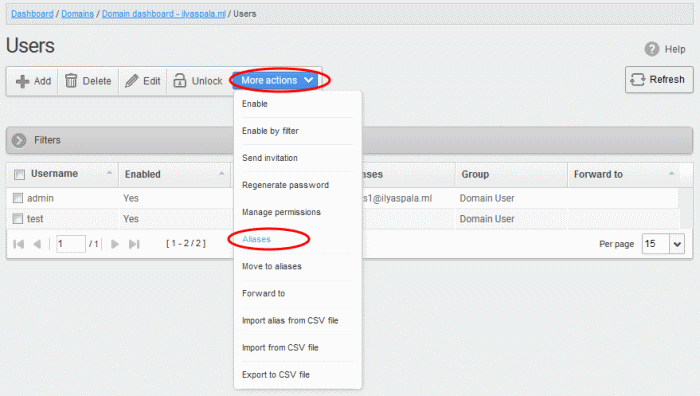
- Select a user and click 'More actions' > 'Aliases' to add user aliases.
-
Enter the full email alias address of the user. Note: The alias email address must be of any domain belonging to the account.
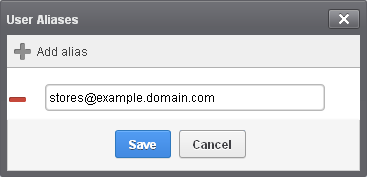
- Click the Save button.
| Note: A user cannot add an alias by themselves. |
- To add multiple aliases click the
 button.
- To remove an added alias row click the
 icon beside it.
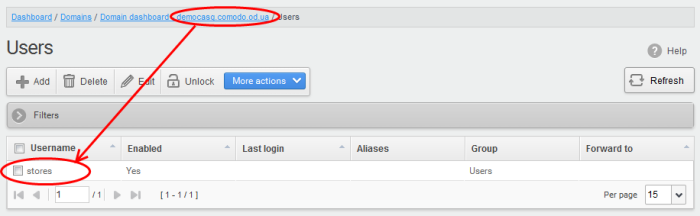
After adding a user to an alias, admin can extract him/her as user.
- Click the 'Aliases' button after selecting the user.
In the 'User Aliases' dialog next to the added alias row, the 'Extract as user' button will be displayed.
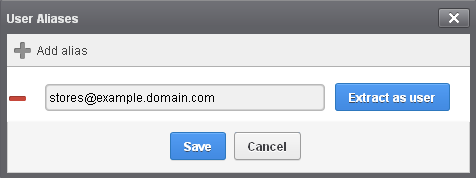
- Click the 'Extract as user' button.
The confirmation
dialog will be displayed.

- Click 'OK'.
| Note: The number of users that can be added for an account depends on the plan subscribed by you. When you exceed the limit of users, a warning will be displayed. |
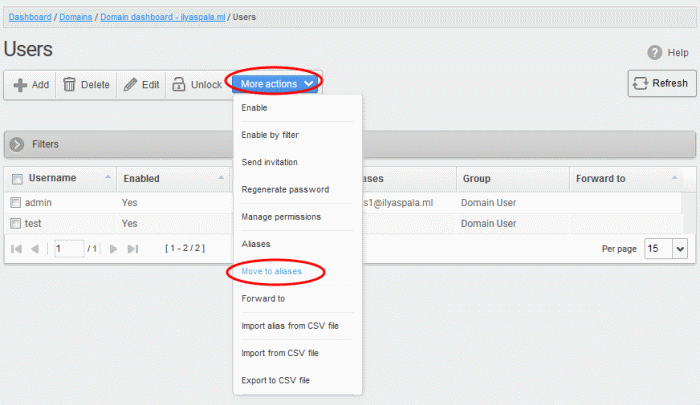
Move user account to aliases
CASG allows admins to move an existing user as an alias for another user for any domain available in your account.
- Select the user then click 'More actions' > 'Move to aliases'
- Type the full email address of the user for whom the alias has to be added. Note: The user and domain should be valid and belong to your account.
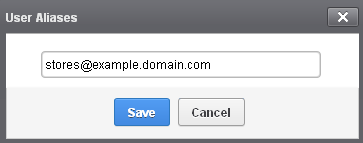
- Click the 'Save' button.
You can add many aliases to existing user(s) at a time for the selected domain and / or for other domains available for your account by importing from a file. The aliases should be saved in 'comma separated value' (CSV) as shown below:
Example 1
The following example shows how you can add alias for two users for the selected domain.
alias@domain.com, username2
Example 2
The following example shows how you can add alias for users for the selected domain and other domains available for your account.
alias@domain.com, username2, username3@domain2
Please note that for adding many aliases at a time, each alias should be separated by a paragraph line. For example:
alias1@domain.com username1, username2
alias2@domain.comu sername1, username2, username3@domain2
- Click 'More actions' > 'Import alias from CSV file'
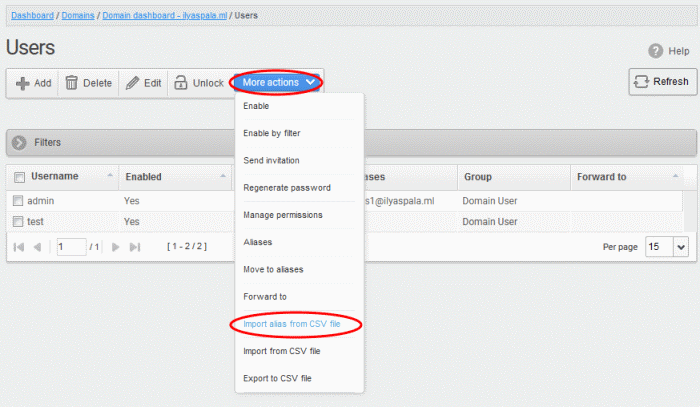
The 'Upload' dialog will be displayed.
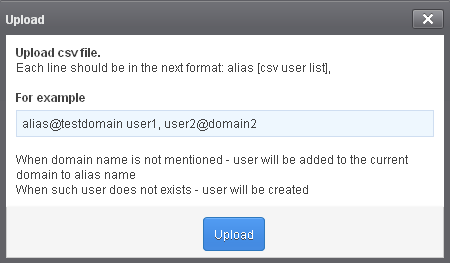
- Click the 'Upload' button and navigate to the location where the file is saved and click the 'Open' button.
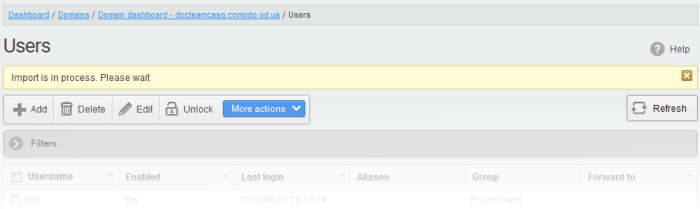
...and when completed, the results will be displayed.
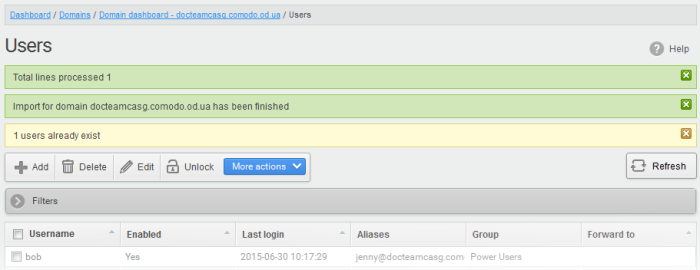
The administrator who carried out the task will receive a notification about the import task completion.
CASG allows administrators to add a forwarding address for a user. This is useful when a user is on vacation or unavailable for sometime but the mails addressed to him should be attended immediately. Please note the forwarded user should also be in the same domain.
- Select the user whose mails have to be forwarded to another user and then click 'More actions' > 'Forward to'

The 'Forward settings...' dialog
will be displayed:
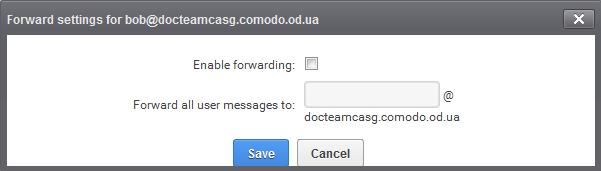
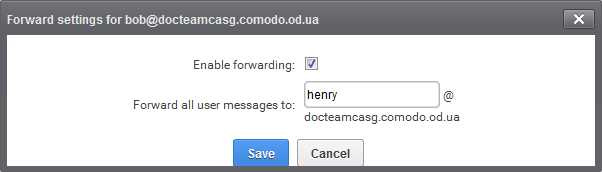
- Select the 'Enable forwarding' check box
- Enter the user name of the recipient to whom the mails have to be forwarded in the 'Forward all user messages to' field
- Click the 'Save' button.
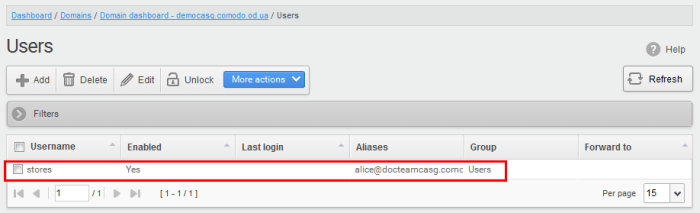
The forwarded user will be added and a success message will be displayed.
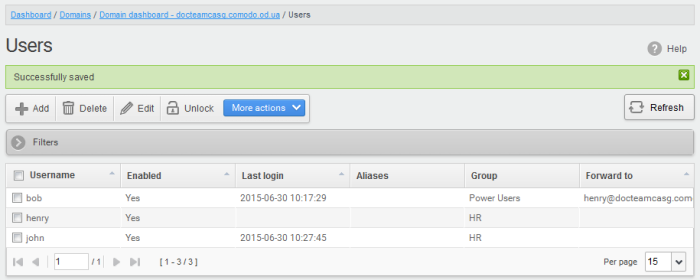
The incoming mails of the selected
user will be automatically forwarded to the added user in the domain.
When the selected user logs in to his/her CASG account, an alert will
be displayed at the top of the interface.

-
To remove the forwarded mail address for a user, select the user, click 'More actions' > 'Forward to'
The 'Forward settings...' dialog will be displayed:
- Deselect the 'Enable forwarding' check box
- Delete the username in the 'Forward all user messages to' field
- Click the 'Save' button.
The forwarded user will be removed
and a success message will be displayed.
- ‘More actions’ > ‘Enable’ - Allows user to access to CASG interface.
- ‘More actions’ > ‘Enable by filter’ - Allow CASG access to user selected by applying filter.
- ‘More actions’ > ‘Regenerate password’ - The password will be reset for the user in case it is forgotten. The new password will be sent to the user's email automatically. The user has to use this new password to access CASG.
- 'More actions' > 'Send invitation' - Send invitation to newly created users.