


Users
The content of outgoing emails should be checked because sending out spam / malware can damage your corporate reputation. Often the outbound email path bypasses the system that scans incoming emails from the internet, and instead sends the emails directly out to the destination. Filtering the outgoing user's mail also prevent spam from reaching end user mailboxes.
Configure User's Email Client for Outgoing Mail Filtering
The email clients of the users added for outgoing email filtering must be configured to point to CASG service.
In the Account Settings interface of the user's email client, enter the following details:
- Smtp server: mxpool1.spamgateway.comodo.com (for EU based service) or mxpool1.us.spamgateway.comodo.com (for US based service) according to your preferred CASG service domain.
- Connection Security: STARTTLS or SSL
- Port : 587
- Username: [username@domainname.com]
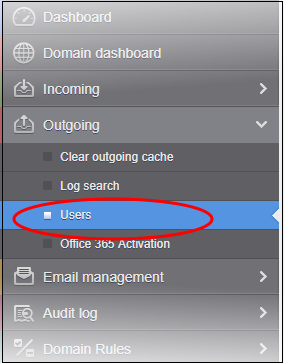
Open the outgoing users interface:
- Click 'Outgoing' > ‘Users’:
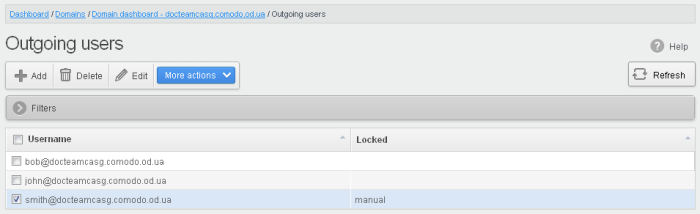
The 'Users' interface of the selected domain will be displayed:
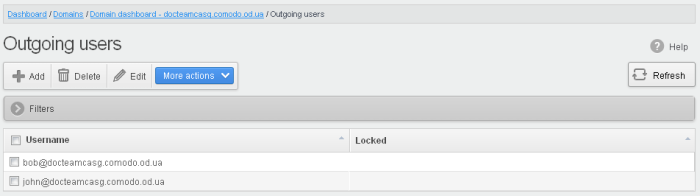
- Click anywhere on the 'Filters' strip to open the filters area:
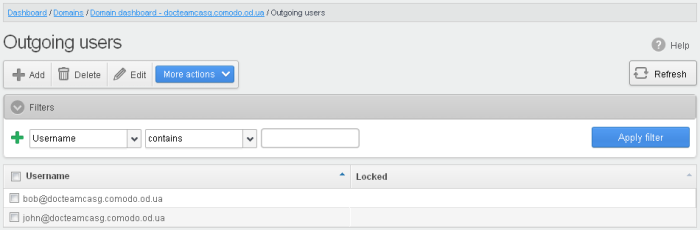
You can filter results by the username:
- Username: Type a user’s email address in the text box (column 3) and select a condition in column 2.
Click anywhere on the 'Filters' tab to close the filters area. Click the 'Refresh' button to remove filters.
You can add multiple filters to the same search
by clicking  .
.
-
Click the 'Add' button.
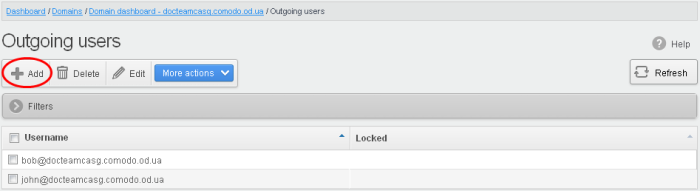
The 'Add outgoing user' dialog is displayed.
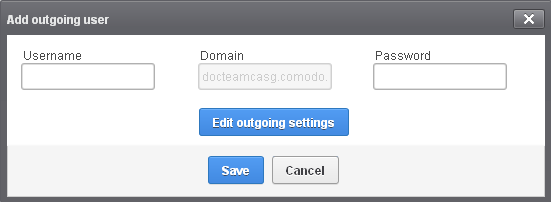
- Enter the username for the new outgoing user that will be first part of the email address. For example, testuser. The email address of the added user will be testuser@testdomain.com.
- Enter the password in the Password filed. If the 'Password' field is left blank, then the 'Username' must be an IP address, and any connection from that IP will be considered authenticated without needing to use SMTP AUTH (Note: authorizing IP addresses may be disabled on the system).
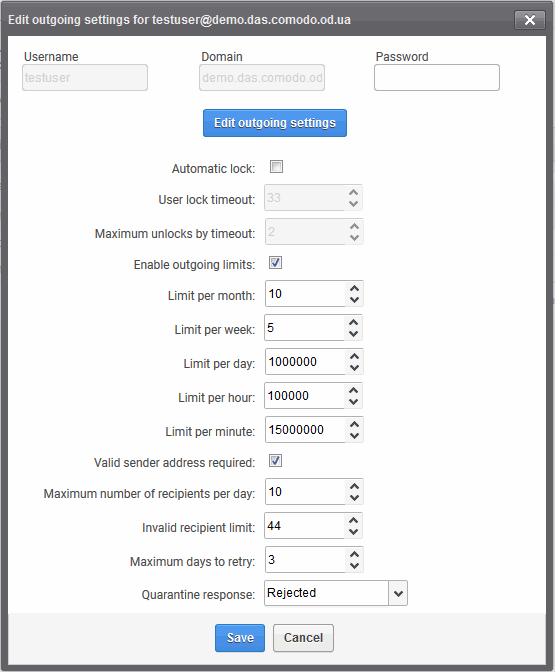
- Click the 'Edit outgoing settings' button to configure outgoing settings for the user. The 'Add outgoing settings' dialog will expand:
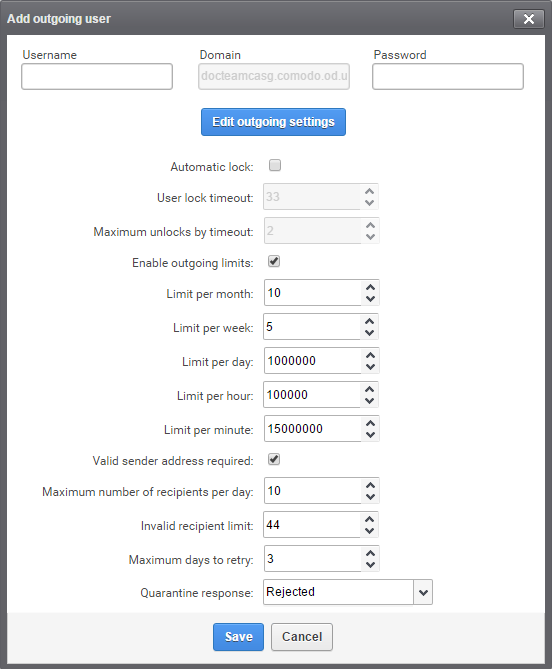
- Automatic lock - CASG will prevent a user from sending mail if it detects they have sent out spam or malware. You can set the length of this ban in the 'User lock timeout' field.
- Maximum unlocks by timeout – The number of times the locked out user will be unlocked for sending out mails. After reaching the maximum limit, the user will be locked out from sending any mails till it is unlocked by the administrator.
- Limit per month – The number of mails that can be sent per month
- Limit per week – The number of mails that can be sent per week
- Limit per day – The number of mails that can be sent per day
- Limit per hour - The number of mails that can be sent per hour.
- Maximum number of recipients per day - Maximum number of recipients that a user can send mails per day.
- Maximum days to retry - Maximum number of days CASG will retry to send queued outgoing mails after which they are bounced to the user.
- Quarantine response – Determines the response that CASG will send to the SMTP server that delivered a message in the event that the mail is identified as spam.
| Note: If you have enabled quarantine functionality, then spam/malicious mail will be quarantined (and not delivered to the recipient) regardless of your choice here. These options merely determine what message CASG will send back to the SMTP mail server. |
Options:
- Rejected - Will inform the SMTP server that the email wasn't delivered to recipient. (By default is ‘Rejected’.)
- Accepted - The senders will not be notified if the outgoing mails are detected as spam. They will be blocked and not delivered to recipients.
-
Click the 'Save' button.
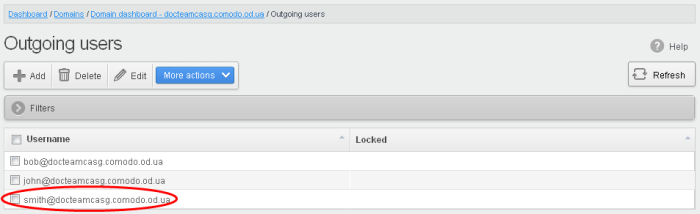
Delete an existing user
-
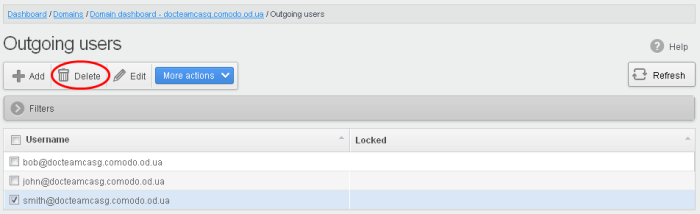
Select the user you want to delete from the list and click the 'Delete' button.
|
Tip: You can select multiple users to delete by pressing and holding the Shift or Ctrl keys. |
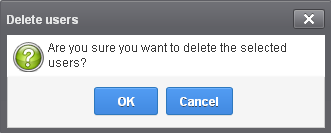
- Click 'OK' to confirm.
You can reset password, modify the outgoing settings configured from the 'Add outgoing user' interface.
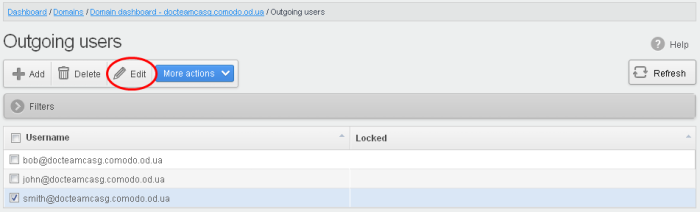
- Select the user that you want to edit from the list and click the 'Edit' button.
- Click the 'Edit outgoing settings' button.

The 'Edit outgoing settings' is displayed.
- Reset the password and / or make other changes as explained in the 'Add outgoing user' section.
- Click the 'Save' button to confirm your changes.
Manually lock outgoing user
Due to administrative or any other reason if you want to prevent a user from sending out mails, the Lock feature allows you to do so.
- Select the user that you want to lock, click 'More actions' drop-down > 'Lock'
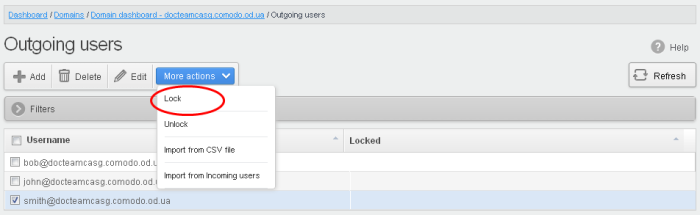
The selected user will be locked from sending mails with status 'Manual'.
Manually unlock outgoing user
A user who has been locked either manually or automatically (see Edit outgoing settings) can be unlocked from this interface.
- Select the user that you want to unlock, click 'More actions' > 'Unlock'.
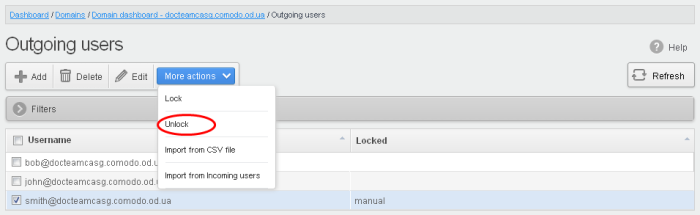
The user will be unlocked and he can send mails.
Import outgoing users from CSV file
Administrators can import many users from a file to the outgoing users list at a time. The users should be saved in the format shown below as an example:
user1,domainname,password
user2,domainname,password
- To import outgoing users from a CSV file, click 'More actions' > 'Import from CSV file'
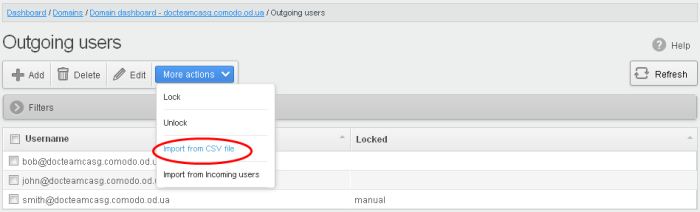
The Upload dialog will be displayed.
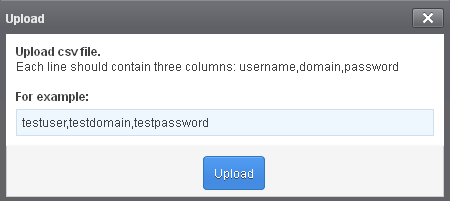
- Click the 'Upload' button and navigate to the location where the file is saved and click the 'Open' button.
The upload progress will be displayed...

...and when completed, the results will be displayed.
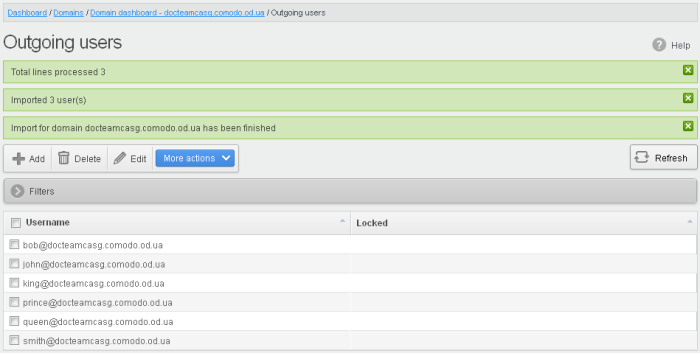
The administrator who carried out the task will receive a notification about the import task completion.
Import from incoming users
Administrators can add all incoming users to the outgoing users list by importing. If there is an outgoing user with the same name, the import of incoming user will be skipped.
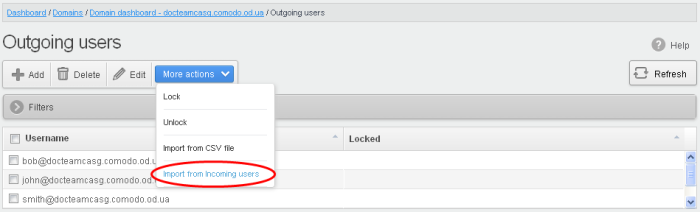
- To import outgoing users from incoming users, click 'More actions' > 'Import from Incoming users'
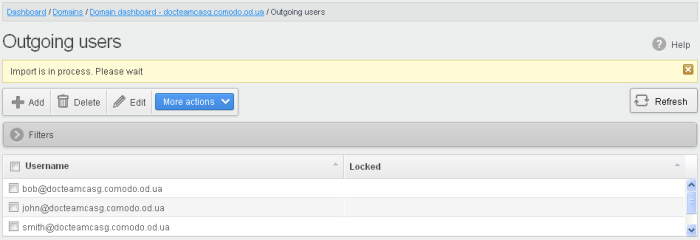
The upload progress will be displayed...
...and when completed, the results will be displayed.
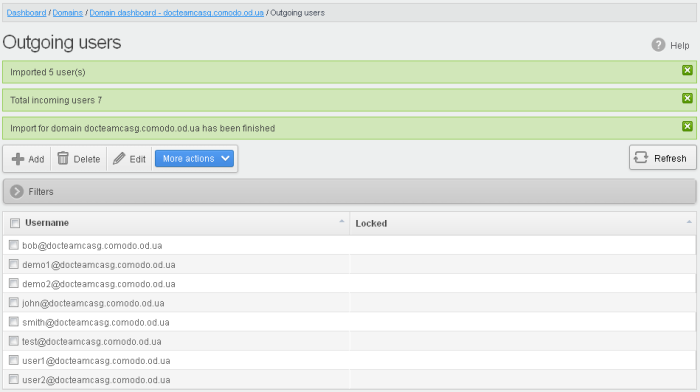
The administrator who carried out the task will receive a notification about the import task completion.