Whitelisted Requests
- The 'Quarantine' interface lets users view emails intended for them but moved to quarantine.
-
The interface also lets users request that senders are added to the whitelist - usually because they think the mail is from a legitimate sender.
- The whitelist request will be sent to you via email and also added to the Email Management > Whitelisted Requests interface. You can approve or reject the requests.
- Senders added to the white-list after a request will only be white-listed for the requester.
- Subsequent mails from the sender to the user in question will be allowed without antispam checks.
- See Sender Blacklist and Whitelist Senders Per User for more details.
Open the whitelisted requests interface
- Click 'Email management' on the left then select 'Whitelisted requests'.
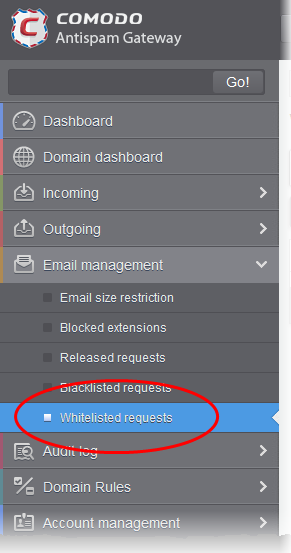
The 'Whitelisted requests' interface will open:
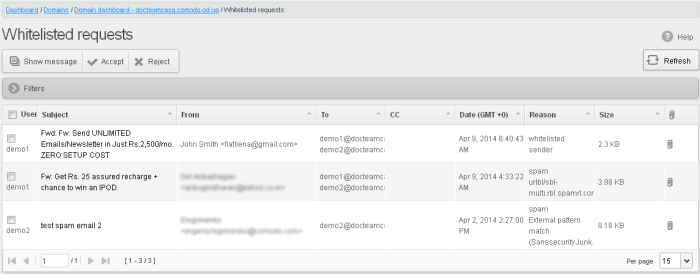
The interface shows all white-list requests from users. The list has columns which show requesting user, subject, sender, recipients, CC list, date sent, the reason they were quarantined and the size of the email. The last column shows whether there is any attachment with the mail.
View Details of Whitelisted Requests
The details such as user, subject, sender, recipient , date, reason and size of the mails requested for whitelisting can be viewed in two ways:
View details of whitelisted requests in the same CASG window:
- Select the mail that you want to view and click the 'Show Message' button.
OR
- Click on the email link in the subject column that you want to view its details.
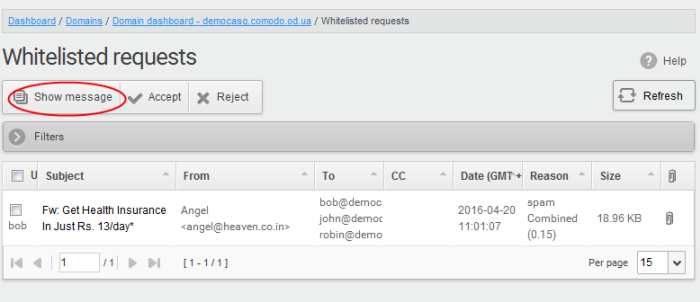
The details of the selected email will be displayed.
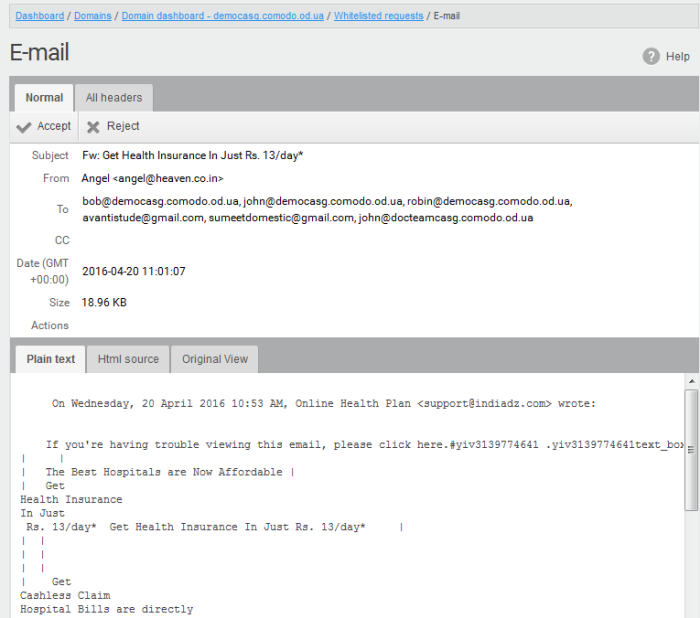
- To view email headers, which contain the tracking information of the mail details about the path it has crossed before reaching the recipient, click 'All headers' tab.
The headers give full details of the sender, route, recipient, sent date, mail type and so on and enable you to check the authenticity of the mail.
Check the details of the mail and ascertain whether it is a spam mail or not. You can choose to either accept the mail or reject it. If the request is accepted, the sender will be added to 'Whitelist sender per user'. If it is rejected, the email will be no longer in the whitelisted requests list. Please note that emails will continue to remain in the Quarantined list irrespective of the action taken.
View details of whitelisted requests in new CASG window
-
In the whitelisted requests area, select the mail that you want to view and click the 'Show message in new window' button or right-click and select to open in a new tab or new window.
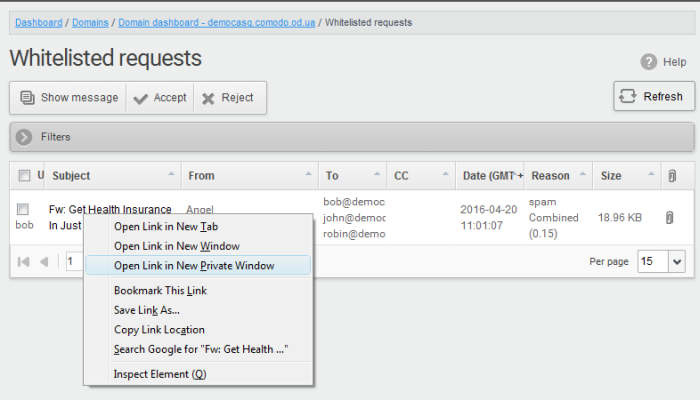
The details of the selected mail will be displayed in a new CASG window.

Accept the whitelist request from users
After viewing the details, you can choose to accept the request from user to add the sender to whitelist senders per user list.
-
Select the mail that you want to add the sender to whitelist and click the 'Accept' button.
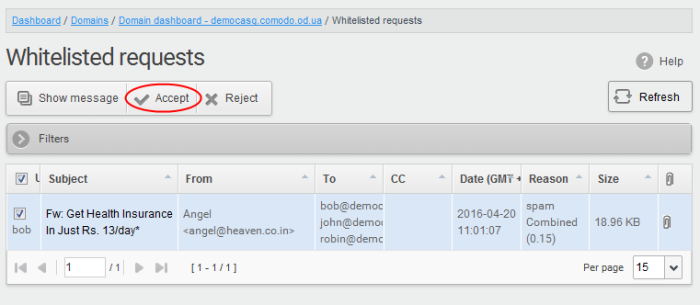
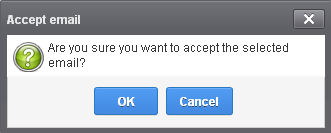
An alert will be displayed to confirm adding the sender to 'Whitelist sender per user'.
-
Click 'OK' to confirm the acceptance.
The sender of the email will be added to 'Whitelist sender per user'. See the section 'Whitelist Sender Per User' for more details.
Reject the whitelist request from users
After viewing the details of the
email, you can choose to reject the request from the user.
- Select the mail that you want to reject and click the 'Reject' button.
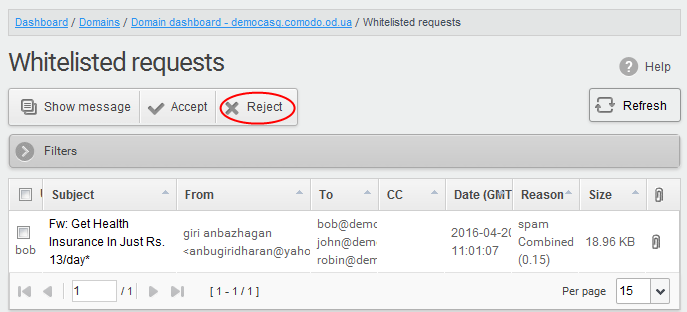
An alert will be displayed to confirm the rejection of user's request.
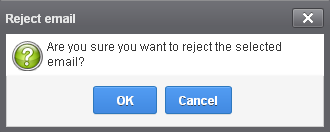
-
Click 'OK' to confirm the rejection.
The sender will not be added to whitelist and the selected email will no longer be in the whitelisted requests list.
Use filters to search whitelist requests
- Click anywhere on the 'Filters' stripe to open the filters area.

- Choose the filter by which you want to search from the first drop-down, then a condition in the 2nd text box. Some filters have a third box for you to type a search string.
- Click
‘Apply Filter’.
You can filter results by the following parameters:
- Subject: Type the email subject in the text box (column 3) and select a condition in column 2.
- From: Enter the sender name or address in the text box (column 3) and select a condition in column 2.
- To: Enter the recipient name or address in the text box (column 3) and select a condition in column 2.
- Date: Search by date and time mails quarantined. Select the date (column 3) and select a condition in column 2.
- Reason: Enter the quarantined reason in the text box (column 3) and select a condition 2.
- Size (KB): Search quarantined mails by their size. Select or enter the mail size in column 3 and select a condition in column 2.
Click anywhere on the 'Filters' tab to close the filters area. Click the 'Refresh' button to remove filters.
You
can add multiple filters to the same search by clicking  .
.


