


Manage Admins and Staff
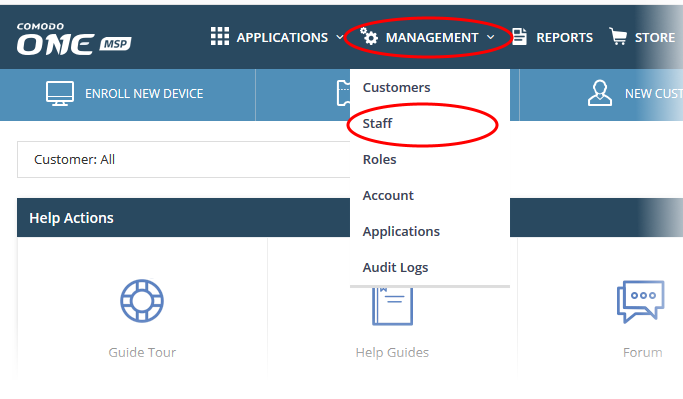
- Click 'Management' > 'Staff'
The 'Staff' screen lets you add staff members and assign them to roles. You can also transfer account admin privileges to another MSP/Enterprise administrator.
- Click 'Management' > 'Staff' in the top-navigation:
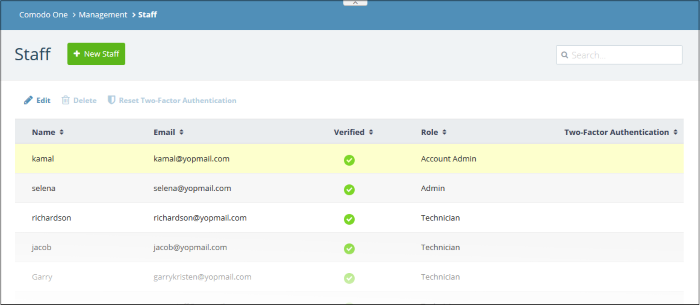
The screen lists all staff members along with their role:
|
Column Header |
Description |
|---|---|
|
Name |
Full name of the staff member. |
|
|
The email address of the staff member. Staff should use their email address to login to C1. |
|
Verified |
Whether or not the member has confirmed their email address.
|
|
Role |
A 'role' determines the permissions that a staff member has within the C1 interface.
See 'Manage Roles' for more on default roles and creating new roles. |
|
Two-Factor Authentication |
States whether or not additional login security is setup for the staff member. If enabled, staff need to enter a unique code in addition to their username and password. More details on this are at Account Security Settings. |
Add a staff member and assign a role
- Click 'Management' > 'Staff' in the top-navigation
- Click the 'New Staff' button:
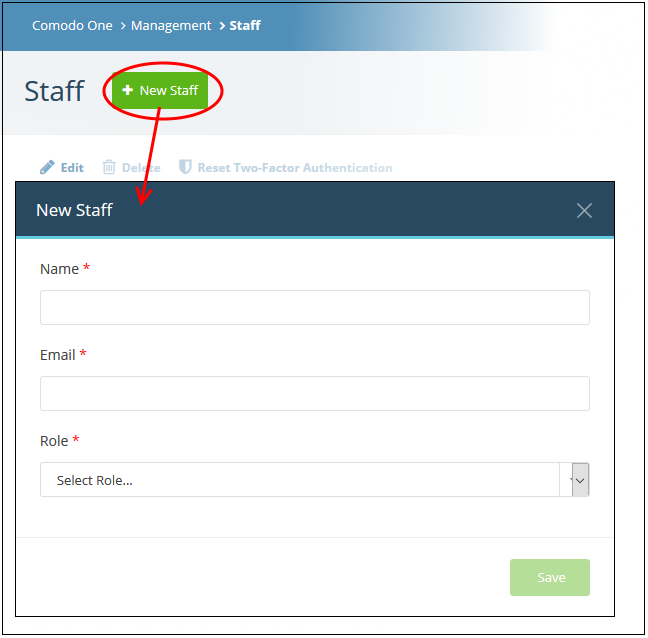
- Name - The full name of the new staff member
- Email - The email address of the staff member. This also acts as the member's user
- The account activation email is sent to this address.
- Staff must click the activation link in the mail then create a password
- Staff can login to C1 after completing the steps above.
- Role - Select the privilege level for the staff member.
- See 'Admin Privilege Levels' for a list of the permissions with each built-in role
- See 'Manage Roles' for general help with roles
|
Note: Staff with 'Admin' privileges can only be created by the account admin. |
- Click the 'Save' button.
A confirmation message appears. The content of the message varies according to the role and account type:
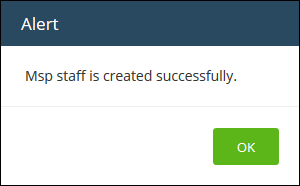
- Click 'OK'
- An account activation mail is sent to the new user. An example is shown below:
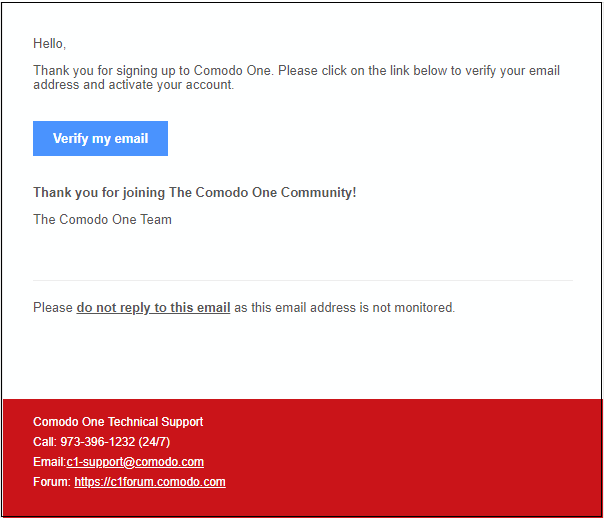
- Staff should click 'Verify my email' then set a unique password to log into C1.
- After verification, the staff member can login to C1 with their email address and password.
- If the staff member misses the account activation email for some reason, you can resend the mail from the C1 interface. See Resend account activation email to a staff member for help with this.
- The new staff member is also added to Service Desk and Endpoint Manager at the same role level.
- Two factor authentication – If enabled, staff will also need to enter a code which is sent to their phone. See Account Security Settings for more details.
- Endpoint Manager also lets you add 'standalone' staff who can only access Endpoint Manager. Staff created in C1 can access endpoint manager, but staff created in endpoint manager cannot access C1.
A staff member with appropriate privileges can edit the names of other staff, assign different roles and transfer account admin rights to another administrator.
|
Note: Staff can be edited only after they have validated their email address by clicking the link in the verification email. |
- Click 'Management' > 'Staff'
- Select the staff member then click the 'Edit' button:
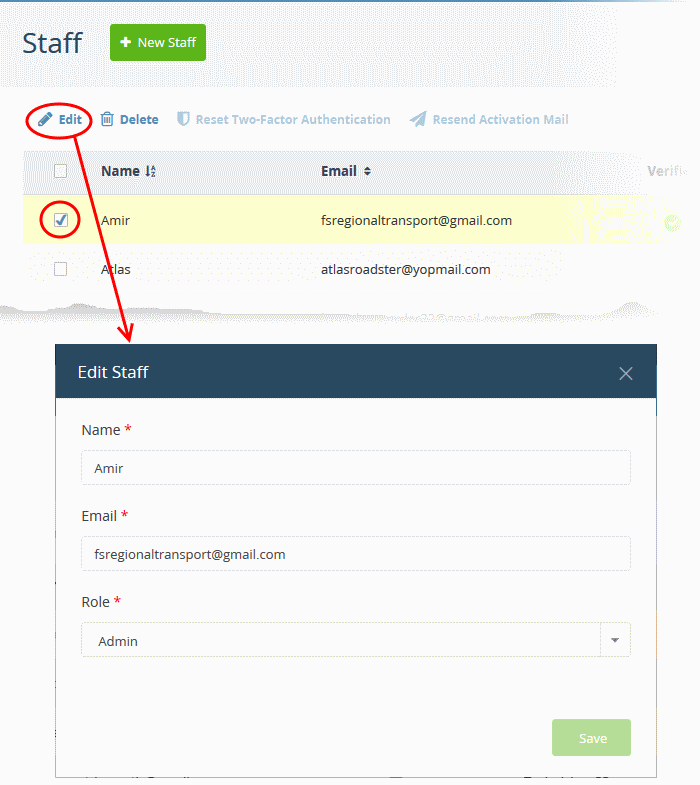
- Update the details as required then click 'Save'. Note - you cannot update the email address. Delete the user and create a new one if want to replace a person’s email address.
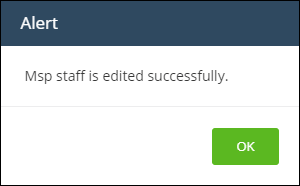
- Click 'OK'
Transfer account admin rights to a different admin
Note - only the current account admin can perform this task.
- Click 'Management' > 'Staff'
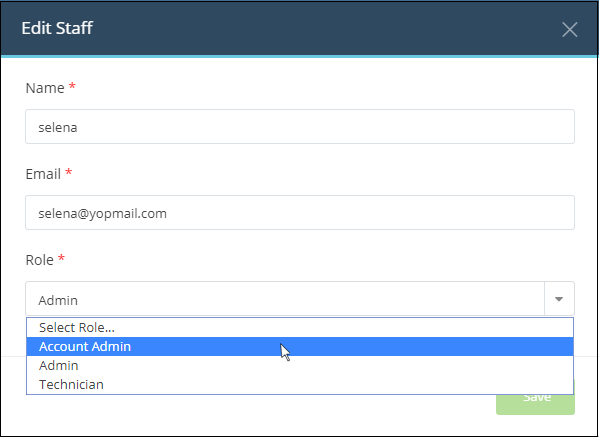
- Select the admin to whom you want to transfer
rights then click 'Edit'
- Click the 'Role' drop-down and select 'Account Admin':
- Click
'Save'
- Click 'OK' in the confirmation dialog:
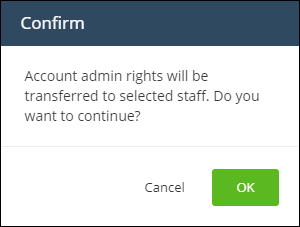
- Account admin rights are transferred immediately. You will be logged out and redirected to the login page:
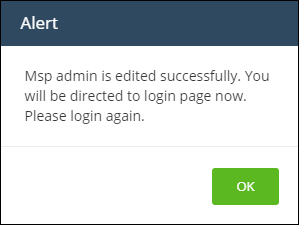
-
Click 'OK'.
- You can still login with the same credentials but will have only regular admin privileges.
Resend account activation email to a staff member
Note - You can send account activation emails only to staff who have not yet verified themselves.
- Click 'Management' > 'Staff'
- Select the staff member to whom you want to send the mail
- Click the 'Resend Activation Mail' button:
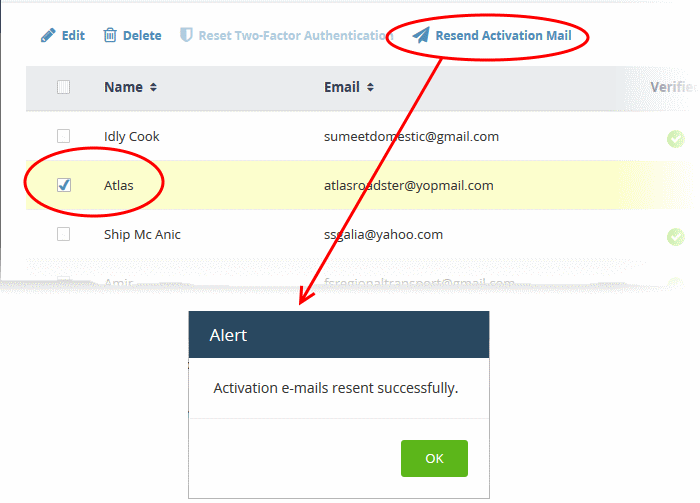
The activation email with a new verification link is sent to the staff member.
Remove an admin or staff member
Note - deleted staff will also be removed from Service Desk and Endpoint Manager, even if they have different roles in each.
- Click 'Management' > 'Staff'
- Select the staff member that you want to remove
- Click the 'Delete' button:
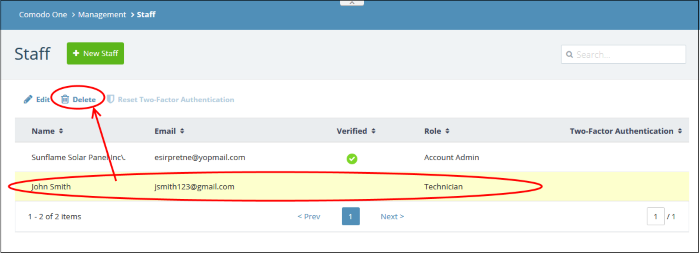
A confirmation dialog will appear.
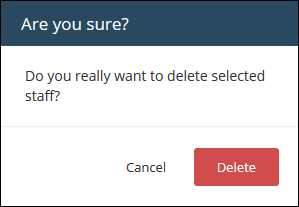
- Click
'Delete' to confirm removal
- Select the staff member then click the 'Reset Two-Factor Authentication' button:
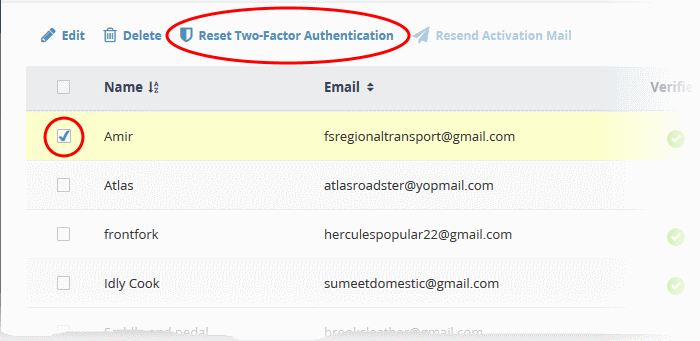
After
the reset, the user will need to
complete the two-factor authentication process again in order to
access their account. See Account Security Settings to find out more about Two-Factor Authentication.