


Run a Scan
When you want to check a disk or folder for possible infection from viruses and malware, you can launch an On-Demand Scan using the Run a Scan option. This executes an instant virus scan on the selected item. You can also check a wide range of removable storage devices such as CD's, DVD's, external hard-drives, USB connected drives, digital cameras - even your iPod!!
You have two options available when you choose to run an On-Demand Scan:
-
Scan a preselected area; or
-
Define a custom scan of the areas you choose, by Creating a Scan Profile.
-
Apart from running an On-Demand scan from Run a Scan interface, you can also scan specific objects using Context Sensitive Scan.
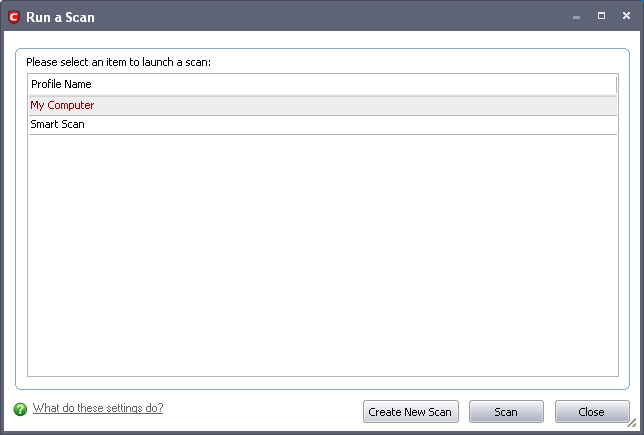
Comodo Antivirus has two pre-defined scan profiles to run On-Demand Scan on preselected areas on your system. These predefined profiles cannot be edited or removed. They are:
-
My Computer (Default) - When this Profile is selected, Comodo Antivirus scans every local drive, folder and file on your system.
-
Smart Scan - When this profile is selected, Comodo Antivirus runs a quick scan on the critical areas in your system which are highly prone to infection from viruses, rootkits and other malware. The areas scanned include system memory, autorun entries, hidden services, boot sectors and other critical areas like crucial registry keys in Windows registry, system files and system configuration. These areas are highly responsible for the stability of your computer and keeping them clean and sanitized is essential to keep your computer healthy and running.
Custom Scan
You can run the virus scan on selected disks or folders by setting the scan profiles beforehand. For more details on Scan profiles, refer to Antivirus Tasks > Scan Profiles. You can also Create a Scan Profile from the Run a Scan option.
Comodo Antivirus also scans the archive files such as .ZIP, .RAR, and so on, on running an on-demand scanning.
To start an On-Demand scanning
-
Click 'Run a Scan' in the main Antivirus Task Manager Screen.
|
Tip: You can also start an on-demand scan by clicking 'Scan Now' link in the Antivirus area of the CIS summary screen. |
The 'Run a Scan' will panel appear.
From the 'Run a Scan' panel you can:
To scan your system for viruses and malware
-
Click 'Run a Scan' in the Antivirus screen.
-
Select a Scan Profile name and click 'Scan'.
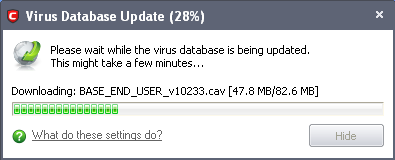
Comodo Antivirus checks for AV database updates and if available, updates the virus database in your system.
|
Note: Comodo Antivirus updates its Virus Database only if the option Automaticallu update the virus database before scanning is selected in the Scanner Settings > Antivirus Behavior Settings > Manual Scanning tab. If you do not want the application everytime you run a scan, you can disable this option. |
Comodo Antivirus starts to scan the items, based on the scan profile you have selected.
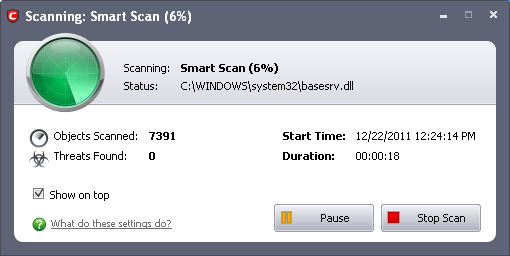
You can Pause/Resume the scan as you wish during the scan. If you want to terminate the scanning, click 'Stop Scan'.
On completion of scanning, if any threats are found, an alert screen will be displayed. The alert will display the number of threats/infections discovered by the scanning and provide you the options for cleaning.

-
If you wish to have a skilled professional from Comodo to access your system and perform an efficient disinfection, click 'Yes, I want an expert to clean it'. If you are a first-time user, you will be taken to Comodo GeekBuddy webpage to sign-up for a GeekBuddy subscription. If you have already signed-up for GeekBuddy services, the GeekBuddy chat session will start and a skilled technician will offer to clean your system.
For more details on GeekBuddy, refer to the section Comodo GeekBuddy.
-
If you wish to clean the infections yourself, select 'No, I will try to clean it myself'. The scan results screen will be displayed.
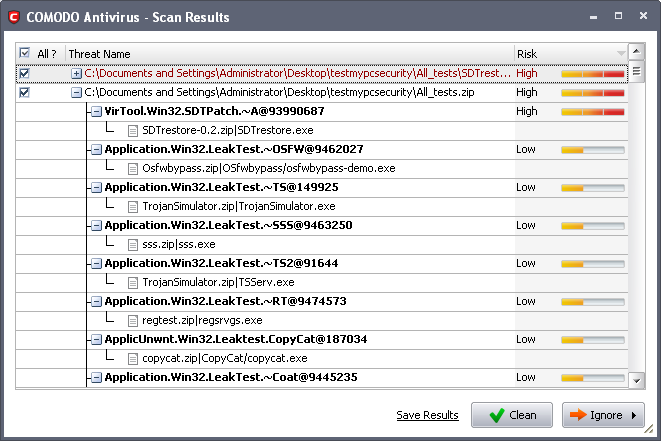
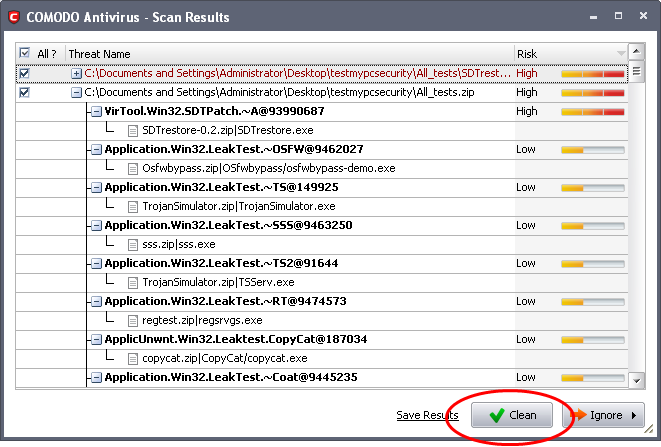
The scan results window displays the number of objects scanned and the number of threats (Viruses, Rootkits, Malware and so on).
|
Tip: You can sort the scan results by alphabetical order by clicking the 'Threat Name' column header. Similarly you can sort the scan results based on the risk level by clicking the 'Risk' column header. To select all the entries for actions such as moving them to quarantine or disinfect, select the check box beside the 'Threat name'. |
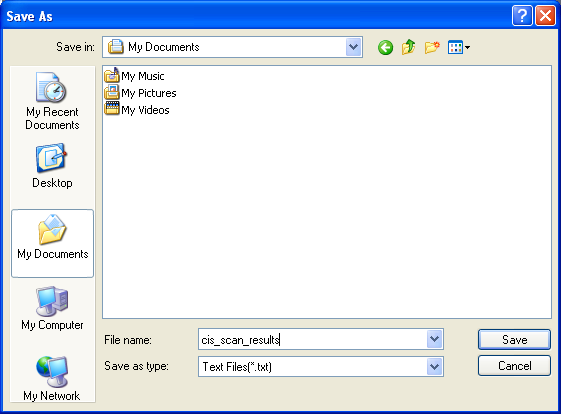
To save the Scan Results as a Text File
-
Click 'Save Results' and enter the location in the 'Save As' dialog box.
-
Select the application from the results.
|
Tip: You can select multiple items at once by pressing and holding the Shift or Ctrl key while selecting the items. To select all the items at once, select the 'All?' checkbox at the top left of the interface. |
-
Click 'Clean'.
If a disinfection routine is available for the selected intection(s), Comodo Antivirus will disinfect the application and retain the application safe. If the disinfection routine is anot available, Comodo Antivirus will move the infections to Quarantine for later analysis and restoring/removal of the files. For more details on quarantine feature, refer to Quarantined Items.
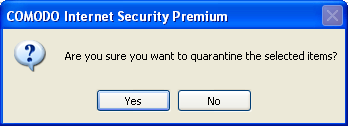
A confirmation dialog will be displayed for disinfecting or moving the threat to quarantine.
-
Click 'Yes'.
To ignore an application / file you consider as safe from the threat list
-
Select the application from the results.
|
Tip: You can select multiple items at once by pressing and holding the Shift or Ctrl key while selecting the items. To select all the items at once, select the 'All?' checkbox at the top left of the interface. |
-
Click 'Ignore'.
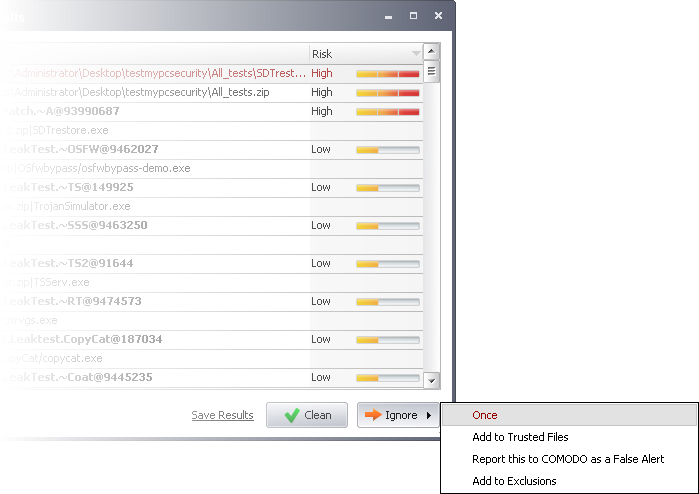
Selecting Ignore provides you with four options.
-
Once - If you click 'Once', the virus is ignored only at that time only. If the same application invokes again, an Antivirus alert is displayed.
-
Add to Trusted Files - If you click 'Add to Trusted Files', the virus is moved to Trusted Files area. The alert is not generated if the same application invokes again.
-
Report this to COMODO as a False Alert - If you are sure that the file is safe, select 'Report this to COMODO as a False Alert'. The Antivirus sends the file to Comodo for analysis. If the file is trustworthy, it is added to the Comodo safelist.
-
Add to Exclusions - If you click 'Add to Exclusions', the virus is moved to Exclusions list. The alert is not generated if the same application invokes again.
Scan Profiles are the user-defined profiles containing specific areas on your system that you wish to scan and can be re-used for all future scans.
To create a new scan profile
-
Click 'Create New Scan' in the 'Run a Scan' interface.
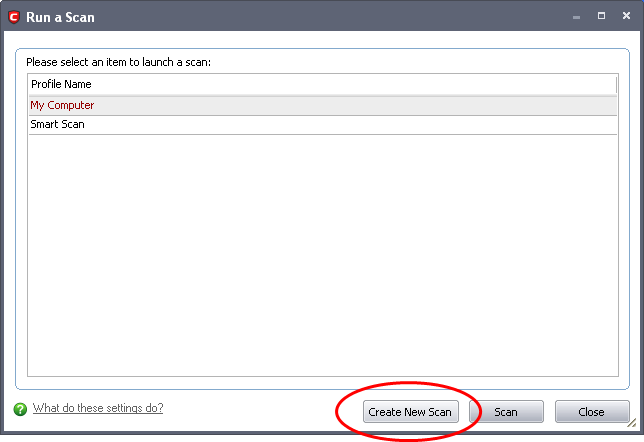
The 'Scan Profile' configuration appears.
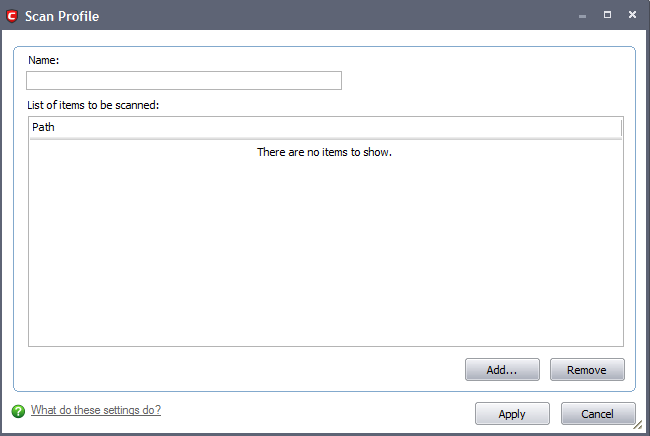
-
Type a name for the scan profile to be created in the 'Name' box.
-
Click 'Add'.
A configuration screen appears, prompting you to select the locations to be scanned when the newly created scan profile is selected.
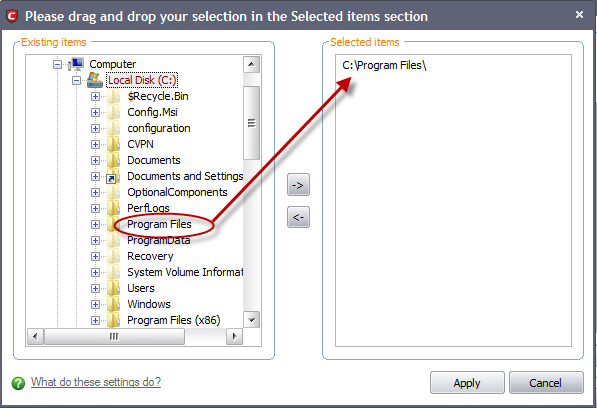
-
Select the locations from the left column, drag and drop to the right column or select the locations and click right arrow to move selected folders to right column.
-
Click 'Apply'.
-
Repeat the process to create more Scan Profiles.
|
Note: You can also create new Scan Profiles by accessing Scan Profiles in the Antivirus Screen. |
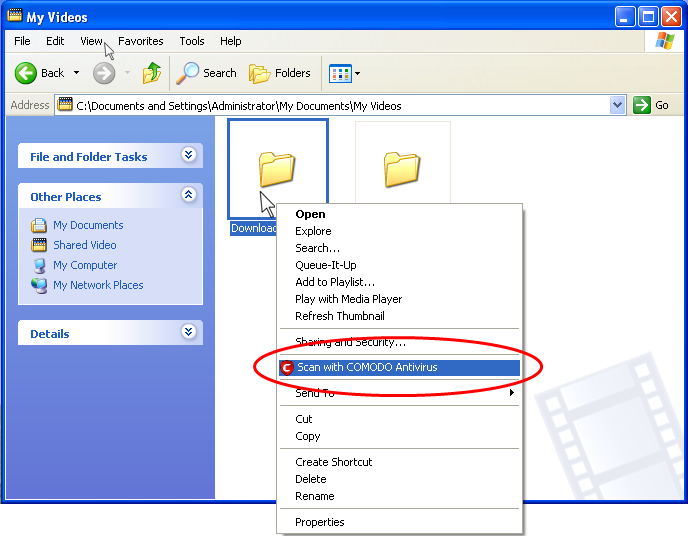
You can right click any item i.e. a drive, folder or a file in Windows Explorer and select 'Scan with COMODO Antivirus' from the context sensitive menu to perform a virus scan selectively on the item. This is useful when you suspect a particular item might contain virus due to newly downloaded or copied folder/file.
Comodo Internet Security User Guide | © 2012 Comodo Security Solutions Inc. | All rights reserved