Comodo Help
Find the desired product help
Comodo Antispam Gateway

Comodo Antispam Gateway

Admin Guide ver 2.12

English

Print Help Download Help
Administrator Account Management > User Groups & Permissions
  • Introduction To Comodo Antispam Gateway
    • Release Notes
    • Purchase License
    • License Information
  • Get Started
    • Incoming Filtering Configuration
      • Configure Your Mail Server
      • Configure MX Records
        • Update MX Records In Windows 2003/2008 Server
        • Update MX Records On A Host Using BIND
        • Update MX Records For Comodo DNS
        • Update MX Records For GoDaddy
        • Update MX Records For Enom
        • Update MX Records For Network Solutions
        • Update MX Records For Yahoo! Small Business
        • Update MX Records For 1and1
        • Update MX Records For 4D Web Hosting
        • Update MX Records For DNS Park
        • Update MX Records For DreamHost
        • Update MX Records For DynDNS
        • Update MX Records For IX Web Hosting
        • Update MX Records For No-IP
        • Update MX Records In CPanel
    • Outgoing Filter Configuration
      • Per-User Authentication
      • Outgoing Smarthost Setup
        • Configure QMail To Use A Smarthost
        • Configure PostFix To Use A Smarthost
        • Configure Sendmail To Use A Smarthost
        • Configure Exchange 2000/2003 To Use A Smarthost
        • Configure Exchange 2007/2010 To Use A Smarthost
        • Configure Exchange 2013/2016 To Use A Smarthost
        • Configure Office 365 To Use A Smarthost
        • Configure Exim To Use A Smarthost
          • Configure Exim / CPanel To Use A Smarthost
          • Configure Exim / Directadmin To Use A Smarthost
      • DNS Configuration
  • Login To The Admin Console
  • The Dashboard Area
  • The Admin Console
  • Domain Management
    • Add A Domain
    • Delete Domains
    • Edit Domains
    • Validate Domains
    • Manage A Domain
      • Domain Dashboard
      • Incoming
        • Quarantine
        • Manage Archived Mails
        • Incoming Spam Detection Settings
        • Report Spam
        • Delivery Queue
        • Destination Routes
        • Local Recipients
        • Clear Incoming Cache
        • Log Search
        • Domain Aliases
        • Domain Settings
        • Manage Report Subscriptions For Selected Domain
        • Relay Restrictions
        • Geolocation Restrictions
        • SPF Control Settings
      • Outgoing
        • Clear Outgoing Cache
        • Log Search
        • Users
        • Office 365 Activation
      • Email Management
        • Email Size Restriction
        • Blocked Extensions
        • Released Requests
        • Blacklisted Requests
        • Whitelisted Requests
      • Domain Audit Log
        • Audit Log Configuration
        • View Domain Log
      • Domain Rules
        • Rules
        • TLD And GTLD Rules
        • Recipient Whitelist
        • Sender Whitelist
        • Recipient Blacklist
        • Sender Blacklist
        • Whitelist Senders Per User
        • Blacklist Senders Per User
      • Account Management
        • User Account Management
        • Manage User Auto-import
        • View User History
        • Import Users From LDAP
          • LDAP Import Configuration
          • LDAP Import Confirmation List
          • LDAP Import Ignore List
  • Audit Log
  • Administrator Account Management
    • Administrators
    • User Groups & Permissions
    • Admin Groups & Permissions
    • My Comodo Account
    • My Profile
    • Users History
  • Customer Management
    • End User License And Subscriber Agreements
    • View License Information
    • Manage Report Subscriptions
    • Notification Email Settings
  • CASG Reports - An Overview
    • Quarantine Report
    • Domain Statistics Report
    • Auto-Imported Users Report
    • Quarantine Release Report
    • Reported Spam Report
  • Appendix 1 - CASG Error Codes
  • Appendix 2 - CASG Comparison Table
  • Appendix 3 -Troubleshooting LDAP
  • Appendix 4 - Useful Links
  • About Comodo Security Solutions

User Groups & Permissions


    • The 'User Groups & Permissions' area lets you create email user groups and set group permissions.
      • You can create multiple groups, each with different permission levels. When you assign users to a group they will inherit the permissions of the group.
      • The user interface will vary according to a user's permission level. See 'Manage Permissions for Users' in 'User Account Management' for help with this.


      Create user groups

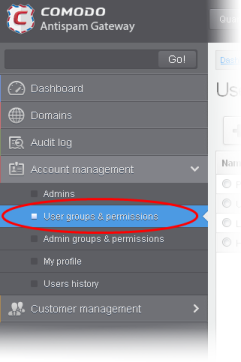
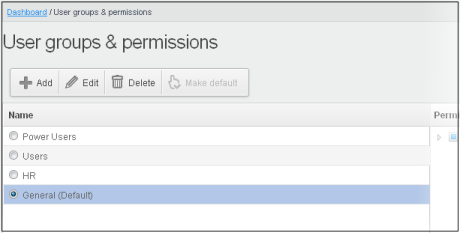
        • Click 'Account management' > 'User groups & permissions':


        The 'User Groups & permissions' interface will be displayed.


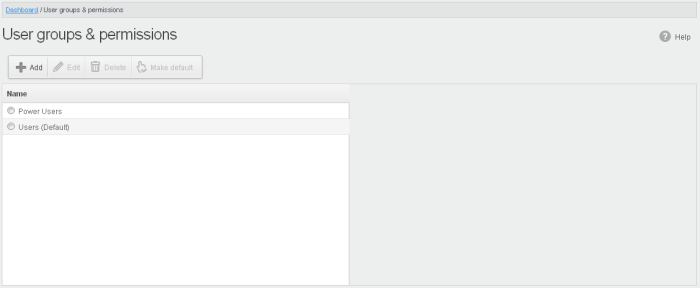
        Two user groups, Power User and Users (Default), are available by default. These two groups cannot be edited or deleted.

        • Click a group name to view its permissions in the right-hand pane:


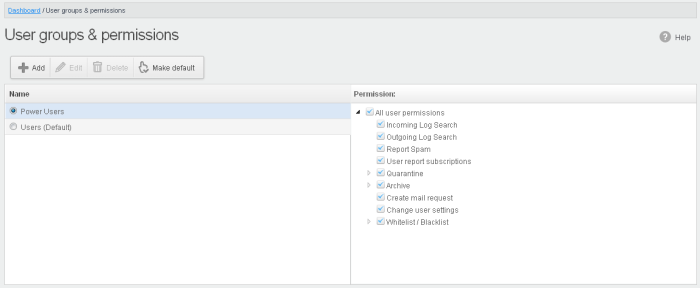
        • Click the arrow next to a permission to view sub-permissions:


        For users in the 'Power User' group, all permission levels are enabled. The 'Release quarantine messages' option is not available to users in the regular 'Users' group. This means that if a user is assigned to the 'Power User' group, he / she can release quarantined messages from the quarantined mails list without approval from an admin. See Released Requests in 'Email Management' for more details.


        Permission Levels

          • Incoming Log Search - Allows a user to search and view the log of all incoming mails.
          • Outgoing Log Search - Allows a user to search and view the log of all outgoing mails.
          • Report Spam - Allows a user to report a mail as spam mail.
          • User report subscriptions - Allows a user to configure periodical quarantine report generation.
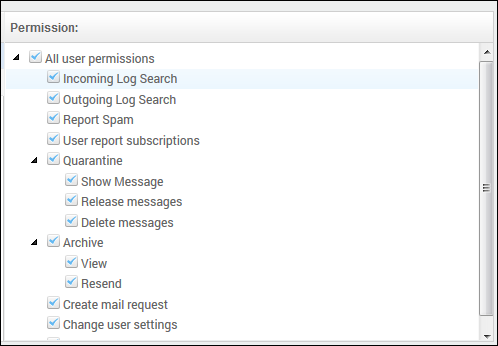
          • Quarantine
          • Show Message - Allows a user to view quarantined emails in same window or separate window.
          • Release message - Allows a user to release a quarantined mail without approval from the administrator.
          • Delete messages – Allows a user to delete a quarantined mail without approval from the administrator.

            • Archive
            • View - Allows a user to view archived emails in same window or separate window.
            • Resend – Allows a user to resend archived emails to himself / herself.
            • Reply all - Allows a user to reply to all archive emails
            • Forward - Allows a user to forward an archive email composed earlier
            • Create mail request  - Allows a user to configure email request for CASG notifications.
            • Change user settings - Allows a user to configure himself / herself as recipient whitelist.
            • Whitelist / Blacklist
            • Manage whitelist senders per user – Allows a user to manage sender whitelist for his / her mail account
            • Manage blacklist sender per user - Allows a user to manage sender blacklist for his / her mail account

            Click the following links for more details.

            • Add a new group
            • Edit a group
            • Delete a group
            • Make a group as default

            Add a New Group

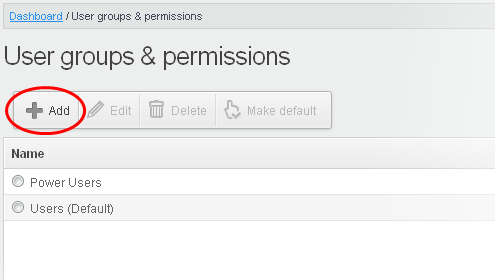
            • To add a new group and configure permission levels, click the 'Add' button.


            A new group creating page will be displayed.


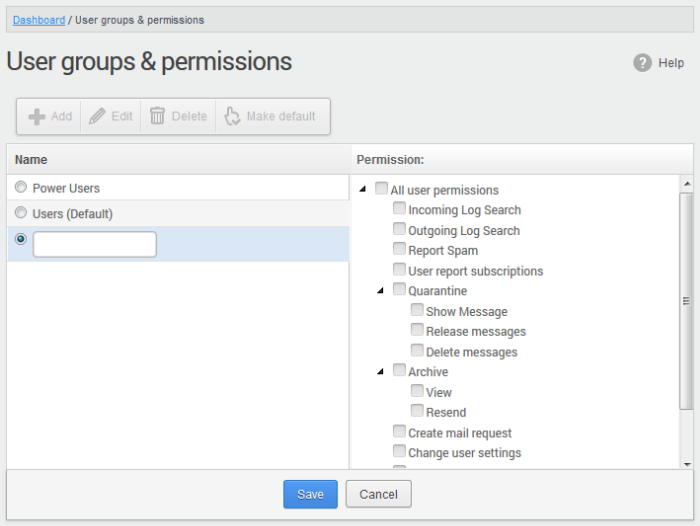
            • Enter the name of the group in the text field under the 'Name' column. Note: To enable the permission levels in the right side for that group, click the 'Edit' button on the top.


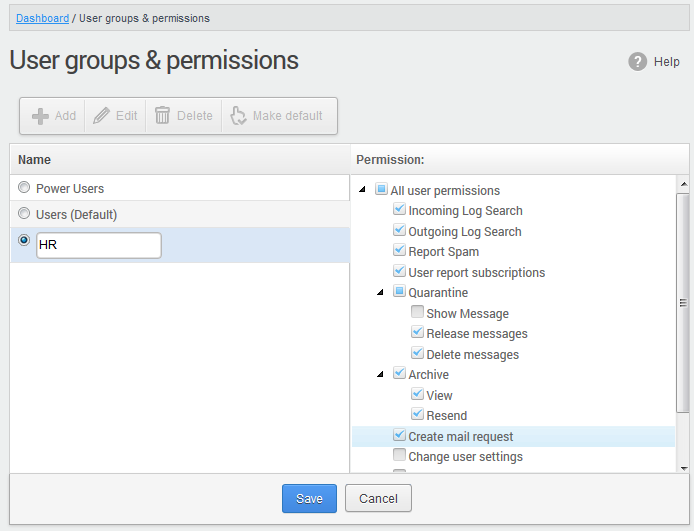
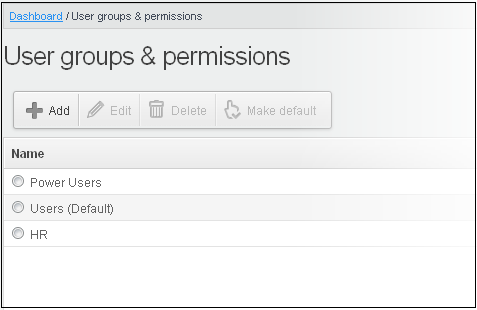
            • Click the 'Save' button.

            The newly created group will be displayed in the interface.


            Now, users of domains belonging to the account can be assigned to this newly created group. See the section ' Manage Permissions for users' in 'User Account Management' on how to add users to predefined groups.


            Edit a Group


            You can edit the name of an existing group and / or change the permission levels.

            • Select the group from the list and click the 'Edit' button.


            • Change the permission levels and / or the name of the group.

            • Click the 'Save' button for the changes to take effect.

            The users in the group that is edited will be automatically reassigned to the edited group.


            Delete a Group

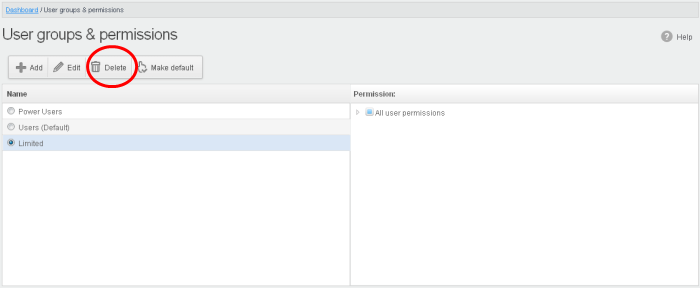
            • Select a group from the list and click 'Delete'.


            • Click 'OK' in the confirmation dialog.


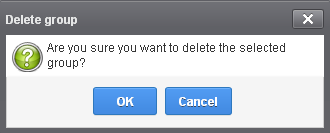
            The selected group will be deleted from the list.


            Note 1: If you delete a group, users assigned to that group will be automatically moved to default group. You have to reassign the users if required.


            Note 2: If you delete a user group created by the administrator and marked as default, then the 'Users' group that was shipped with the product will be set as default. All the users from the deleted group will be automatically migrated to the 'Users' group.


            Make a Group as Default


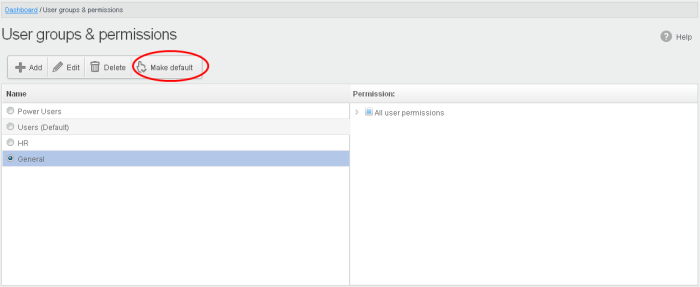
            CASG allows administrators to make an existing group as default group. Newly added users and users belonging to an existing group whose name was deleted will be automatically moved to this default group.

            • Select a group from the list and click 'Make default'.


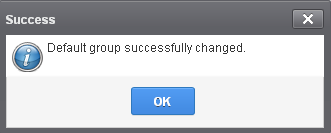
            A success dialog will be displayed.


            • Click 'OK'.

            The selected group will be displayed as default group.


            Note: If you delete a user group created by the administrator and marked as default, then the 'Users' group that was shipped with the product will be set as default. All the users from the deleted group will be automatically migrated to the 'Users' group.

            Our Products
            • Free Antivirus
            • Free Internet Security
            • Website Malware Removal
            • Free Anti-Malware
            • Anti-Spam (Free Trial)
            • Windows Antivirus
            • Antivirus for Windows 7
            • Antivirus for Windows 8
            • Antivirus for Windows 10
            • Antivirus for MAC
            • Antivirus for Linux
            • Free Endpoint Security
            • Free ModSecurity
            • Free RMM
            • Free Website Malware Scanner
            • Free Device Manager for Android
            • Free Demo
            • Network Security
            • Endpoint Protection
            • Antivirus for Android
            • Comodo Antivirus
            • Wordpress Security
            Cheap CDN
            • Bootstrap CDN
            • Semantic UI CDN
            • Jquery CDN
            • CDN Plans
            • CDN
            • Free CDN
            Enterprise
            • Patch Management Software
            • Patch Manager
            • Service Desk
            • Website Down
            • Endpoint Protection Solutions
            • Website Security Check
            • Remote Monitoring and Management
            • Website Security
            • Device Manager
            • ITSM
            • CRM
            • MSP
            • Android Device Manager
            • MDR Services
            • Managed IT Support Services
            • Free EDR
            Free SSL Certificate
            Support Partners Terms and Conditions Privacy Policy

            © Comodo Group, Inc. 2025. All rights reserved.