How to Add a New Device
1. Switch to 'Device List' area of the interface.
2. Click on '+' button beside 'Add New Device' in the upper pane (as shown below).

-
Select the 'Local' radio button to enable internal scanning on the device

-
Enter a friendly name for the device in the 'Device Name' text box and click 'Continue'.
| Important Note: The Device Name specified in this field must exactly match the device name that you set for the Device while installing and configuring the internal scanning agent in the local network. (see 'Configuring the Agent' and 'Using the Agent - Main Menu' for more details on set up and configuration of the agent.) |
-
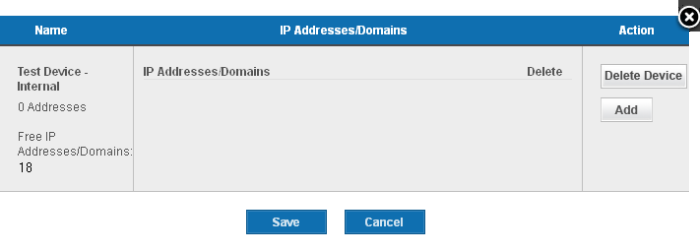
Click 'Add' in the next screen.

-
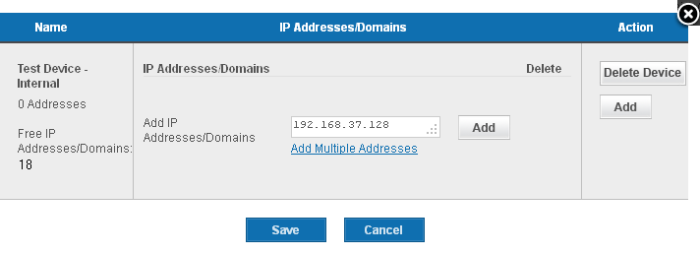
Enter the IP addresses to be associated with the device in the 'Add IPs or Domains' text box. The IP addresses you specify here will be scanned whenever you run a scan on the 'Device Name'. You can add as many IP addresses as allowed by your license. If you want to add more than one IP, click on the link Add Multiple Addresses and enter the IPs separated by commas. IP ranges can also be specified with each address in that range counting as one of your licensed total IP's.

-
Click the 'Add' button beside the text box.

-
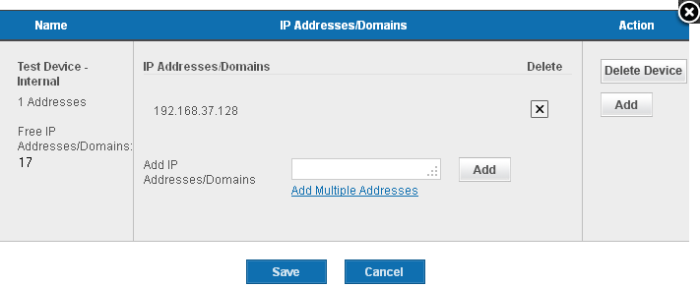
The IP(s)/Domain(s) will be added to the device. If you want to add more IPs or Domains, repeat from Step 6.
-
After adding required IPs and Domains to the Device, Click 'Save'.
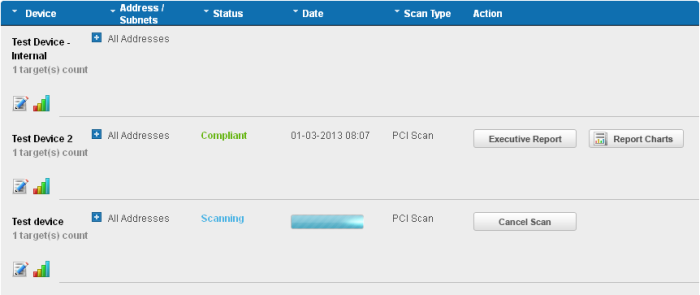
The device will be added to your Web Inspector PCI Account. The device will be validated for PCI compliance on your first on-demand scan and the status will be updated accordingly.


