


View and Manage Device Group Memberships
The 'Groups' tab shows device groups to which the Windows endpoint belongs. You can remove the device from a group or add it to a new group.
View and manage device group membership
- Click 'Devices' > 'Device List'
- Click the 'Device Management' tab above the control buttons
- Select a company or group on the left to view devices in the group
Or
- Select 'All Devices' to view every device enrolled to EM
- Click the name of a Windows device then select the 'Groups' tab:
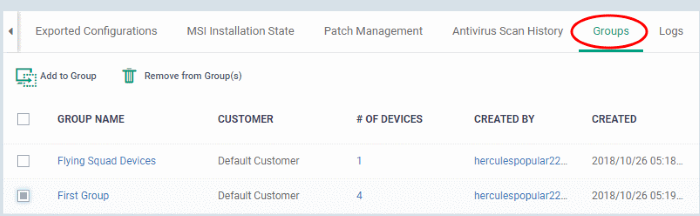
- The interface lists all groups of which the device is a member
- Any
group profiles will also be applied to the endpoint.
|
Device Groups - Table of Column Descriptions |
|
|---|---|
|
Column Heading |
Description |
|
Group |
The group label.
|
|
Company |
The name of the company for which the group was created. |
|
Number of Devices |
The total number of devices in the group.
|
|
Created By |
Name of the admin that created the group.
|
|
Created |
The date and time at which the group was created. |
Add the device to a new group
- Click 'Add to Group'
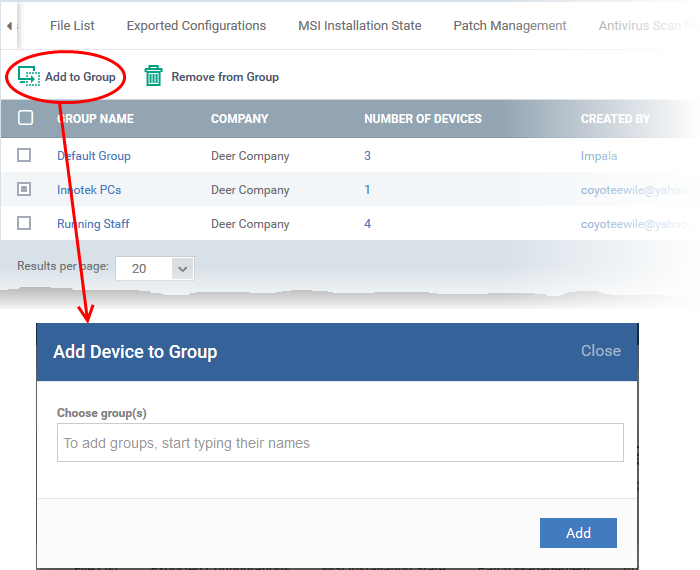
The 'Add Device to Group' dialog will appear.
- Choose Group(s) - Start typing the name of the group which you want the endpoint to join. Select the correct group from the list of suggestions.
- Repeat the process to add the device to other groups.
- Click 'Add'.
Remove the device from a group
- Select the group from the list and click 'Remove from Group'.
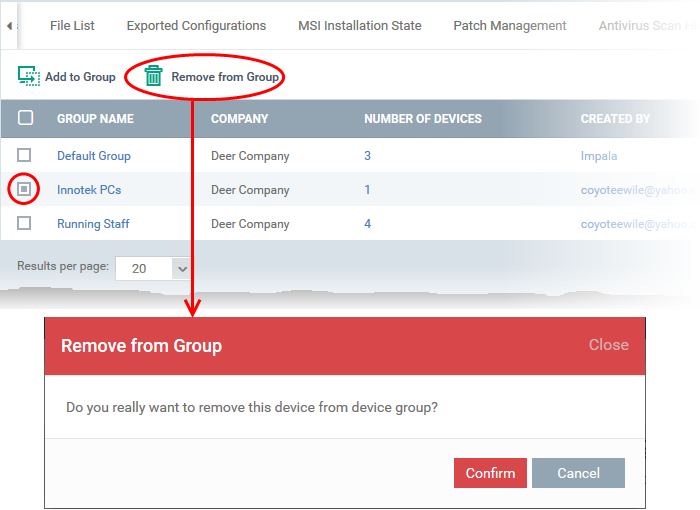
A confirmation dialog will appear.
- Click 'Confirm' to remove the device from the group.