


Antivirus Settings for Mac OS Profile
The antivirus section lets you configure real-time monitoring, custom scans, scan schedules, exclusions and more.
Configure antivirus settings in a Mac OS profile
- Click 'Configuration Templates' > 'Profiles'
- Click on the name of a Mac OS profile
- Click 'Add Profile Section' then 'Antivirus' (if you haven't yet added the AV section)
OR
- Open
the 'Antivirus' tab if it was already added
The antivirus settings screen has two tabs:

- Preferences - Configure general behavior, updates, parental control and log settings
- Antivirus - Configure settings for all scan types, create custom scan profiles and schedule AV scans.
Preferences
The preferences tab lets you configure the following settings:
- Show balloon messages -If enabled, notifications from CCS will appear in the bottom-right hand corner of the computer screen - just above the tray icons. Balloon messages are usually generated when CCS is learning the activity of previously unknown components of trusted applications. (Default = Disabled).
The update tab lets you specify an alternate host from which endpoints should collect updates.The default download server is https://download.comodo.com
- Click
'Preferences' > 'Update'

You can add the URL of an alternative download host if required. For example, you may want to distribute the updates from a local server to conserve bandwidth.
- Click 'Add'
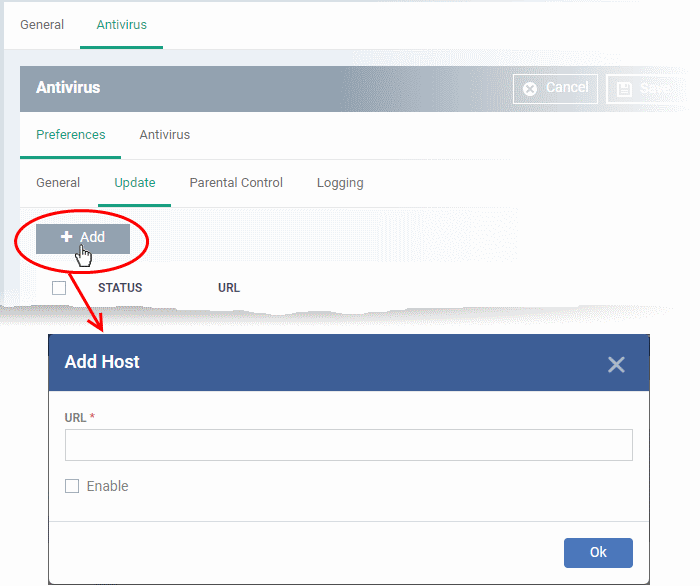
- Enter the URL or IP of the host from which endpoints should collect updates
- Select 'Enable' to activate the host
- Click 'OK' to apply your changes
- Repeat the process to add multiple hosts
- Click the pencil icon
 to edit the host
Parental controls let you password protect access to CCS settings. This helps prevent unauthorized personnel from making changes which could compromise the endpoint.
- Click the 'Parental Control' tab under 'Preferences'
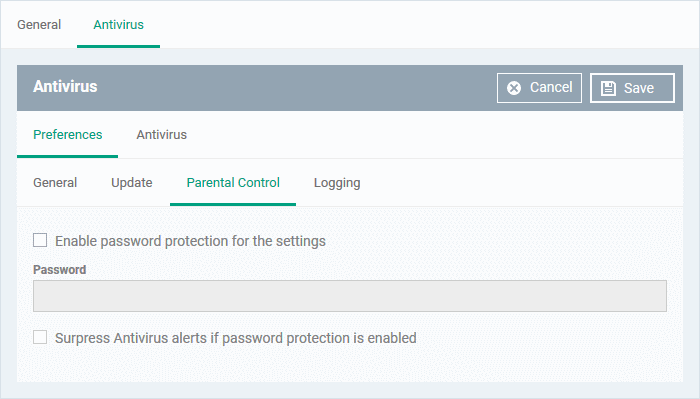
- Enable password protection for the settings - Activates password protection for all important CCS settings. End-users will need to provide a password to access the settings area in the local CCS UI.
Please type the password in the field provided.
- Suppress Antivirus alerts if password protection is enabled - If selected, threats on the device are automatically blocked but no alert is shown to the end-user. This avoids the situation where a user dangerously clicks 'Allow' just to make an alert go away.
- Click the 'Logging' tab under 'Preferences'
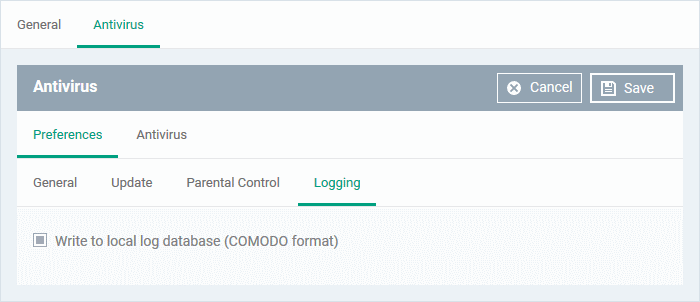
By default, CCS logs all antivirus (AV) events locally on the device. Users can view the logs by clicking 'View Antivirus Events' in the tasks interface.
- Write to local log database (COMODO format) - Deselect if you don't want CCS to store logs on the local device.
The antivirus tab lets you configure settings for all types of scan, view/create scan profiles, and to schedule scans.
It contains three sub-tabs:
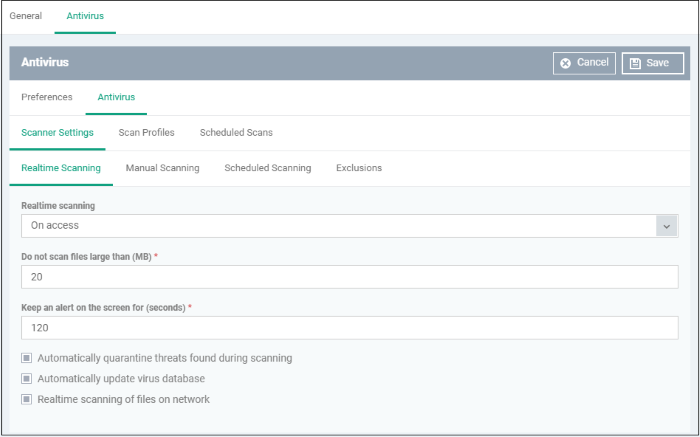
You can configure the following in the scanner settings area:
|
Form Element |
Description |
|---|---|
|
Real time scanning |
Enable or disable realtime scans.
|
|
Do not scan files larger than (MB) |
Files larger than the size specified here will not be scanned (Default =20MB). |
|
Keep an alert on the screen for (seconds) |
How long threat notifications should stay on-screen if not dismissed by the end-user. (Default = 120 seconds) |
|
Automatically quarantine threats found during scanning |
Threats will be encrypted and moved to a secure holding area where they can cause no harm. You can review quarantined items and delete, ignore, or restore them.
(Default = Enabled) |
|
Automatically update virus database |
CCS checks for and downloads database updates at system start-up, and subsequently at regular intervals.
(Default = Enabled). |
|
Realtime scanning of files on network |
Activate or deactivate automatic scans of files on network drives.
|
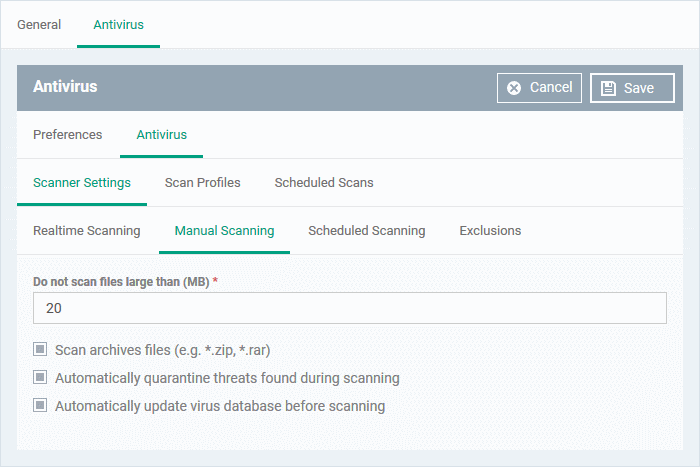
Manual Scanning
- A manual scan is one you run 'on-demand' on selected files, folder or drives. Manual scans can be launched from 'Security Sub-Systems' > 'Antivirus'.
- For more details on running on-demand scans on selected devices, see Run Antivirus and/or File Ratings Scans on Devices
|
Manual Scanning Settings - Table of Parameters |
||
|---|---|---|
|
Form Element |
Type |
Description |
|
Do not scan files large than (MB) |
Text box |
Files larger than the size specified here, will not be scanned (Default =20MB). |
|
Scan archive files |
Checkbox |
CCS
scans archive files such as .ZIP and .RAR files.
(Default = Enabled). |
|
Automatically quarantine threats found during scanning |
Checkbox |
Threats will be encrypted and moved to a secure holding area where they can cause no harm. You can review quarantined items and delete, ignore or restore them.
(Default = Enabled) |
|
Automatically update virus database before scanning |
Checkbox |
CCS will check for and download the latest virus database updates on system start-up, and subsequently at regular intervals.
(Default = Enabled). |
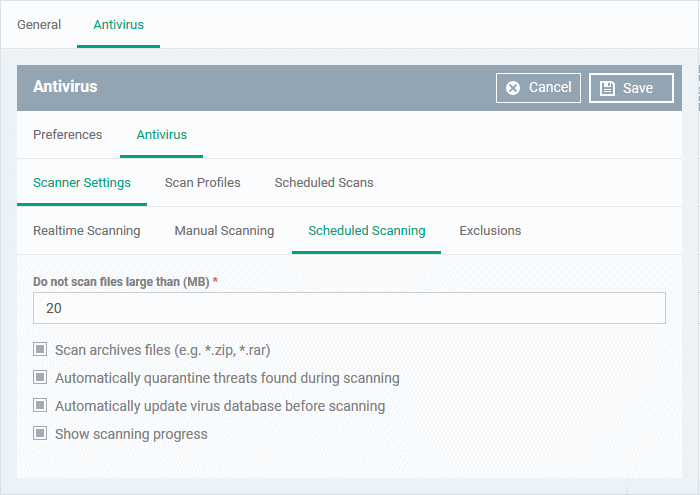
Scheduled Scanning
- Specify general settings which will apply to all scheduled scans you create
- Note. You actually create schedules in the 'Scheduled Scans' area. See create scheduled scans if you need help with this
|
Scheduled Scanning Settings - Table of Parameters |
||
|---|---|---|
|
Form Element |
Type |
Description |
|
Do not scan files large than (MB) |
Text box |
Files larger than the size specified here will not be scanned. (Default =20MB). |
|
Scan archives files |
Checkbox |
CCS scans archive
files such as .ZIP and .RAR files.
(Default = Enabled). |
|
Automatically quarantine threats found during scanning |
Checkbox |
Threats will be encrypted and moved to a secure holding area where they can cause no harm. You can review quarantined items and delete, ignore or restore them.
(Default = Enabled) |
|
Automatically update virus database before scanning |
Checkbox |
CCS will check for and download the latest virus database updates on system start-up, and subsequently at regular intervals.
(Default = Enabled). |
|
Show scanning progress |
Checkbox |
Enabled – End-users will see a scan progress bar when the scan is running. Disable this option if you don't want CCS to show the progress bar. (Default = Enabled) |
Exclusions
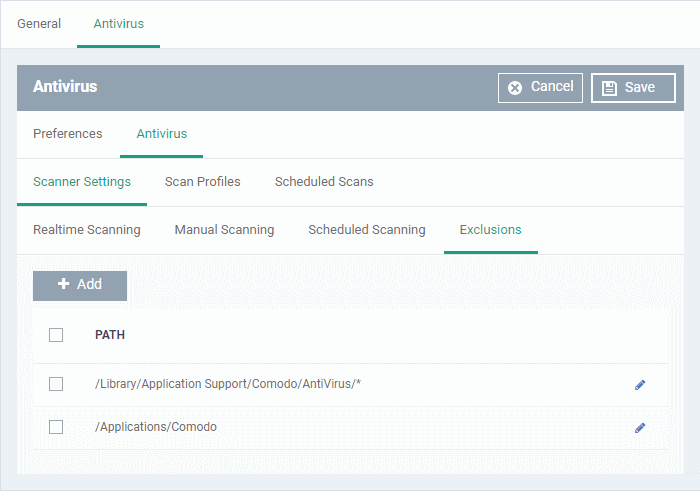
A list of excluded items will be displayed.
Add an item to the 'Exclusions' list
- Click 'Add'.
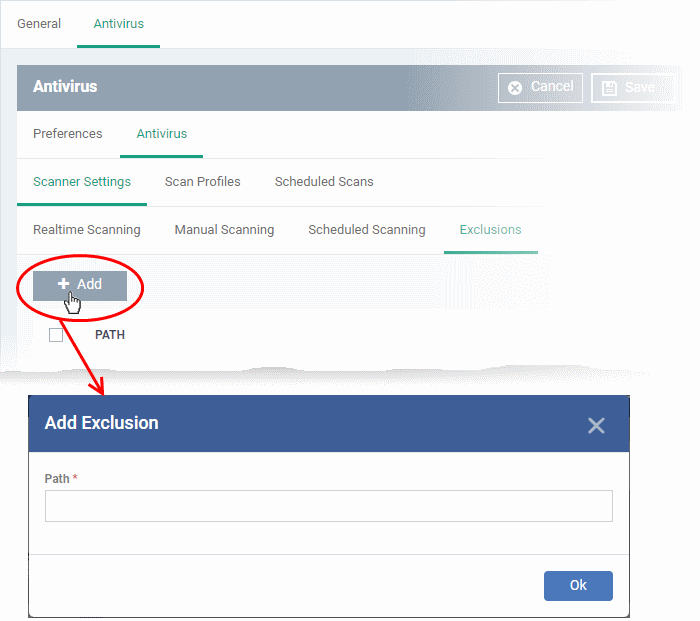
- Enter the location of the item to be excluded in the 'Path' field and click 'Ok'
- Repeat the process to add more items
- To
edit the path of an item, click the pencil icon beside it.
- Scan profiles instruct CCS to scan selected areas, folders or drives on a the device.
- You can add a scan profile to:
To create a scan profile
- A scheduled scan
- An on-demand scan
- Click the 'Scan Profiles' tab under 'Antivirus'
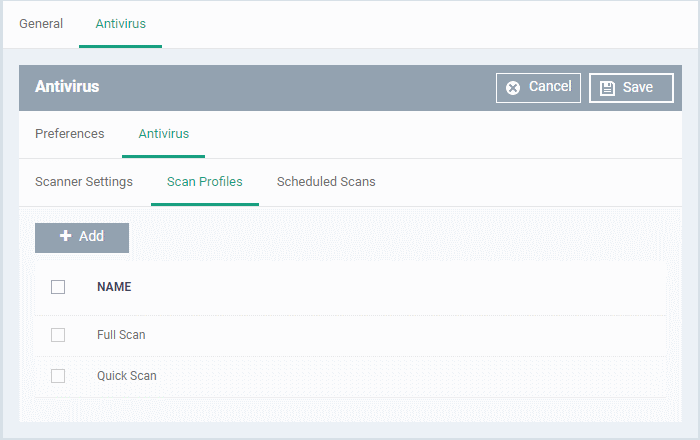
The list of pre-defined scan profiles will be displayed.
- Click 'Add'
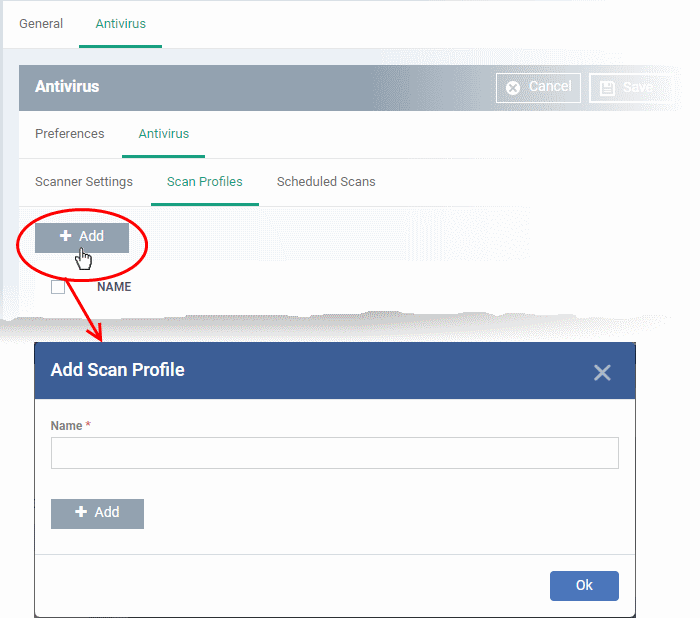
- Enter a name for the scan profile
- Click 'Add' to add the locations to be scanned as per the custom profile
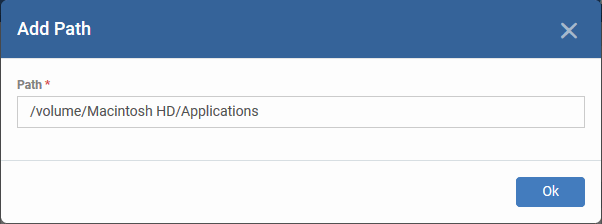
- Enter the path of the location to be scanned as per the custom profile and click 'Ok'
The path will be added to the profile.
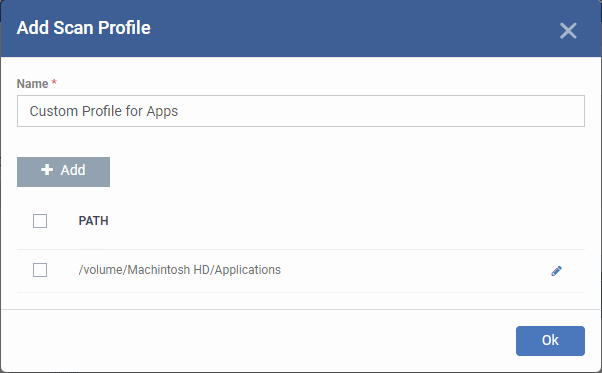
- To add more paths, click 'Add' and repeat the process
- To edit the path, click the pencil icon
- Click 'Ok' in the 'Add Scan Profile' dialog.
- The profile will be added to the list of 'Scan Profiles'.
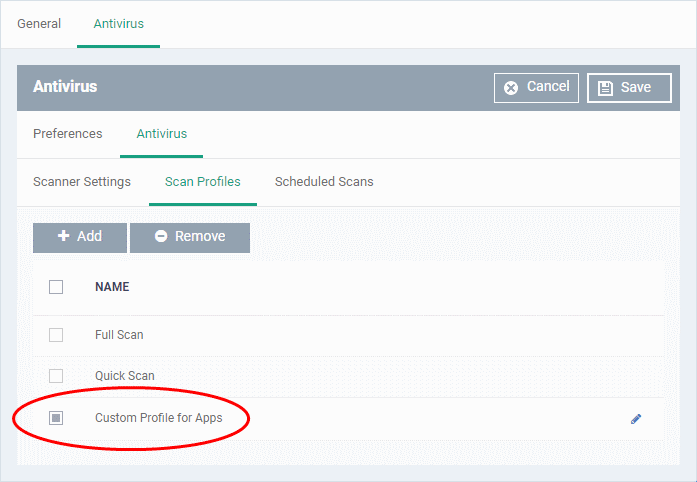
- Click 'Add' and repeat the process to add more custom scan profiles
- Click
the pencil icon beside a custom profile to edit its details.
- The highly customizable scan scheduler lets you timetable scans to be run on managed devices according to your preferences. CCS automatically starts scanning the entire system or the disks or folders contained in the profile selected for that scan.
- You can add any number of scheduled scans for a profile to run at a time that suits your preference. A scheduled scan may contain any scan profile of your choice.
Create a scan schedule
- Click the 'Scheduled Scans' tab under 'Antivirus'
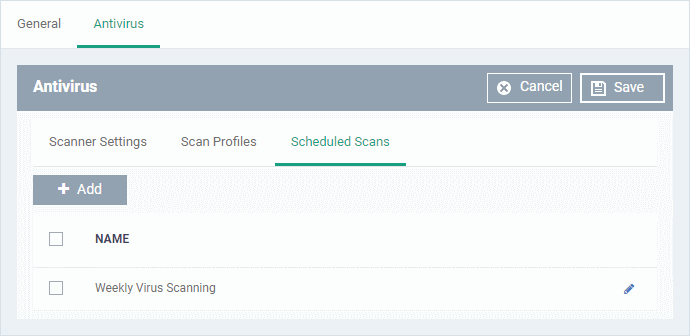
A list of pre-configured scheduled scans will be displayed.
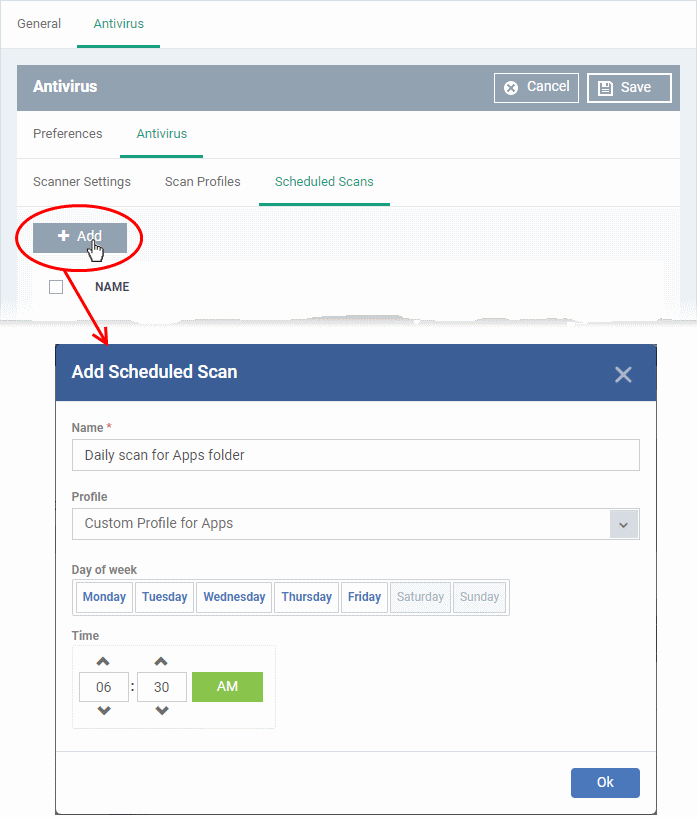
Add a new scheduled scan
- Click 'Add'
|
Add Scheduled Scan - Table of Parameters |
||
|---|---|---|
|
Form Element |
Type |
Description |
|
Name |
Text box |
Label for the scheduled scan. |
|
Profile |
Drop-down |
Choose the pre-defined or custom scan profile to be applied for the scheduled scan. The scan profiles included under the 'Scan Profiles' tab will be available in the drop-down. |
|
Day of the Week |
Buttons |
Select the day(s) of the week on which the scan has to run. |
|
Time |
HH:MM drop-down combo boxes |
Set the time at which the scans are to run on the selected days. |
- Click 'OK'
The scheduled scan will be added to the list.
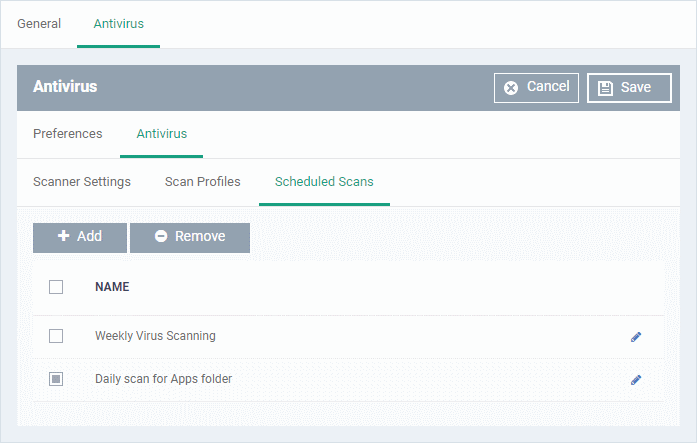
Click 'Add' and repeat the process to add more scheduled scans to the configuration profile
Click the pencil icon icon
- Click 'Save' for your settings to take effect for the profile.
The settings will be saved and shown in the 'Antivirus' tab. You can edit the settings or remove the section at anytime. See Edit
Configuration Profiles for more details.